Z-Probe
Installing your z-probe will be different depending on if you have a hole on the upper right corner of your x-carriage or not. Before starting, check to see if your x-carriage has this hole or not. The instructions are essentially the same for both x-carriage types, but there are some differences.
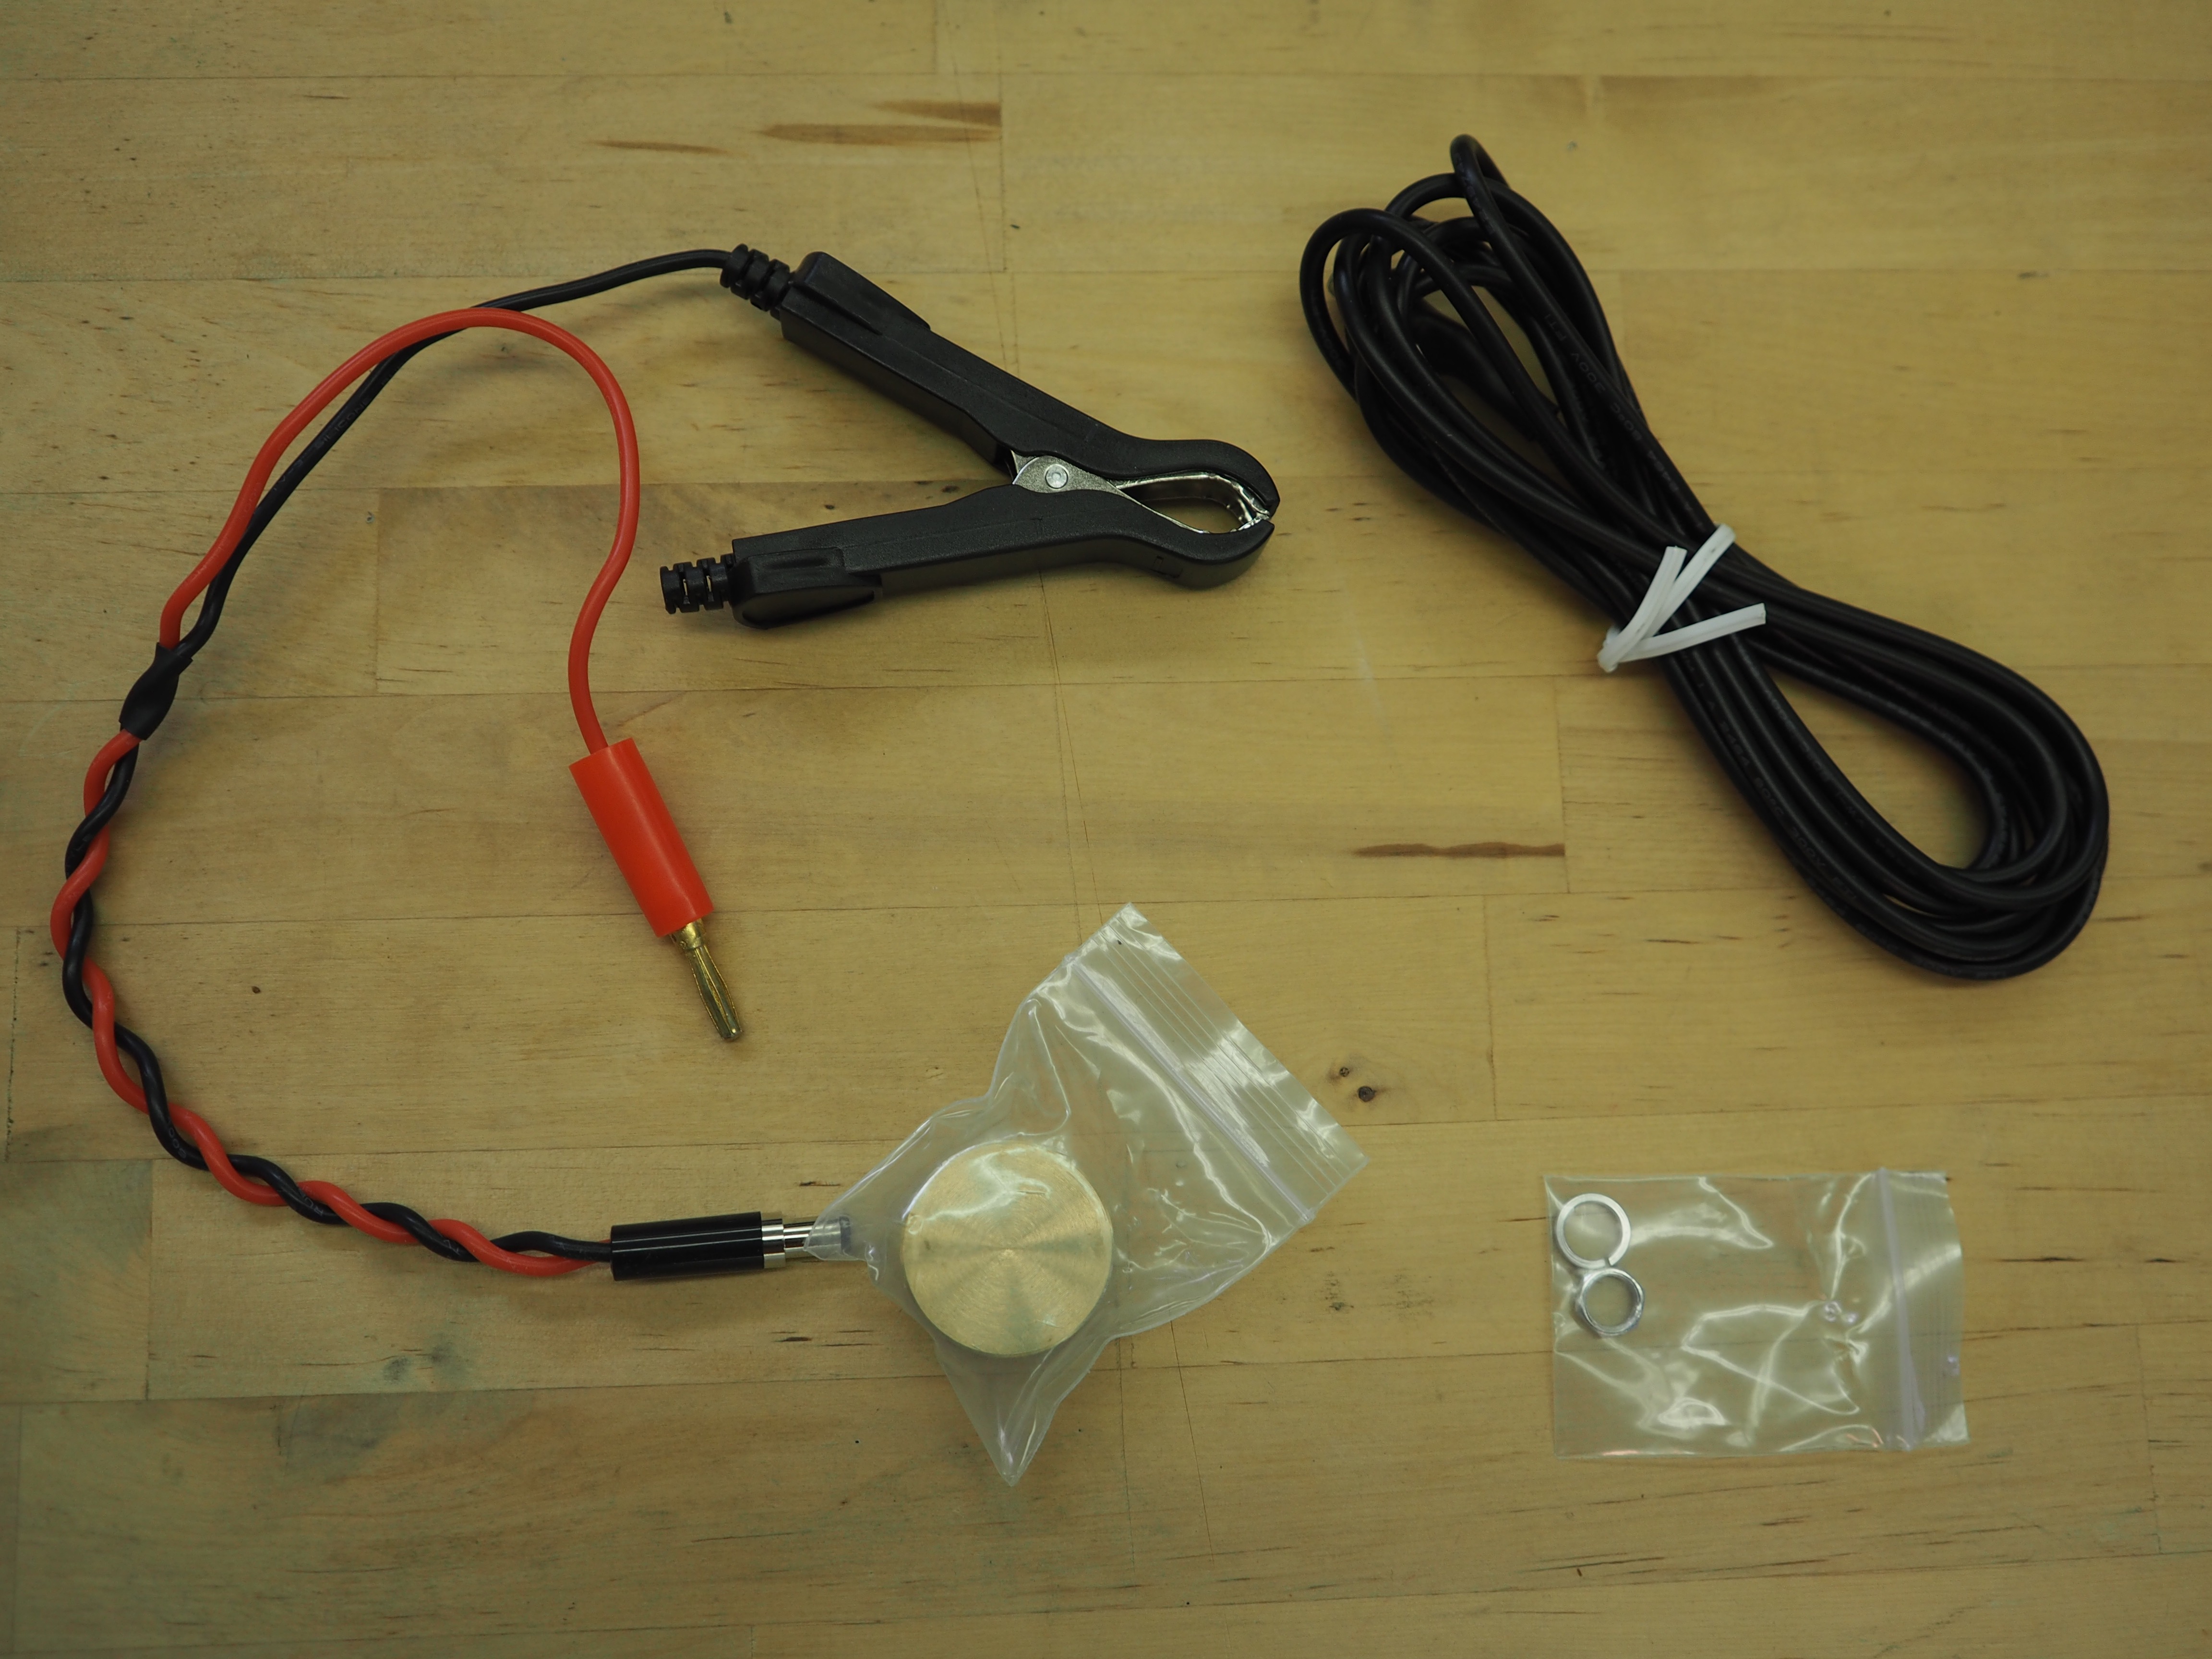
First, make sure you have everything in your kit.
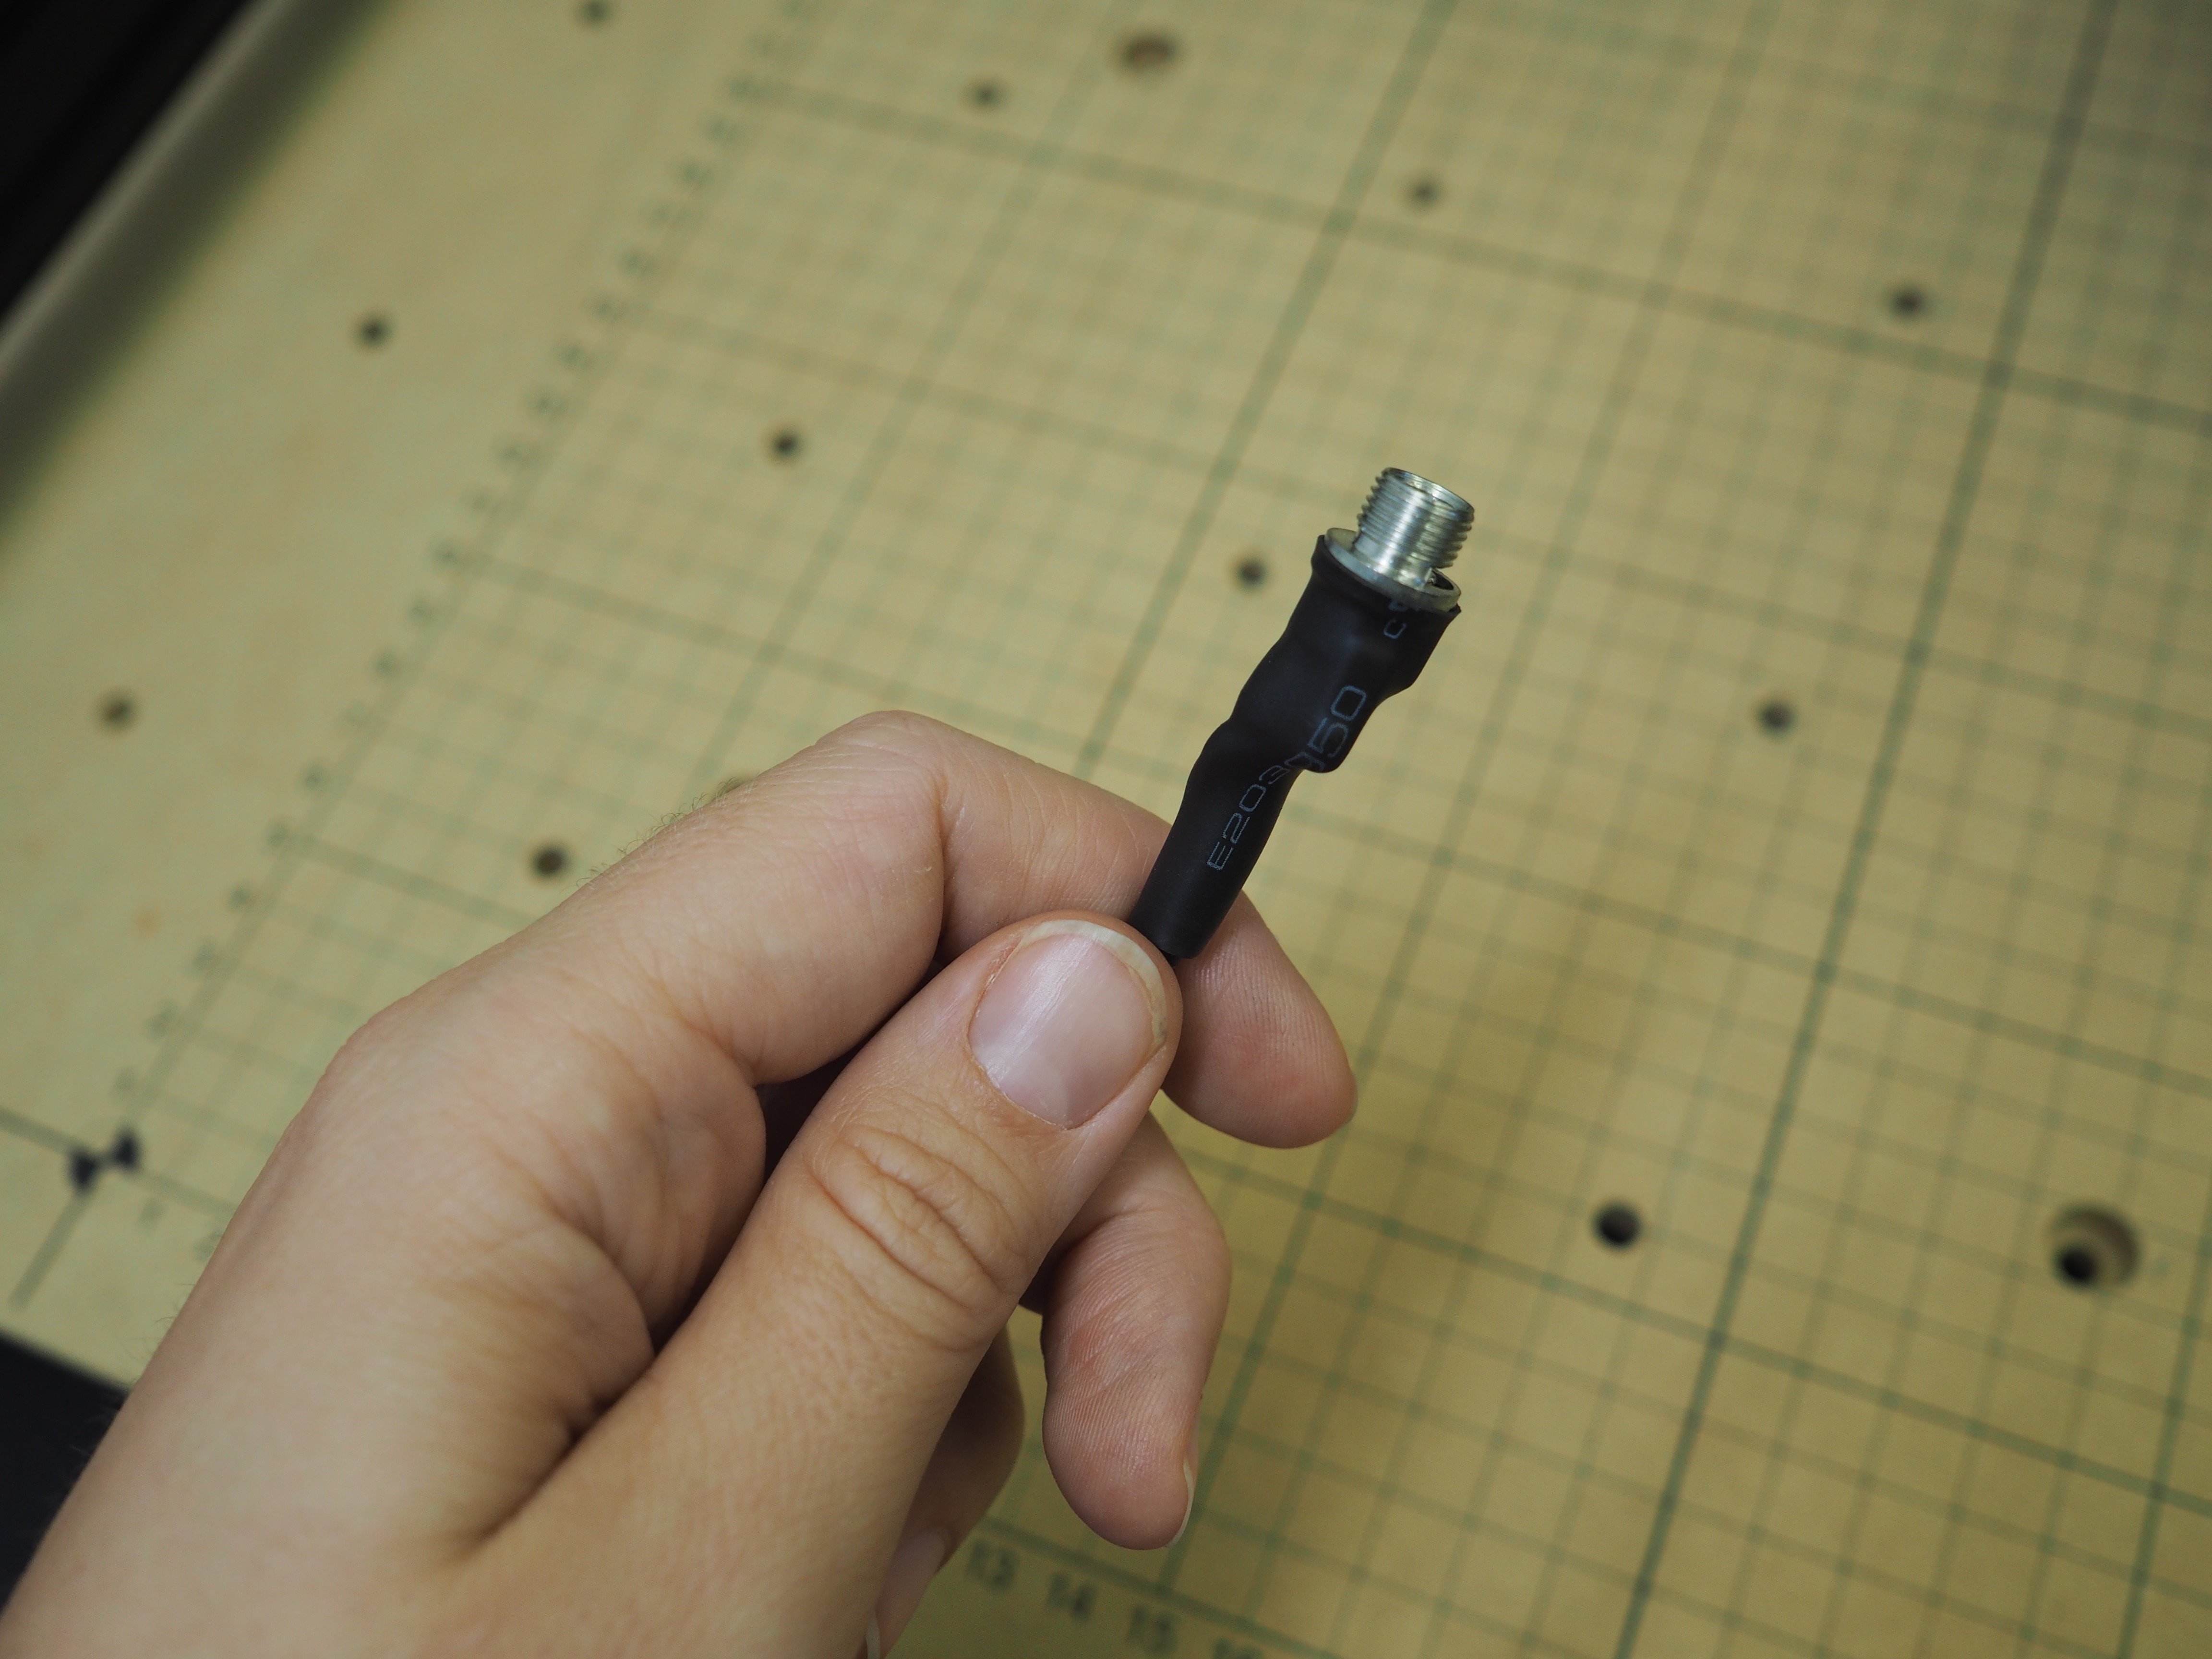
Start by threading the long black wire through your drag chain. You will want to the end with the connection to be near the x-carriage:
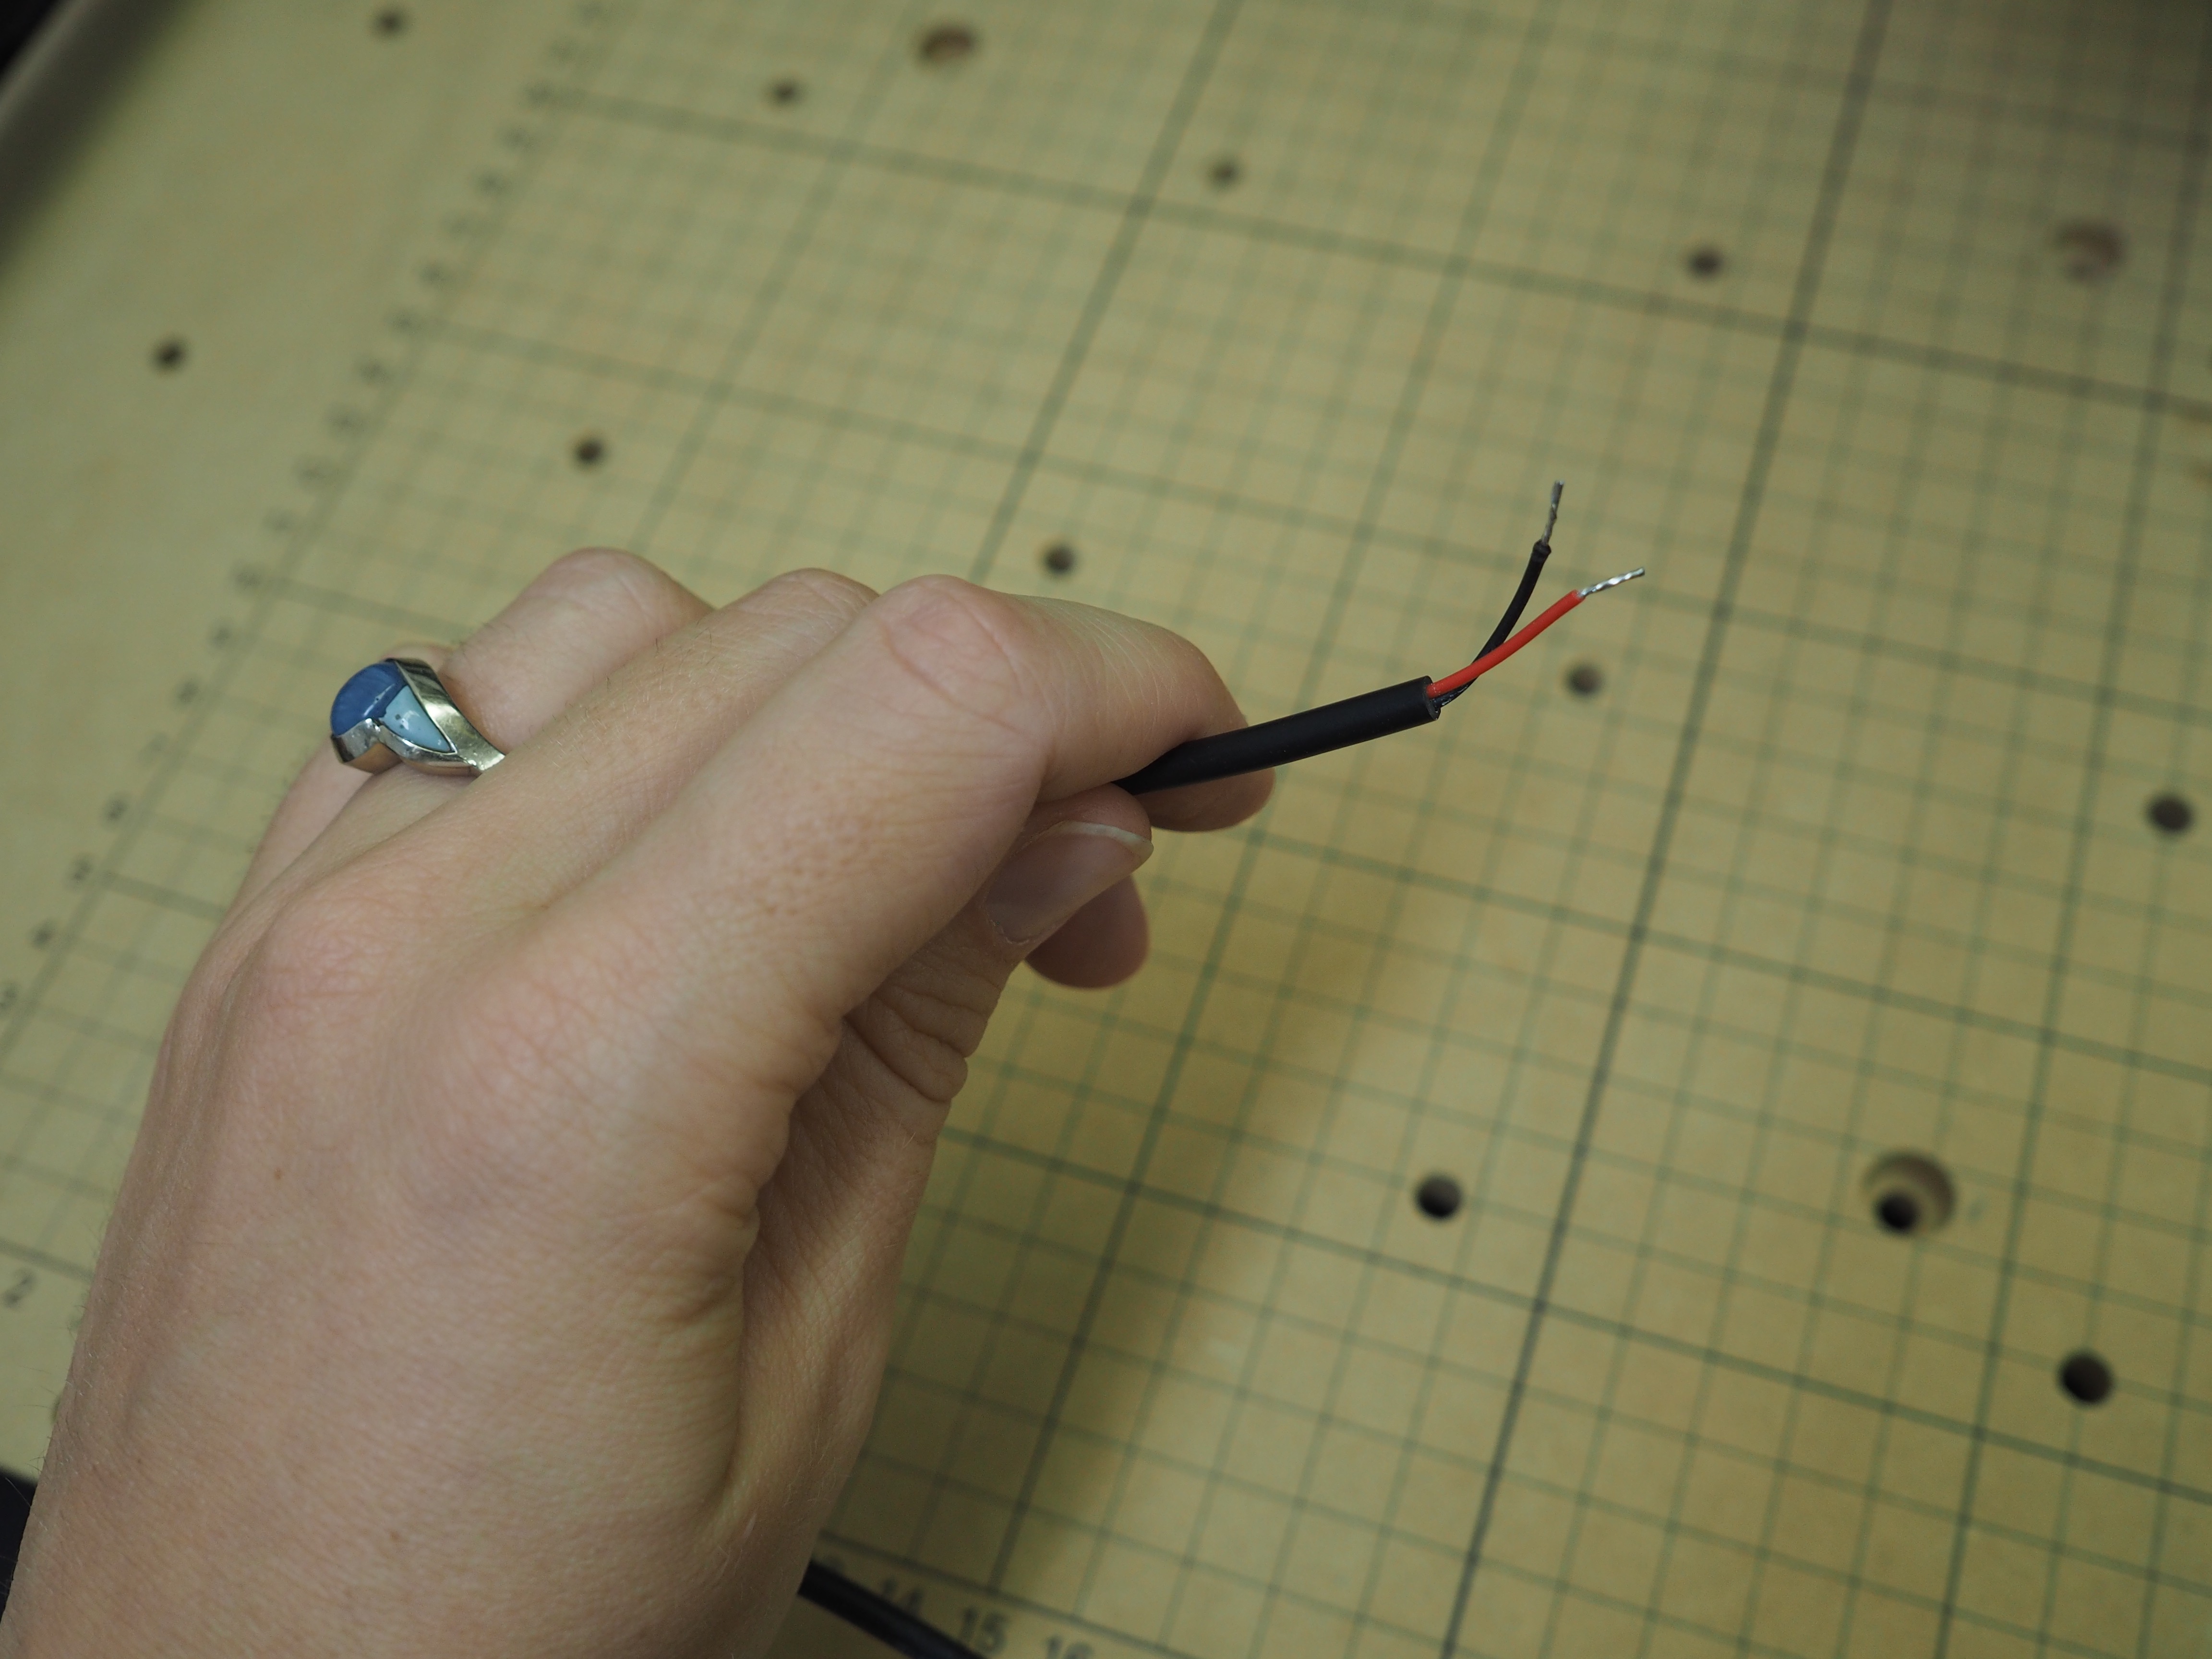
The end with the black and red wires to end up near your X-Controller:
Threading the wire through the drag chain can be difficult to do, and we advise being patient if you opt to thread the wire in with your other components. It is easiest to thread the end with the connector through the drag chain, but this part of the wire won’t go through the drag chain that runs alongside the left side of your machine. We will need to thread the left y-axis drag chain with end of the wire that is split into the black and red wire.
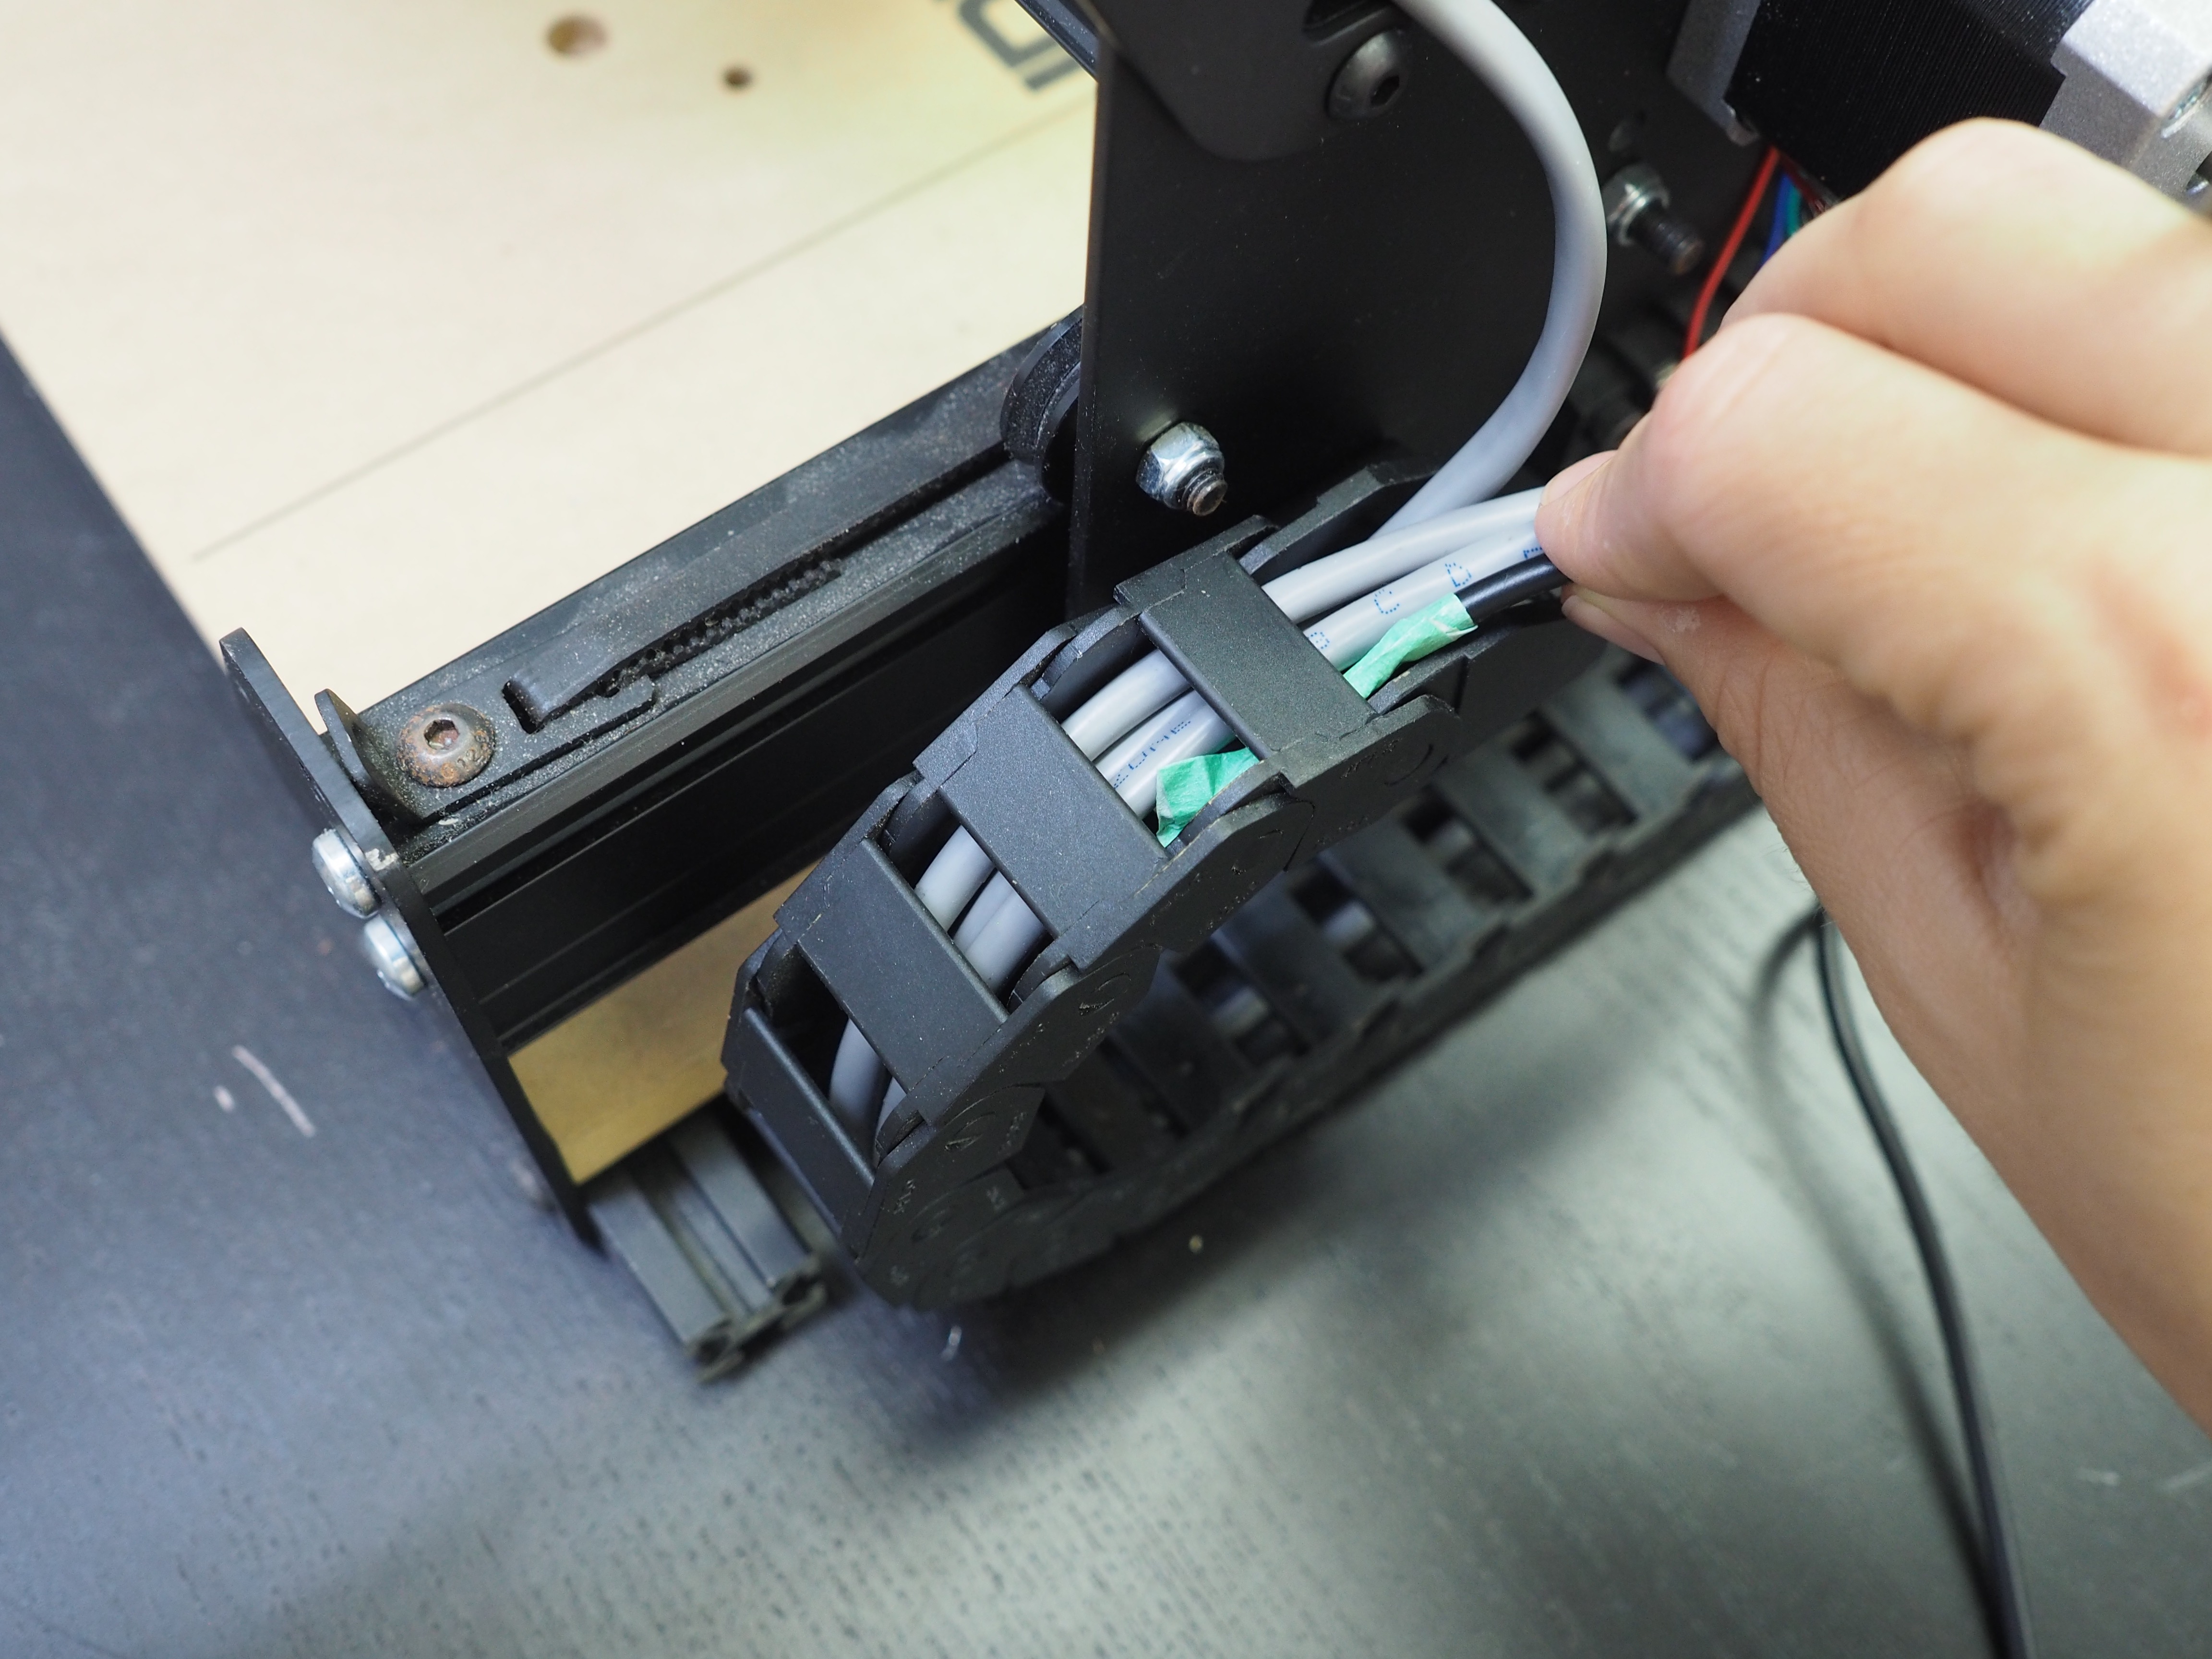
Start by threading the connection end of the black wire through the top drag chain.
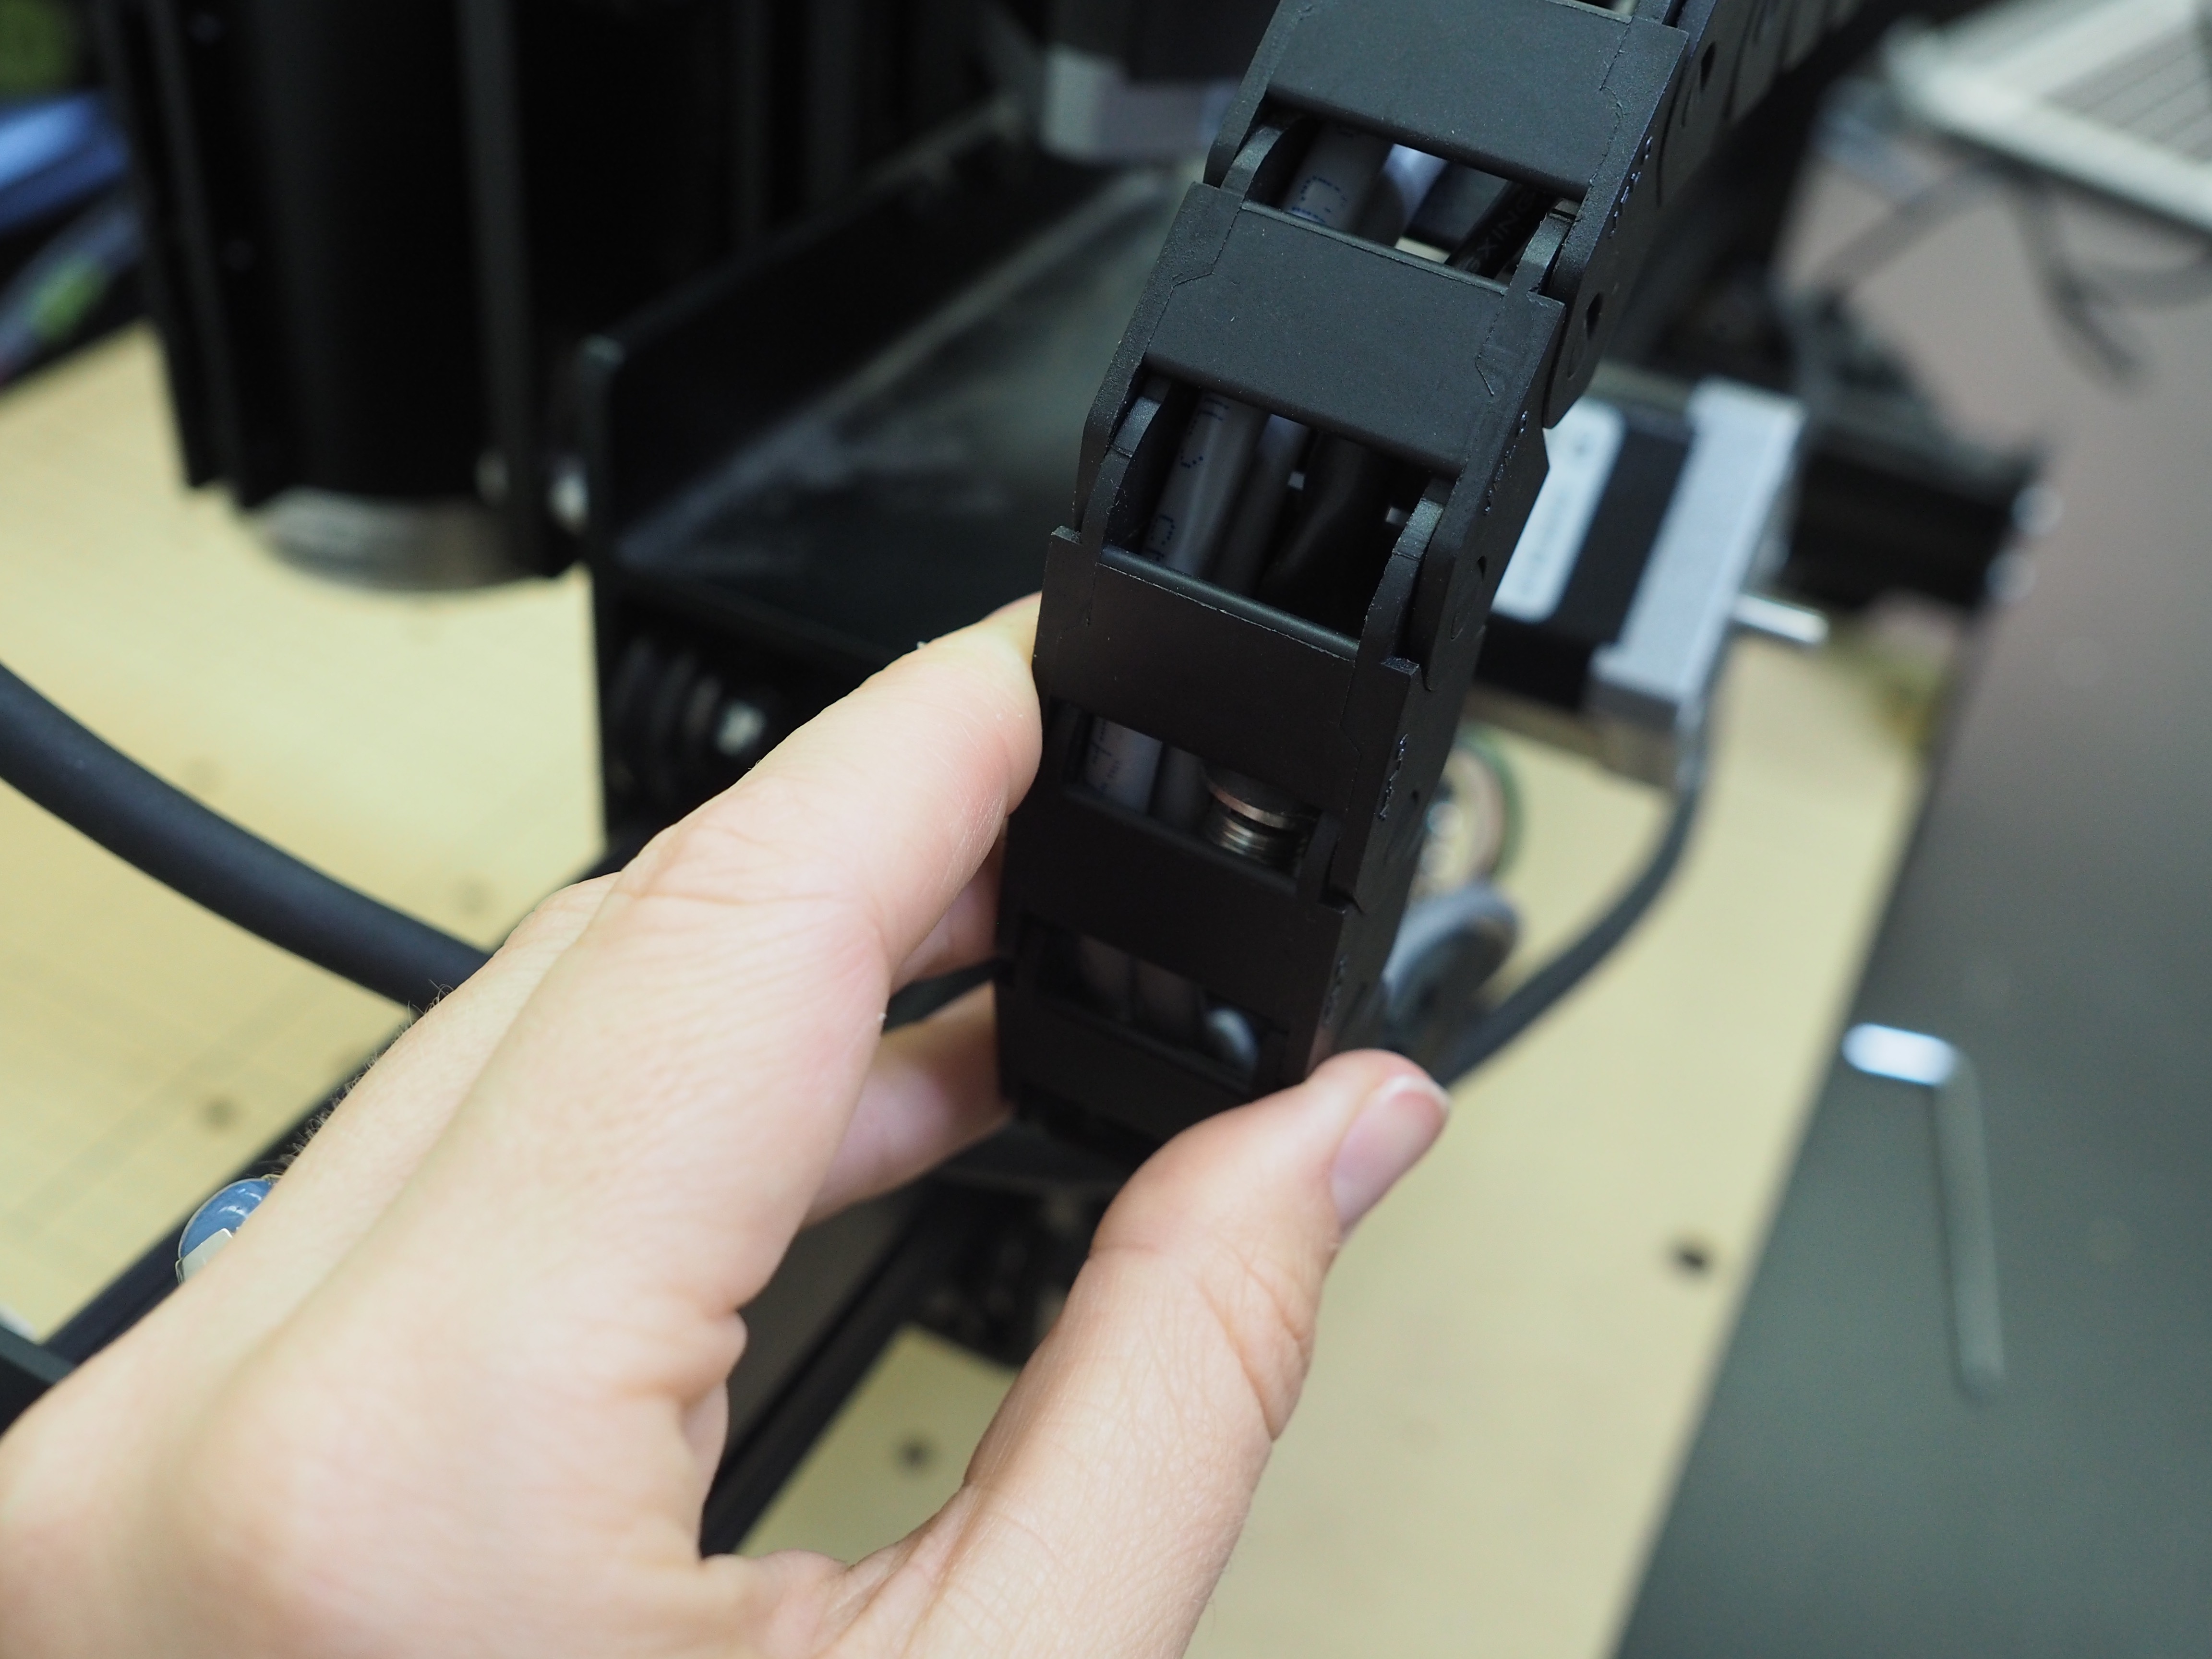
You will need to wiggle the wire through the drag chain to get it all the way through. When you reach the bend, you may need to move the chain in order to get the connector to fit through. We found that using a screwdriver or tweezers helped move the wire through the chain if it got stuck.
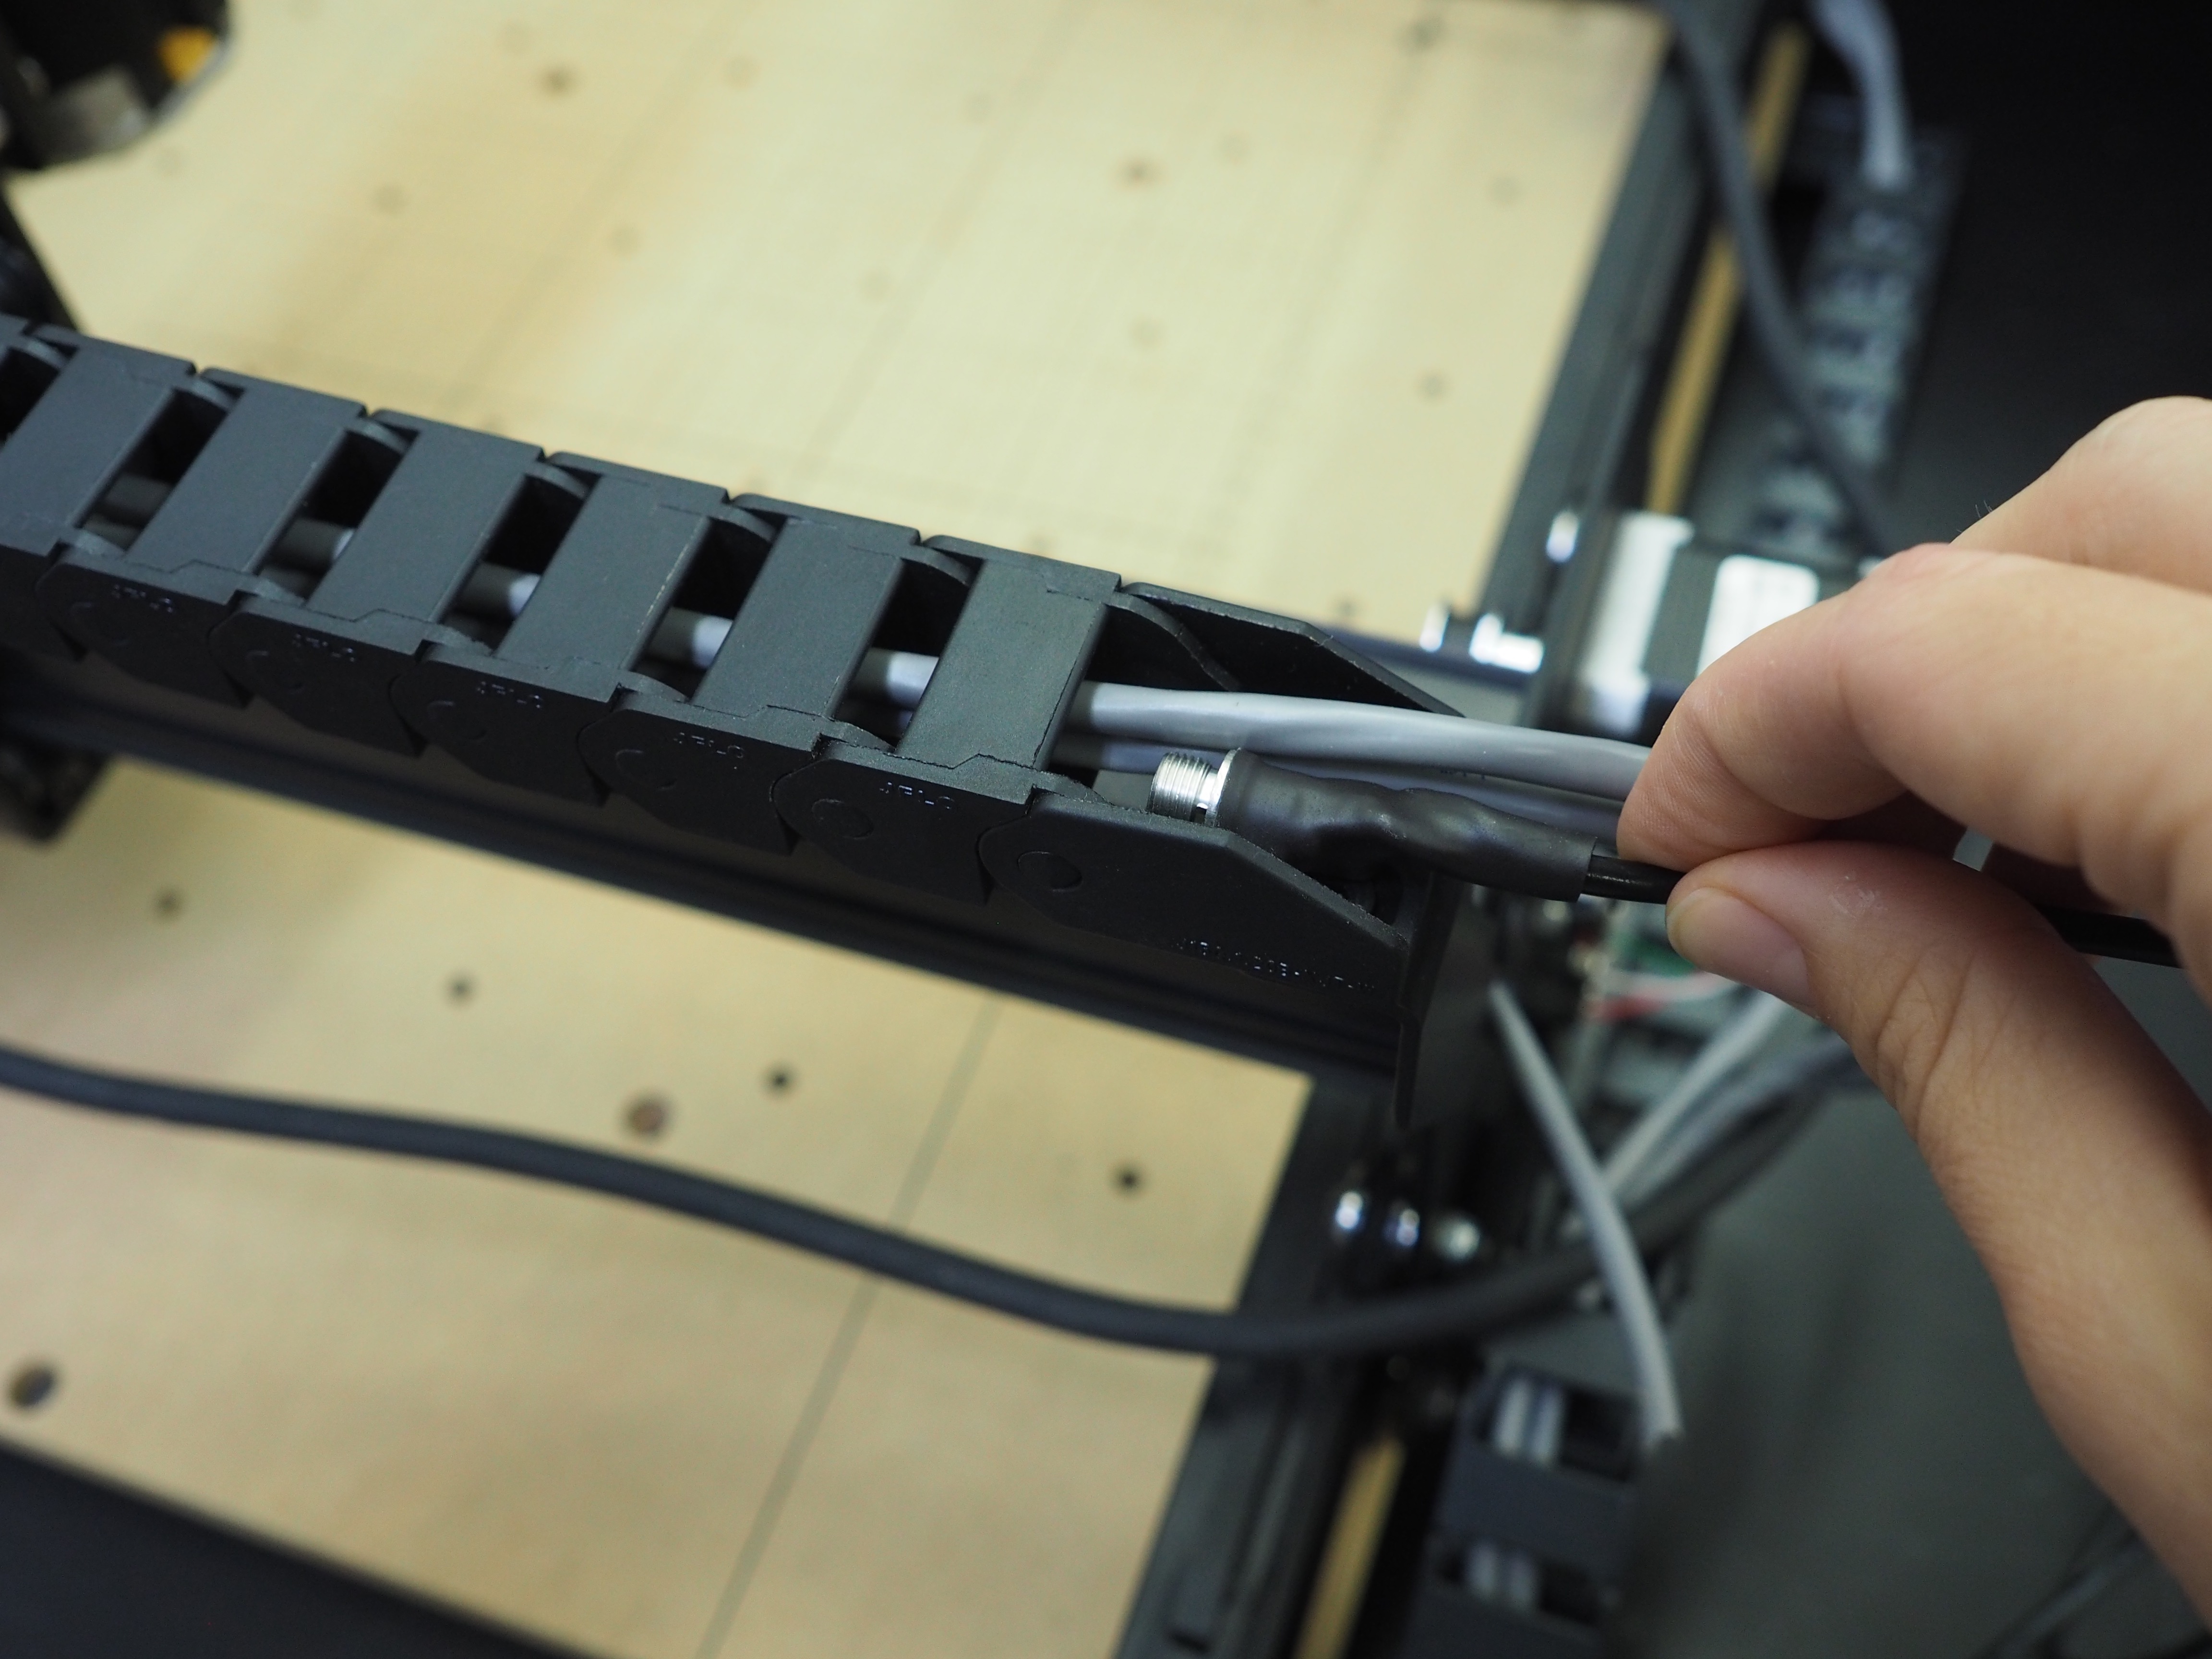
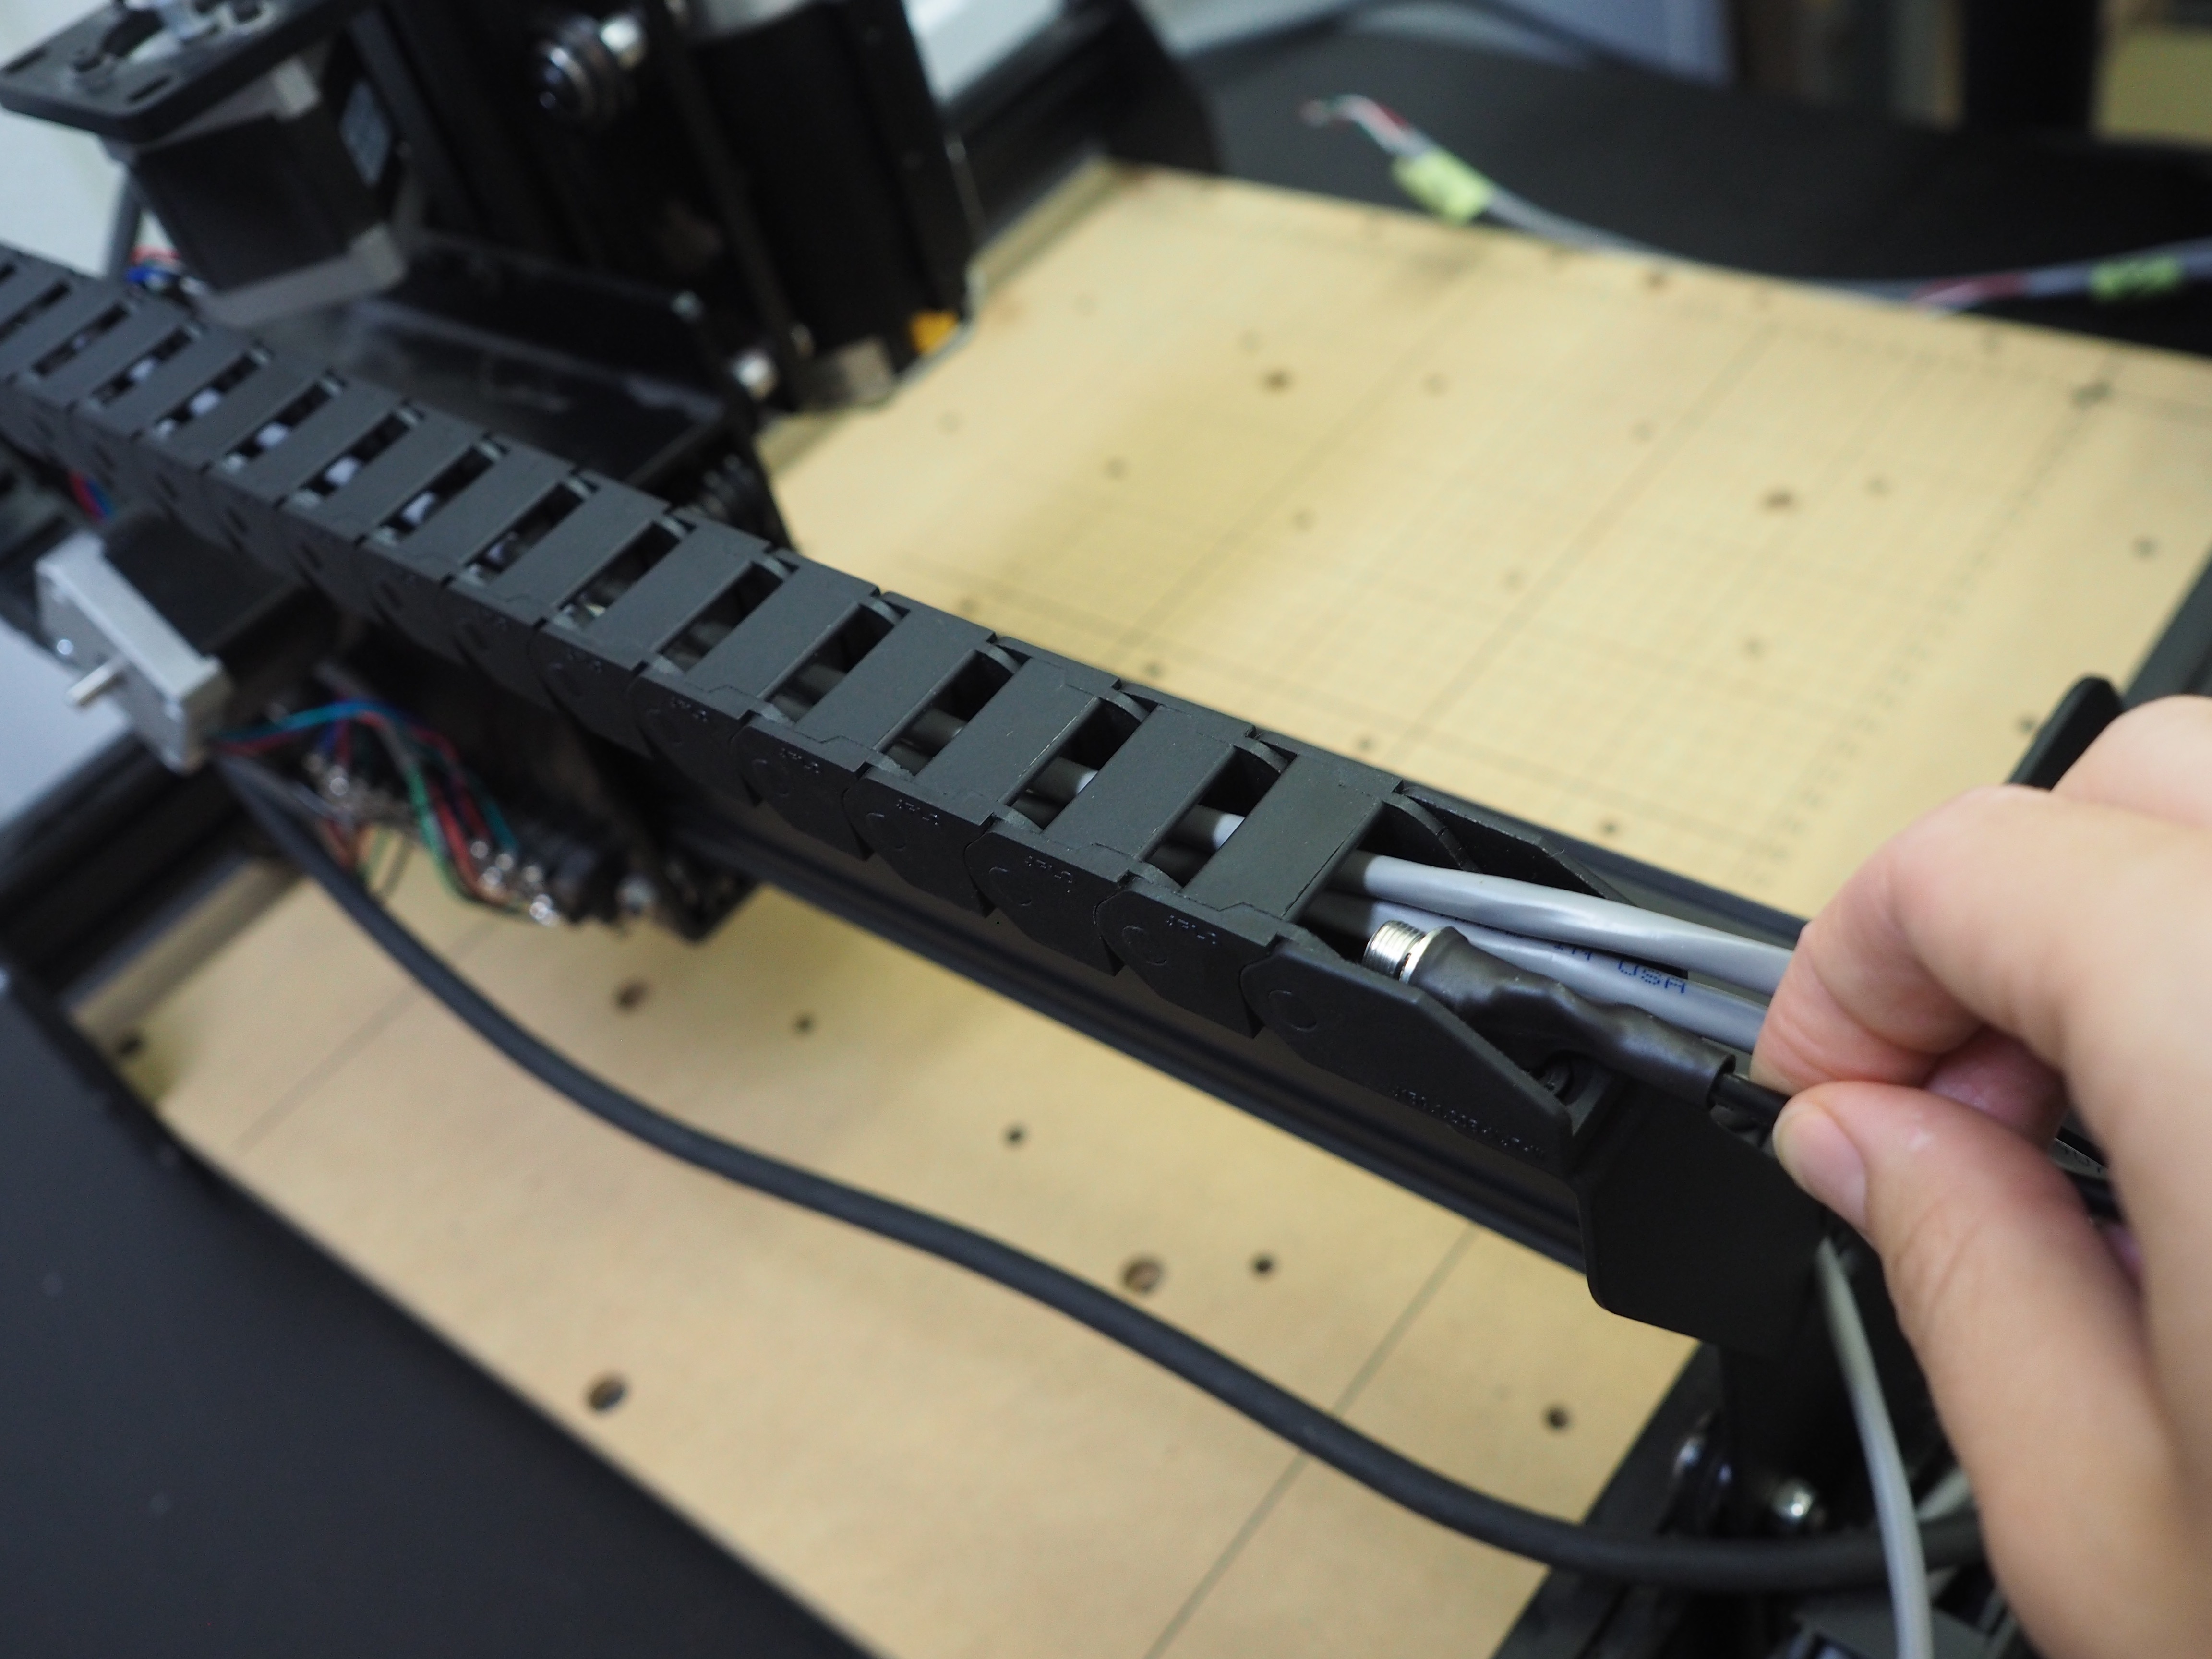
Pull the wire through enough to reach the top of the x-carriage, as shown. If you have a hole in the upper right corner of the x-carriage, pull the connector to this hole.
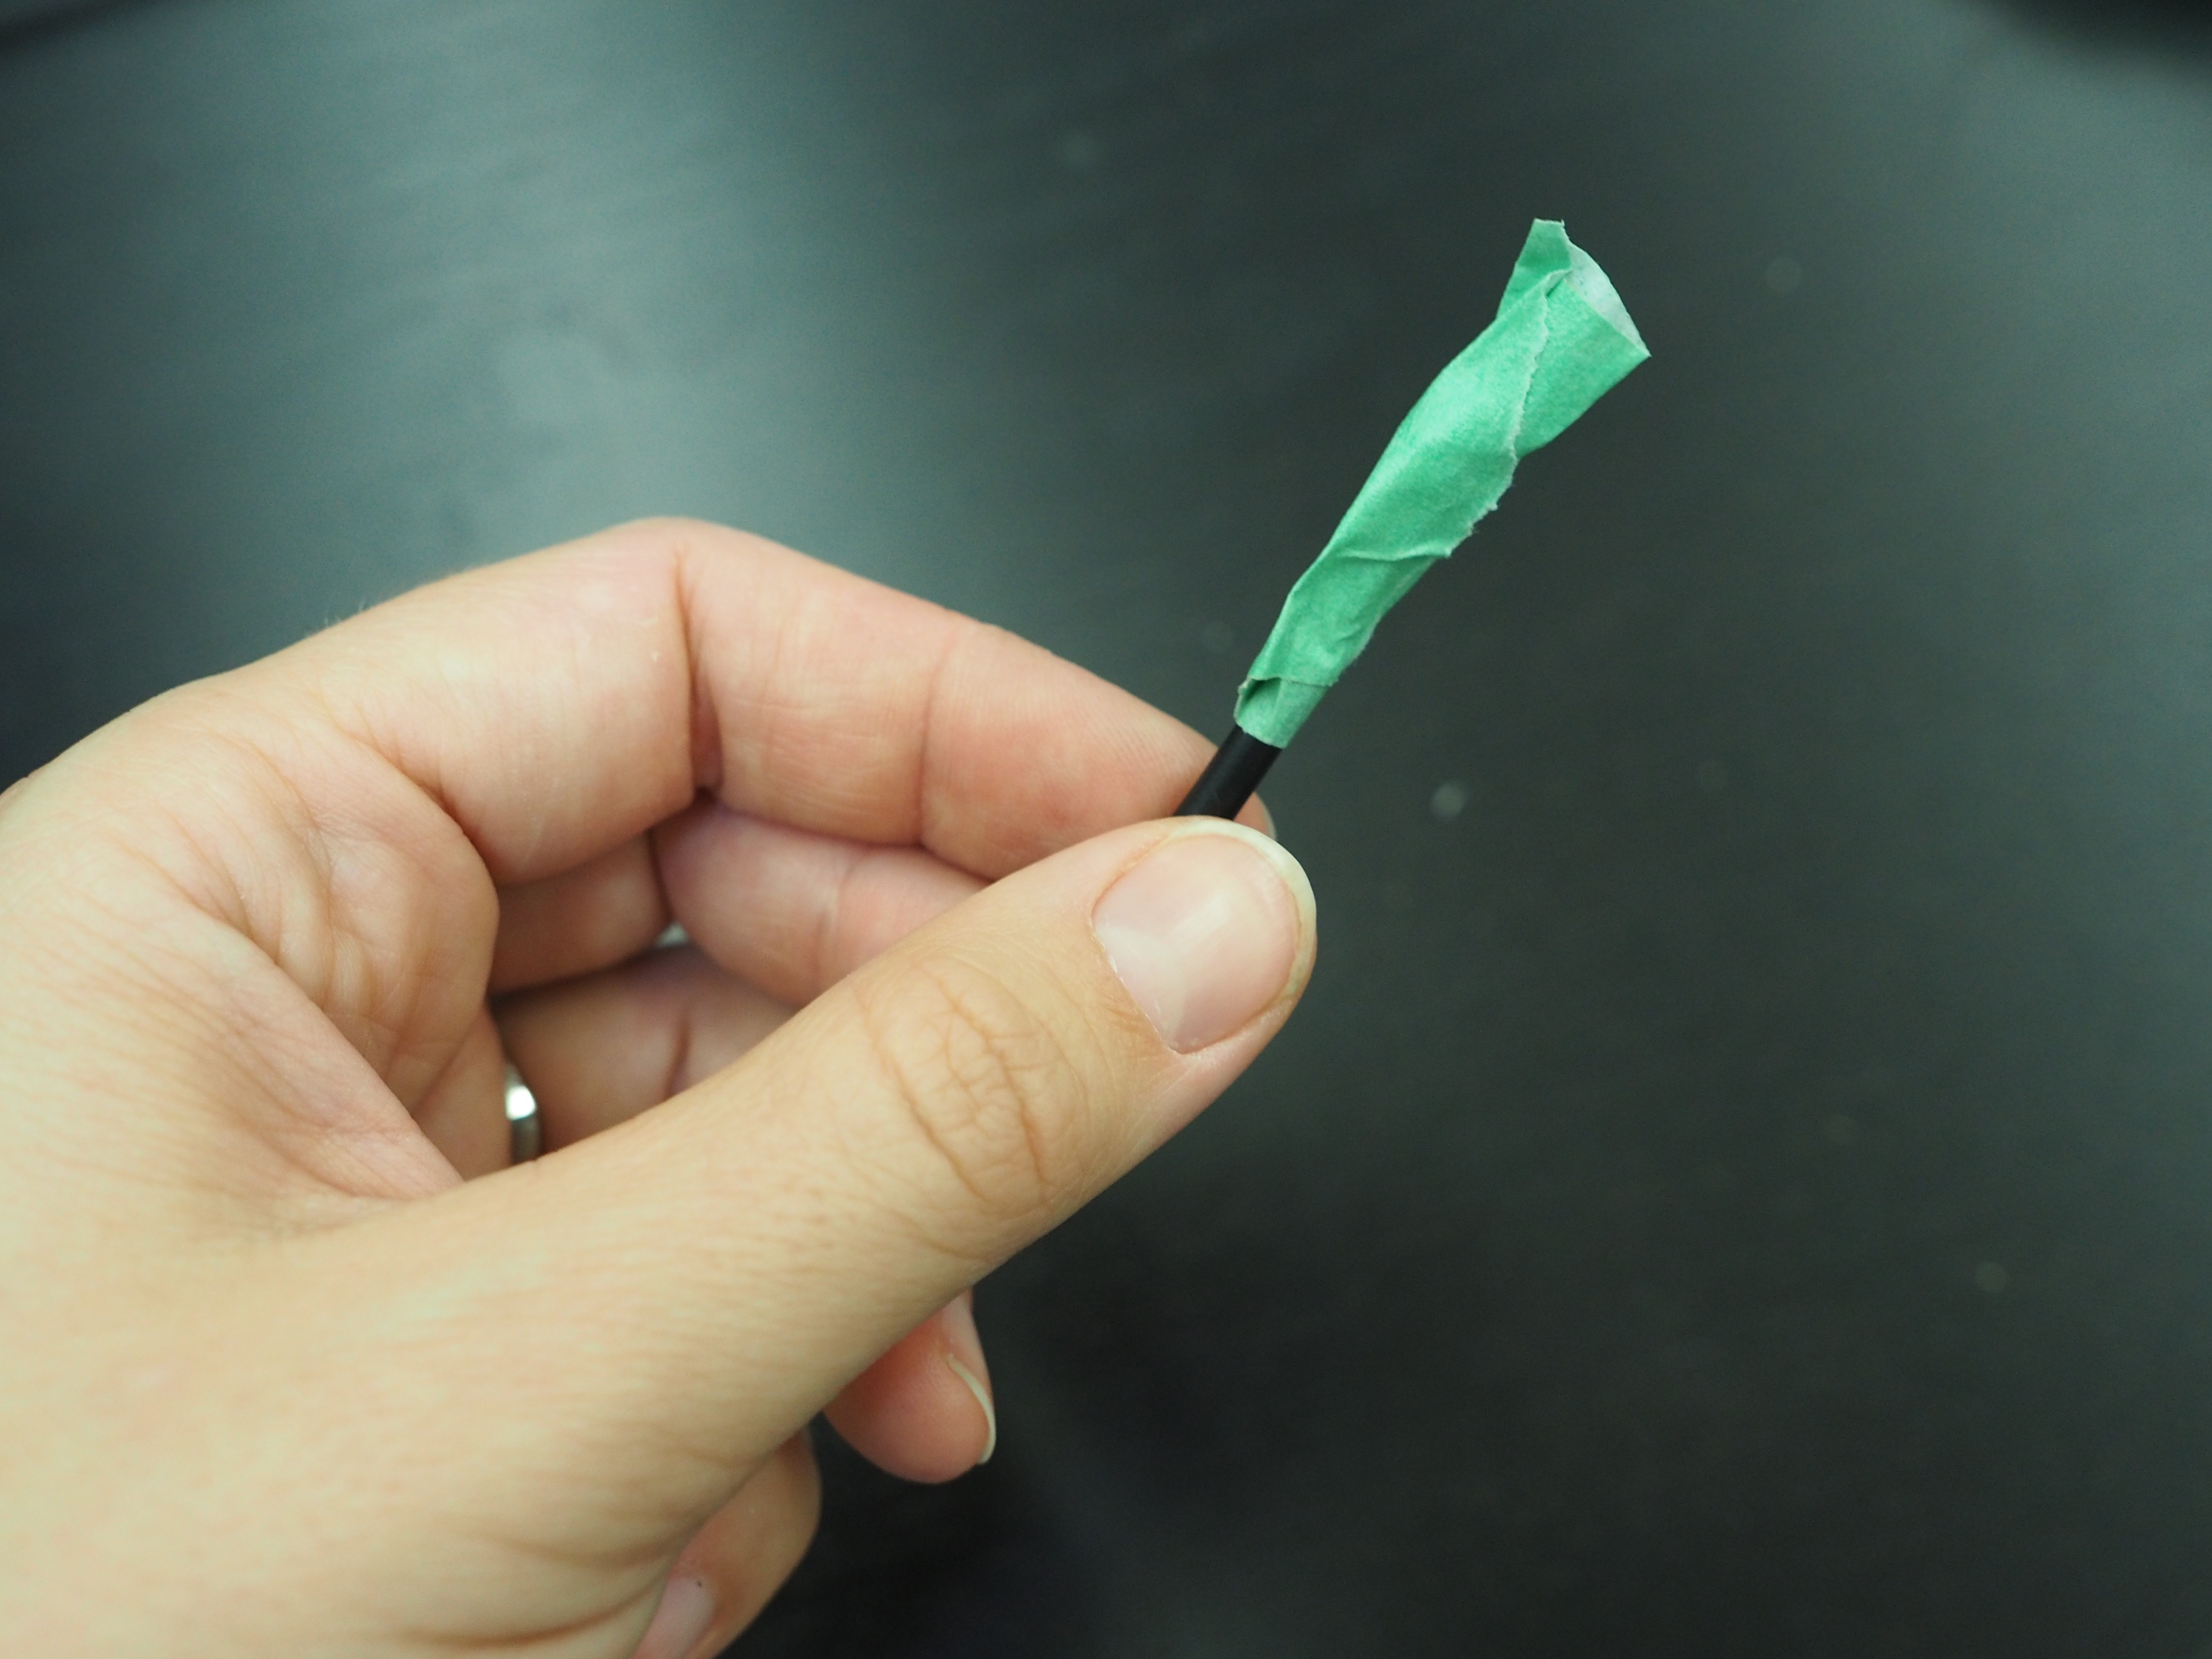
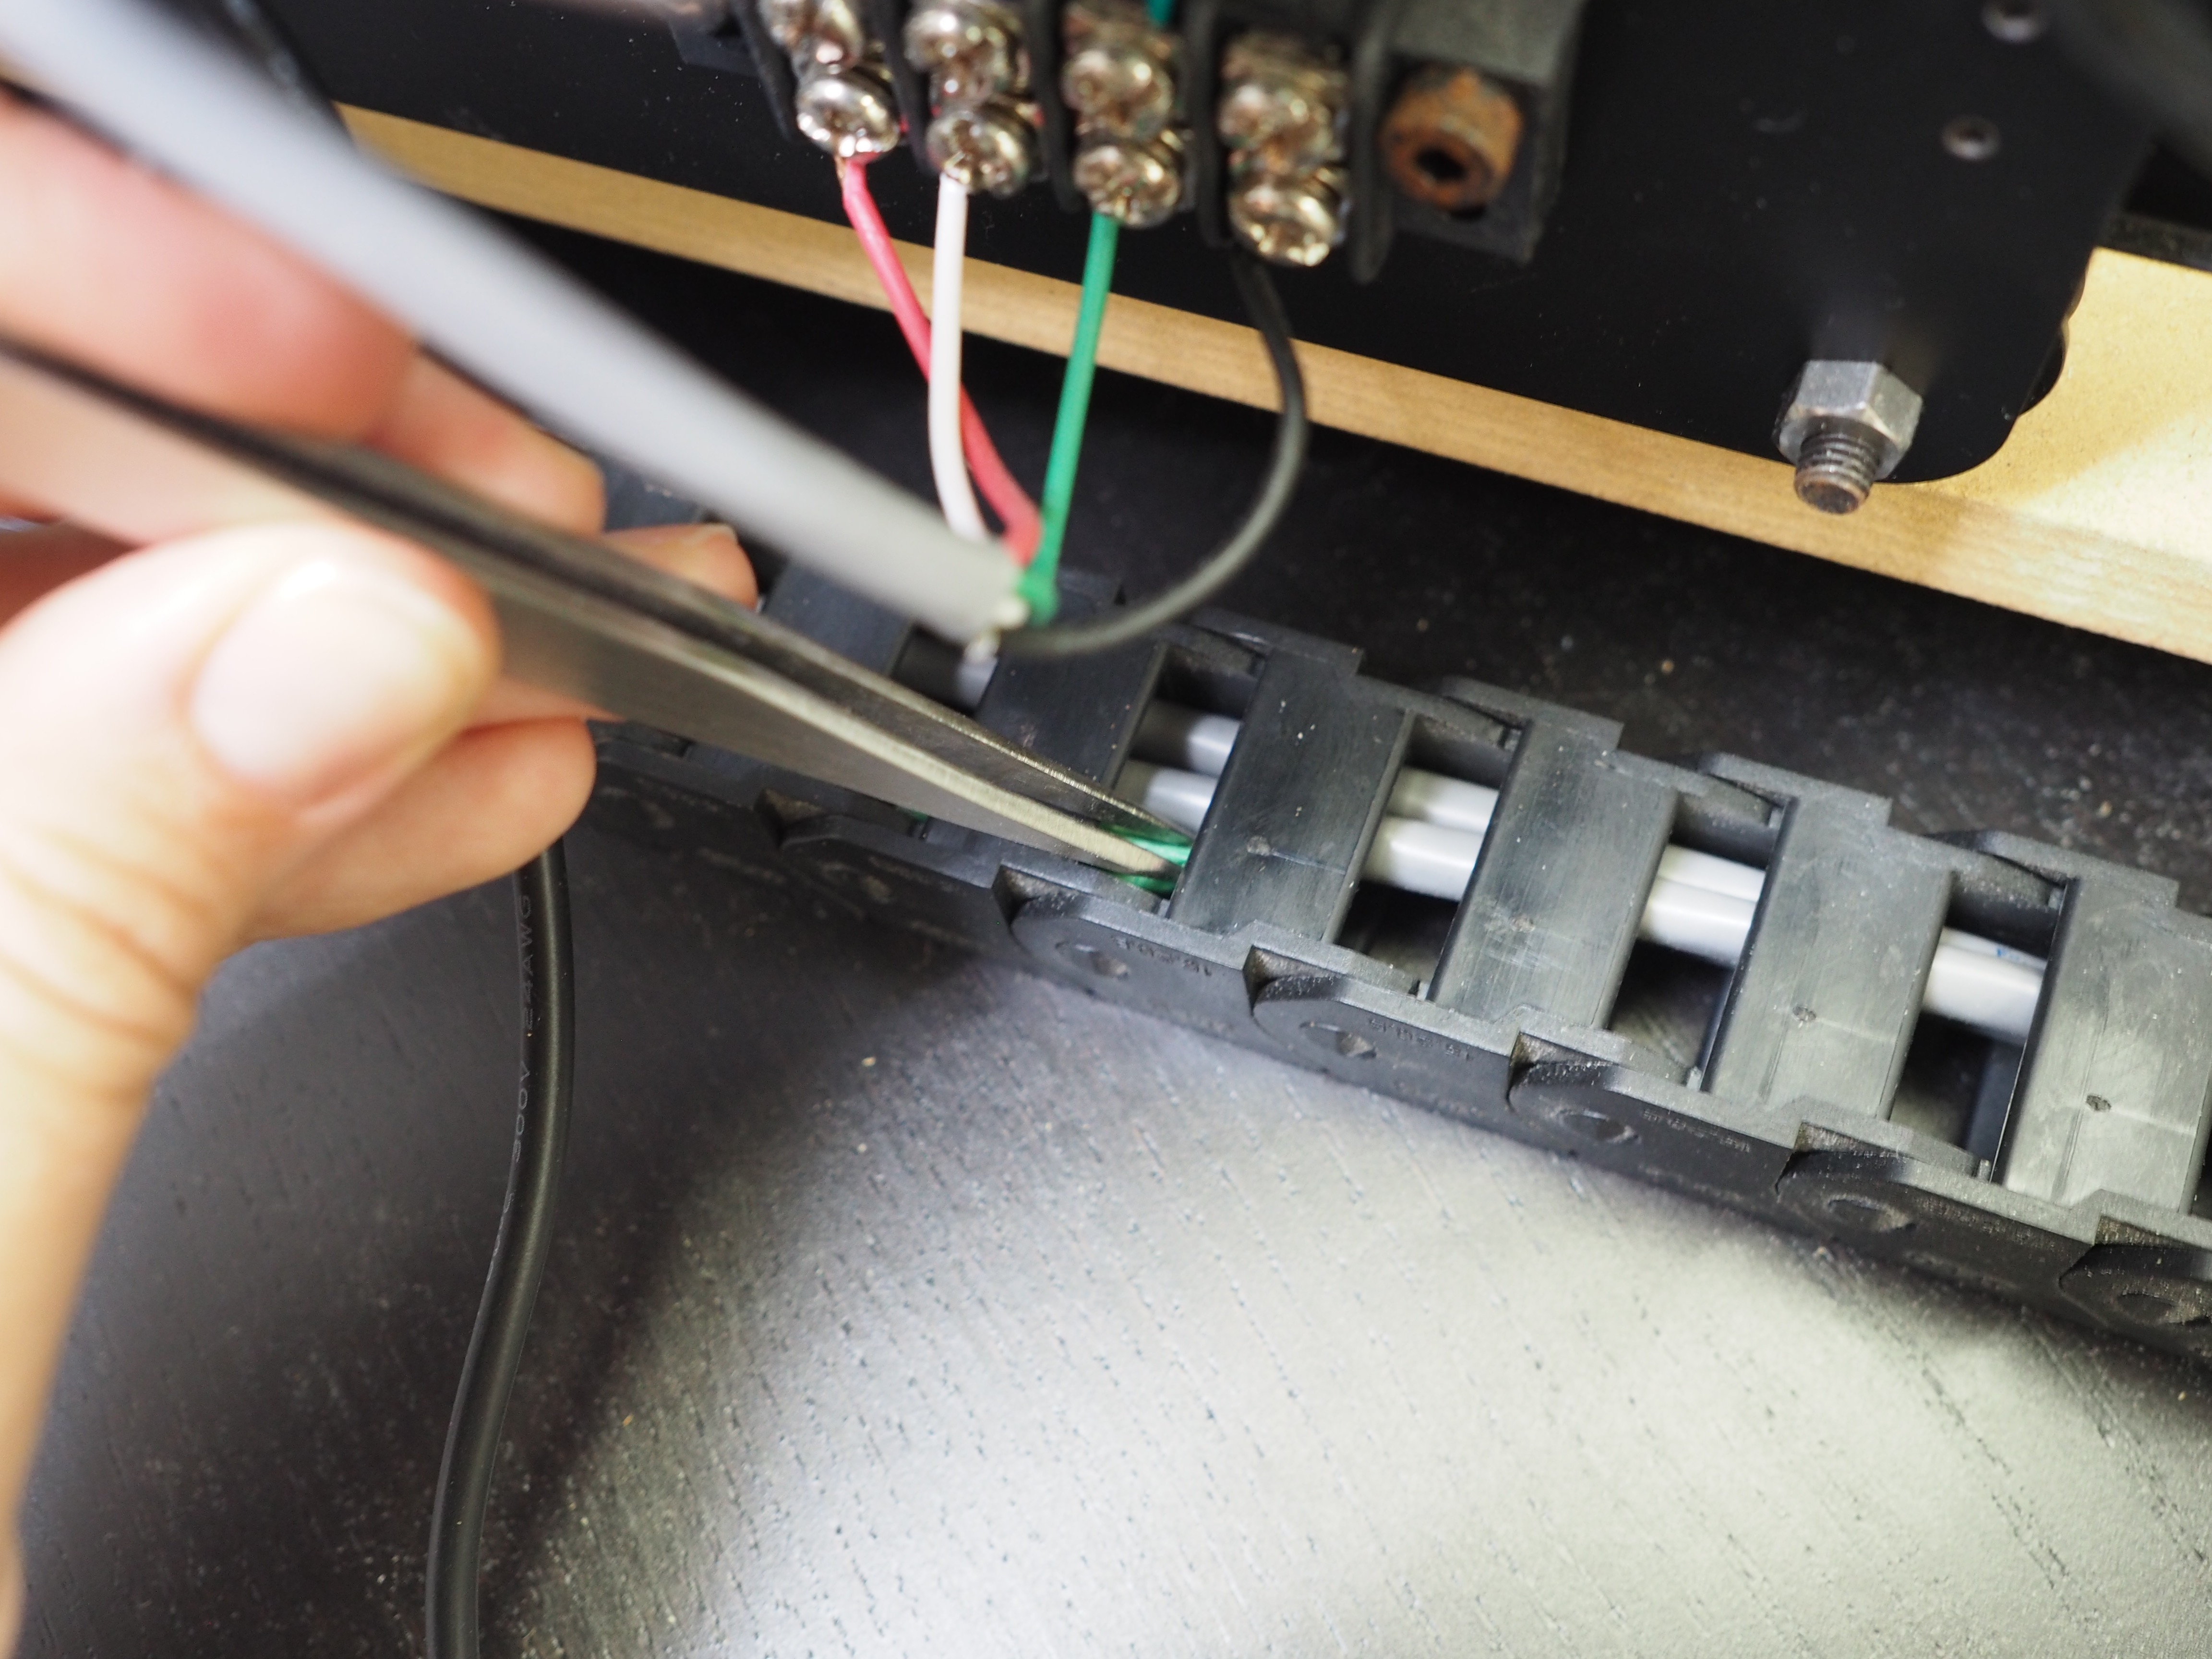
Next, we will thread the end with the wires through the drag chain along the left y-axis. The ends of the wire are delicate. To prevent them from being damaged, we suggest taping them so they stay safe while going through the drag chain.
Again, you might find it helpful to use a tool or tweezer to help the wire through the chain.
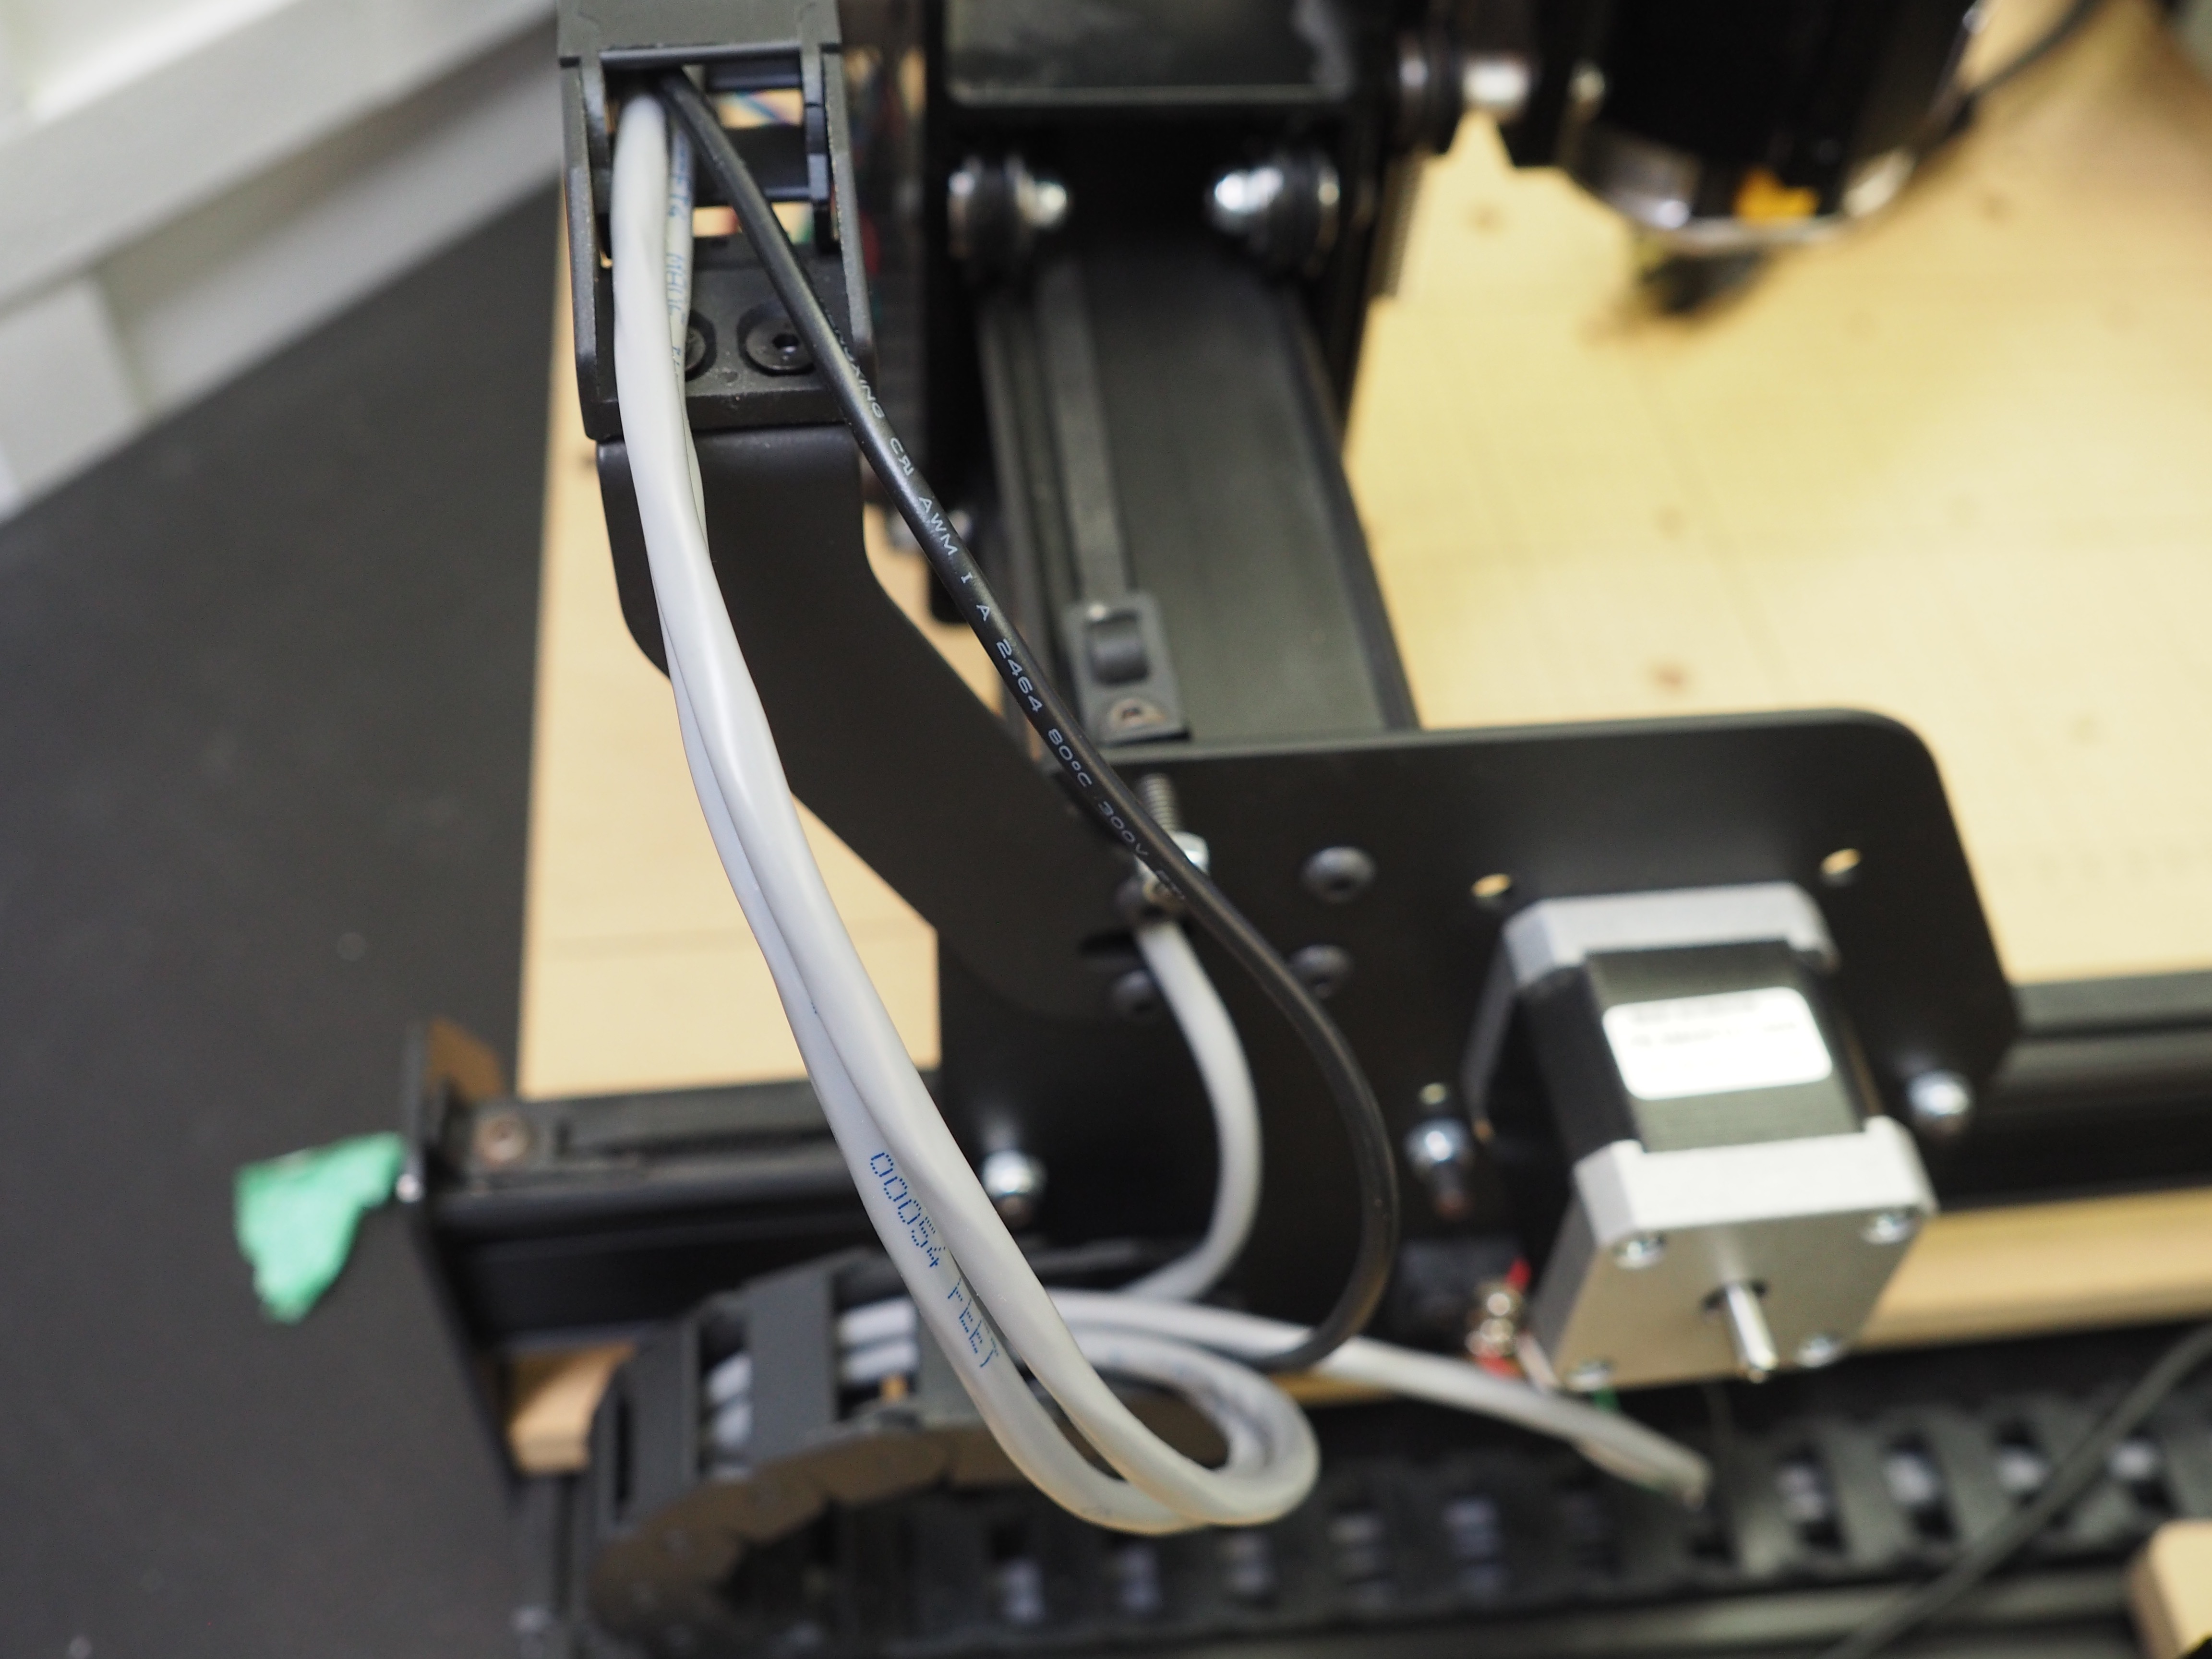
Once you get the wire through the chain, pull the wire through as much as you can without being completely taut.
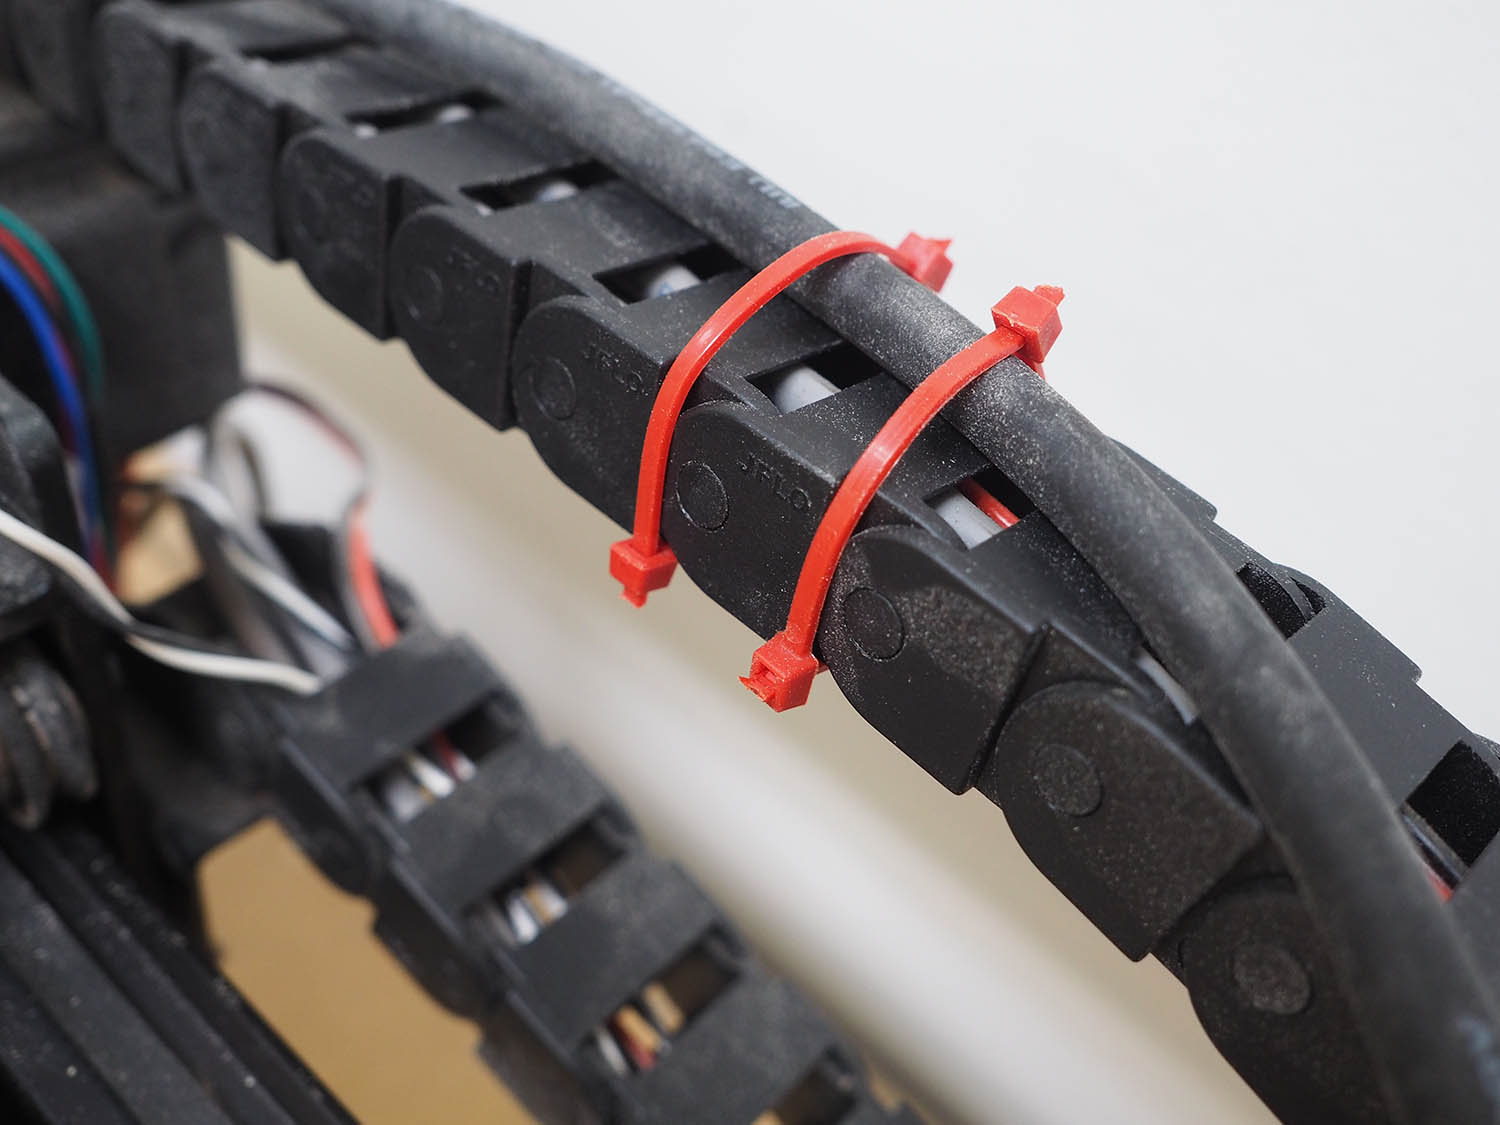
If you find it too difficult to thread the wire through the drag chain, you can attach the wire to the outside of your drag chain and secure it with a zip tie. This works the same way as threading it through the chain.
Here is an example of what we’ve done with the DeWalt power cord:
Now it is time to wire the z-probe to the X-Controller. If you taped the end of the z-probe wire to thread it through the drag chain, remove the tape and make sure the wire ends are free of any residue.
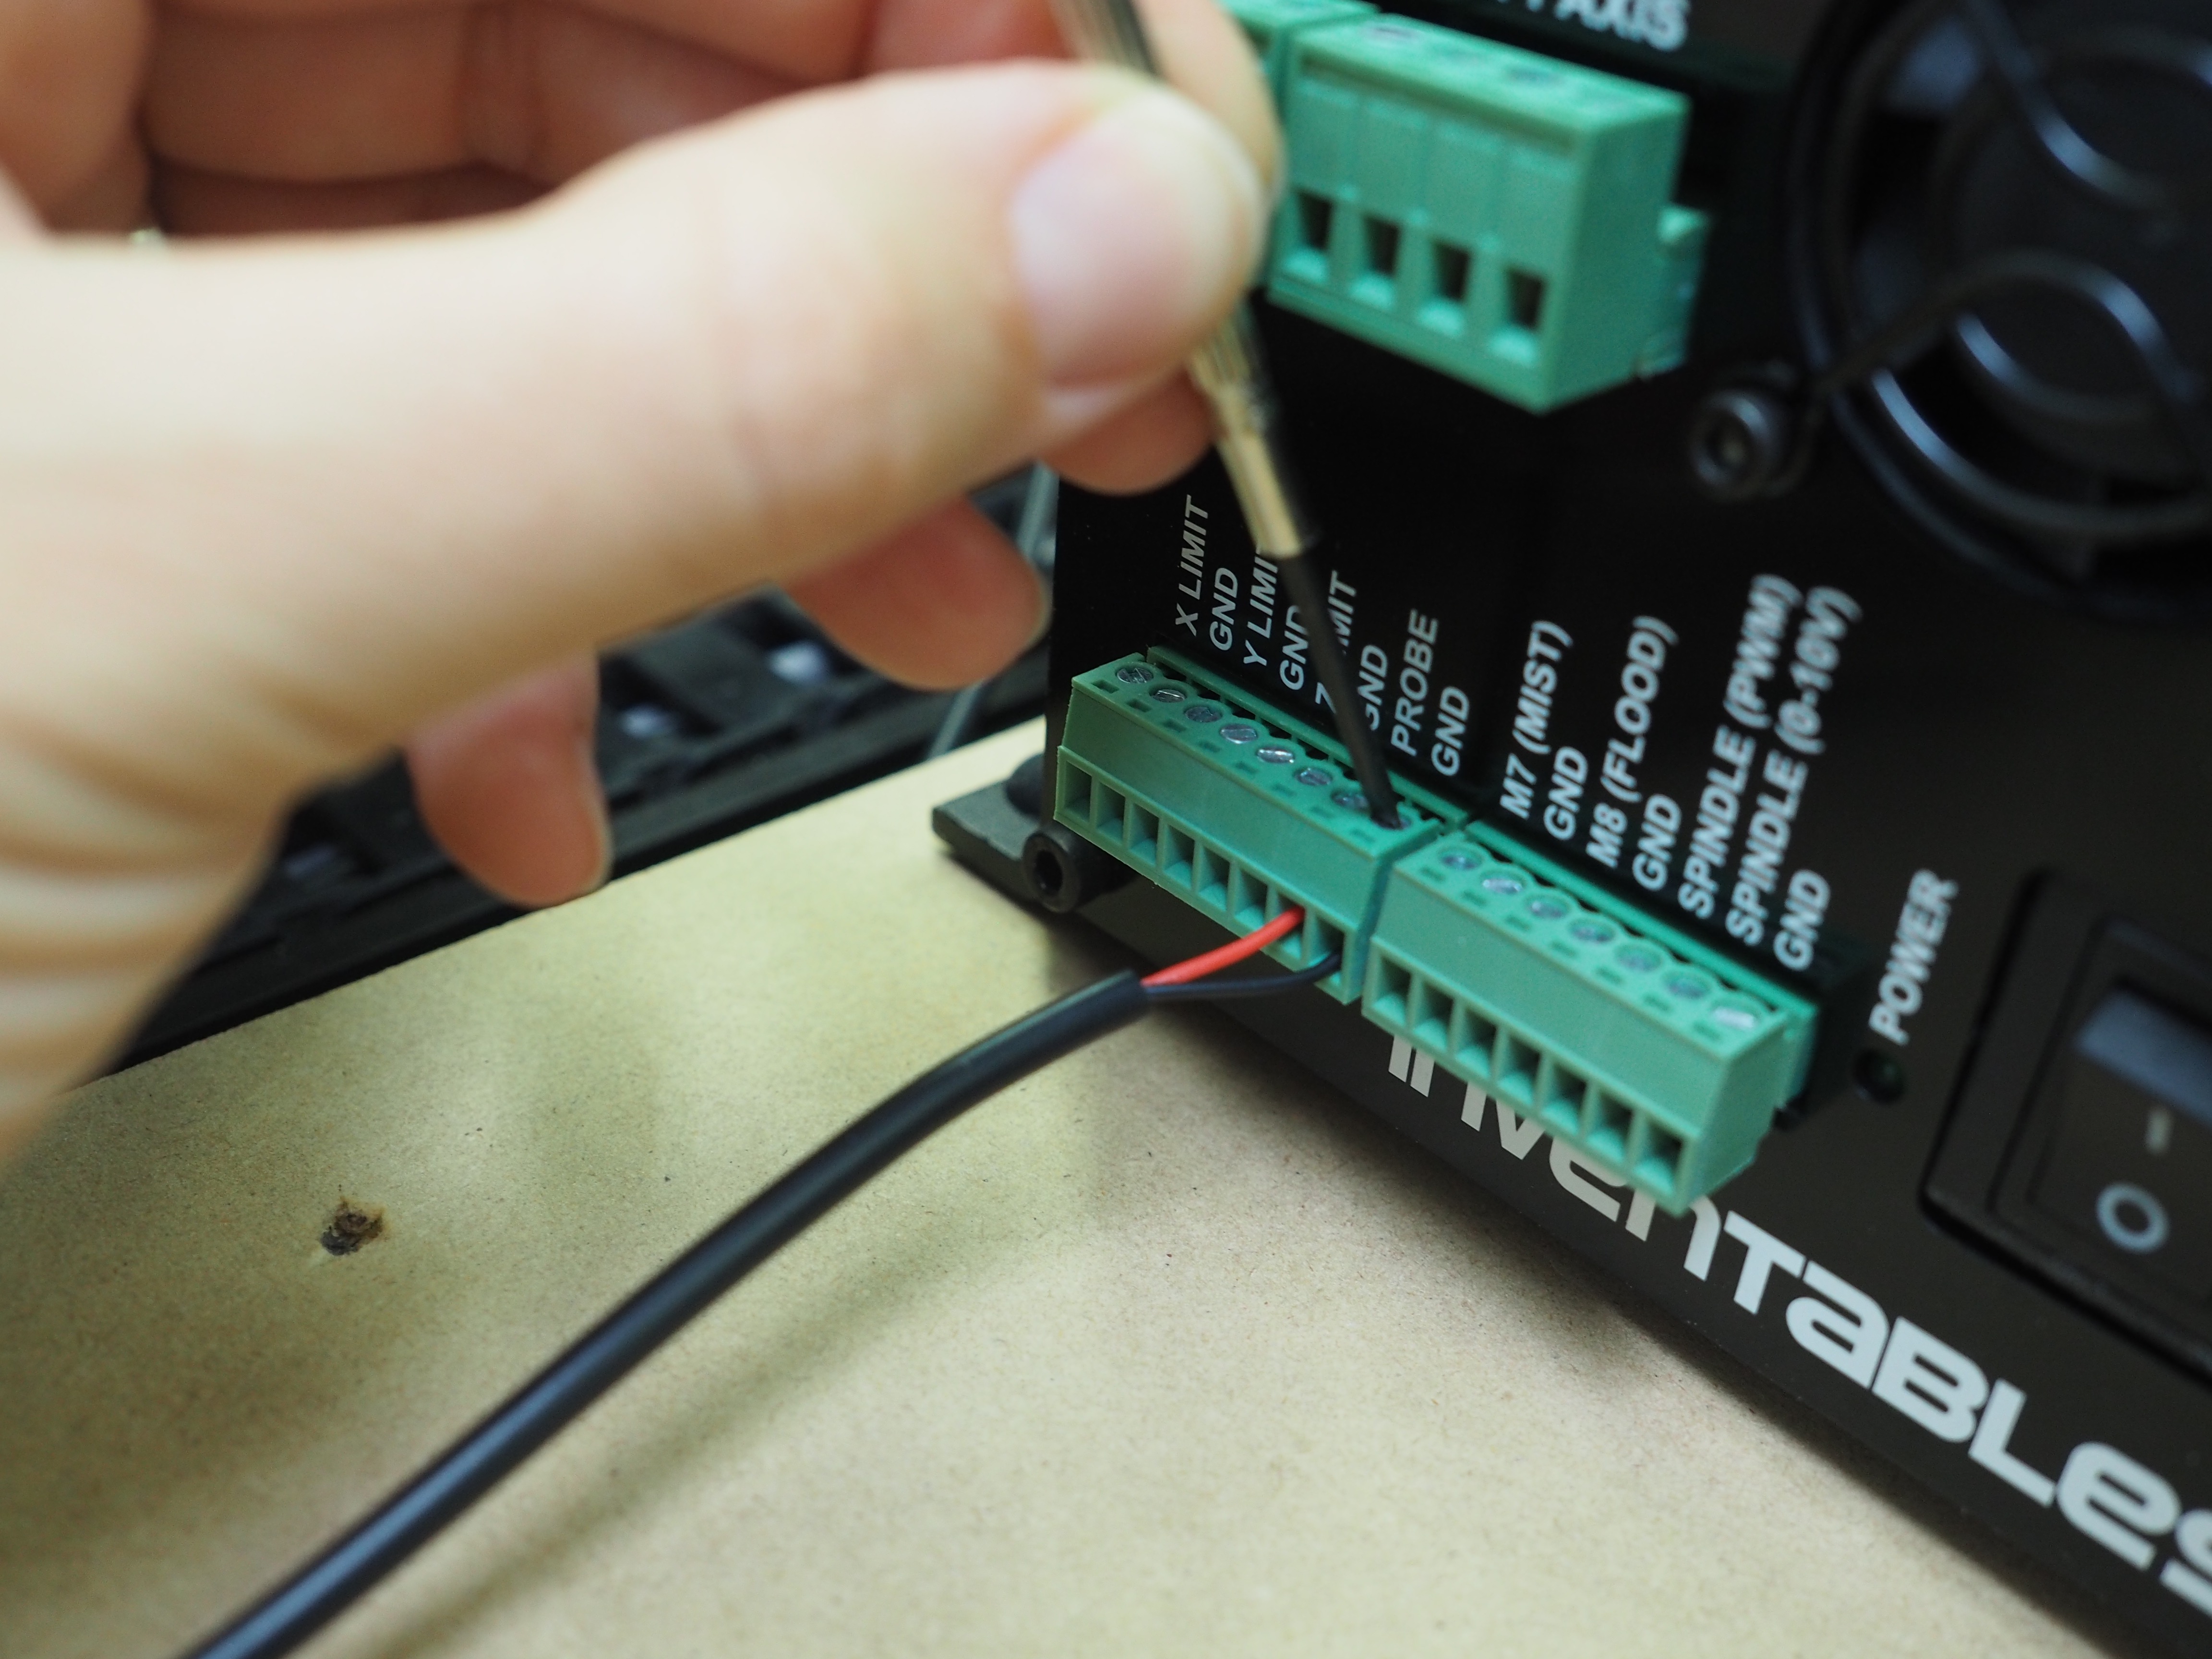
On the back of the X-Controller, look for the “PROBE” terminal port on the back of the machine. It will be on the bottom left side of the panel.
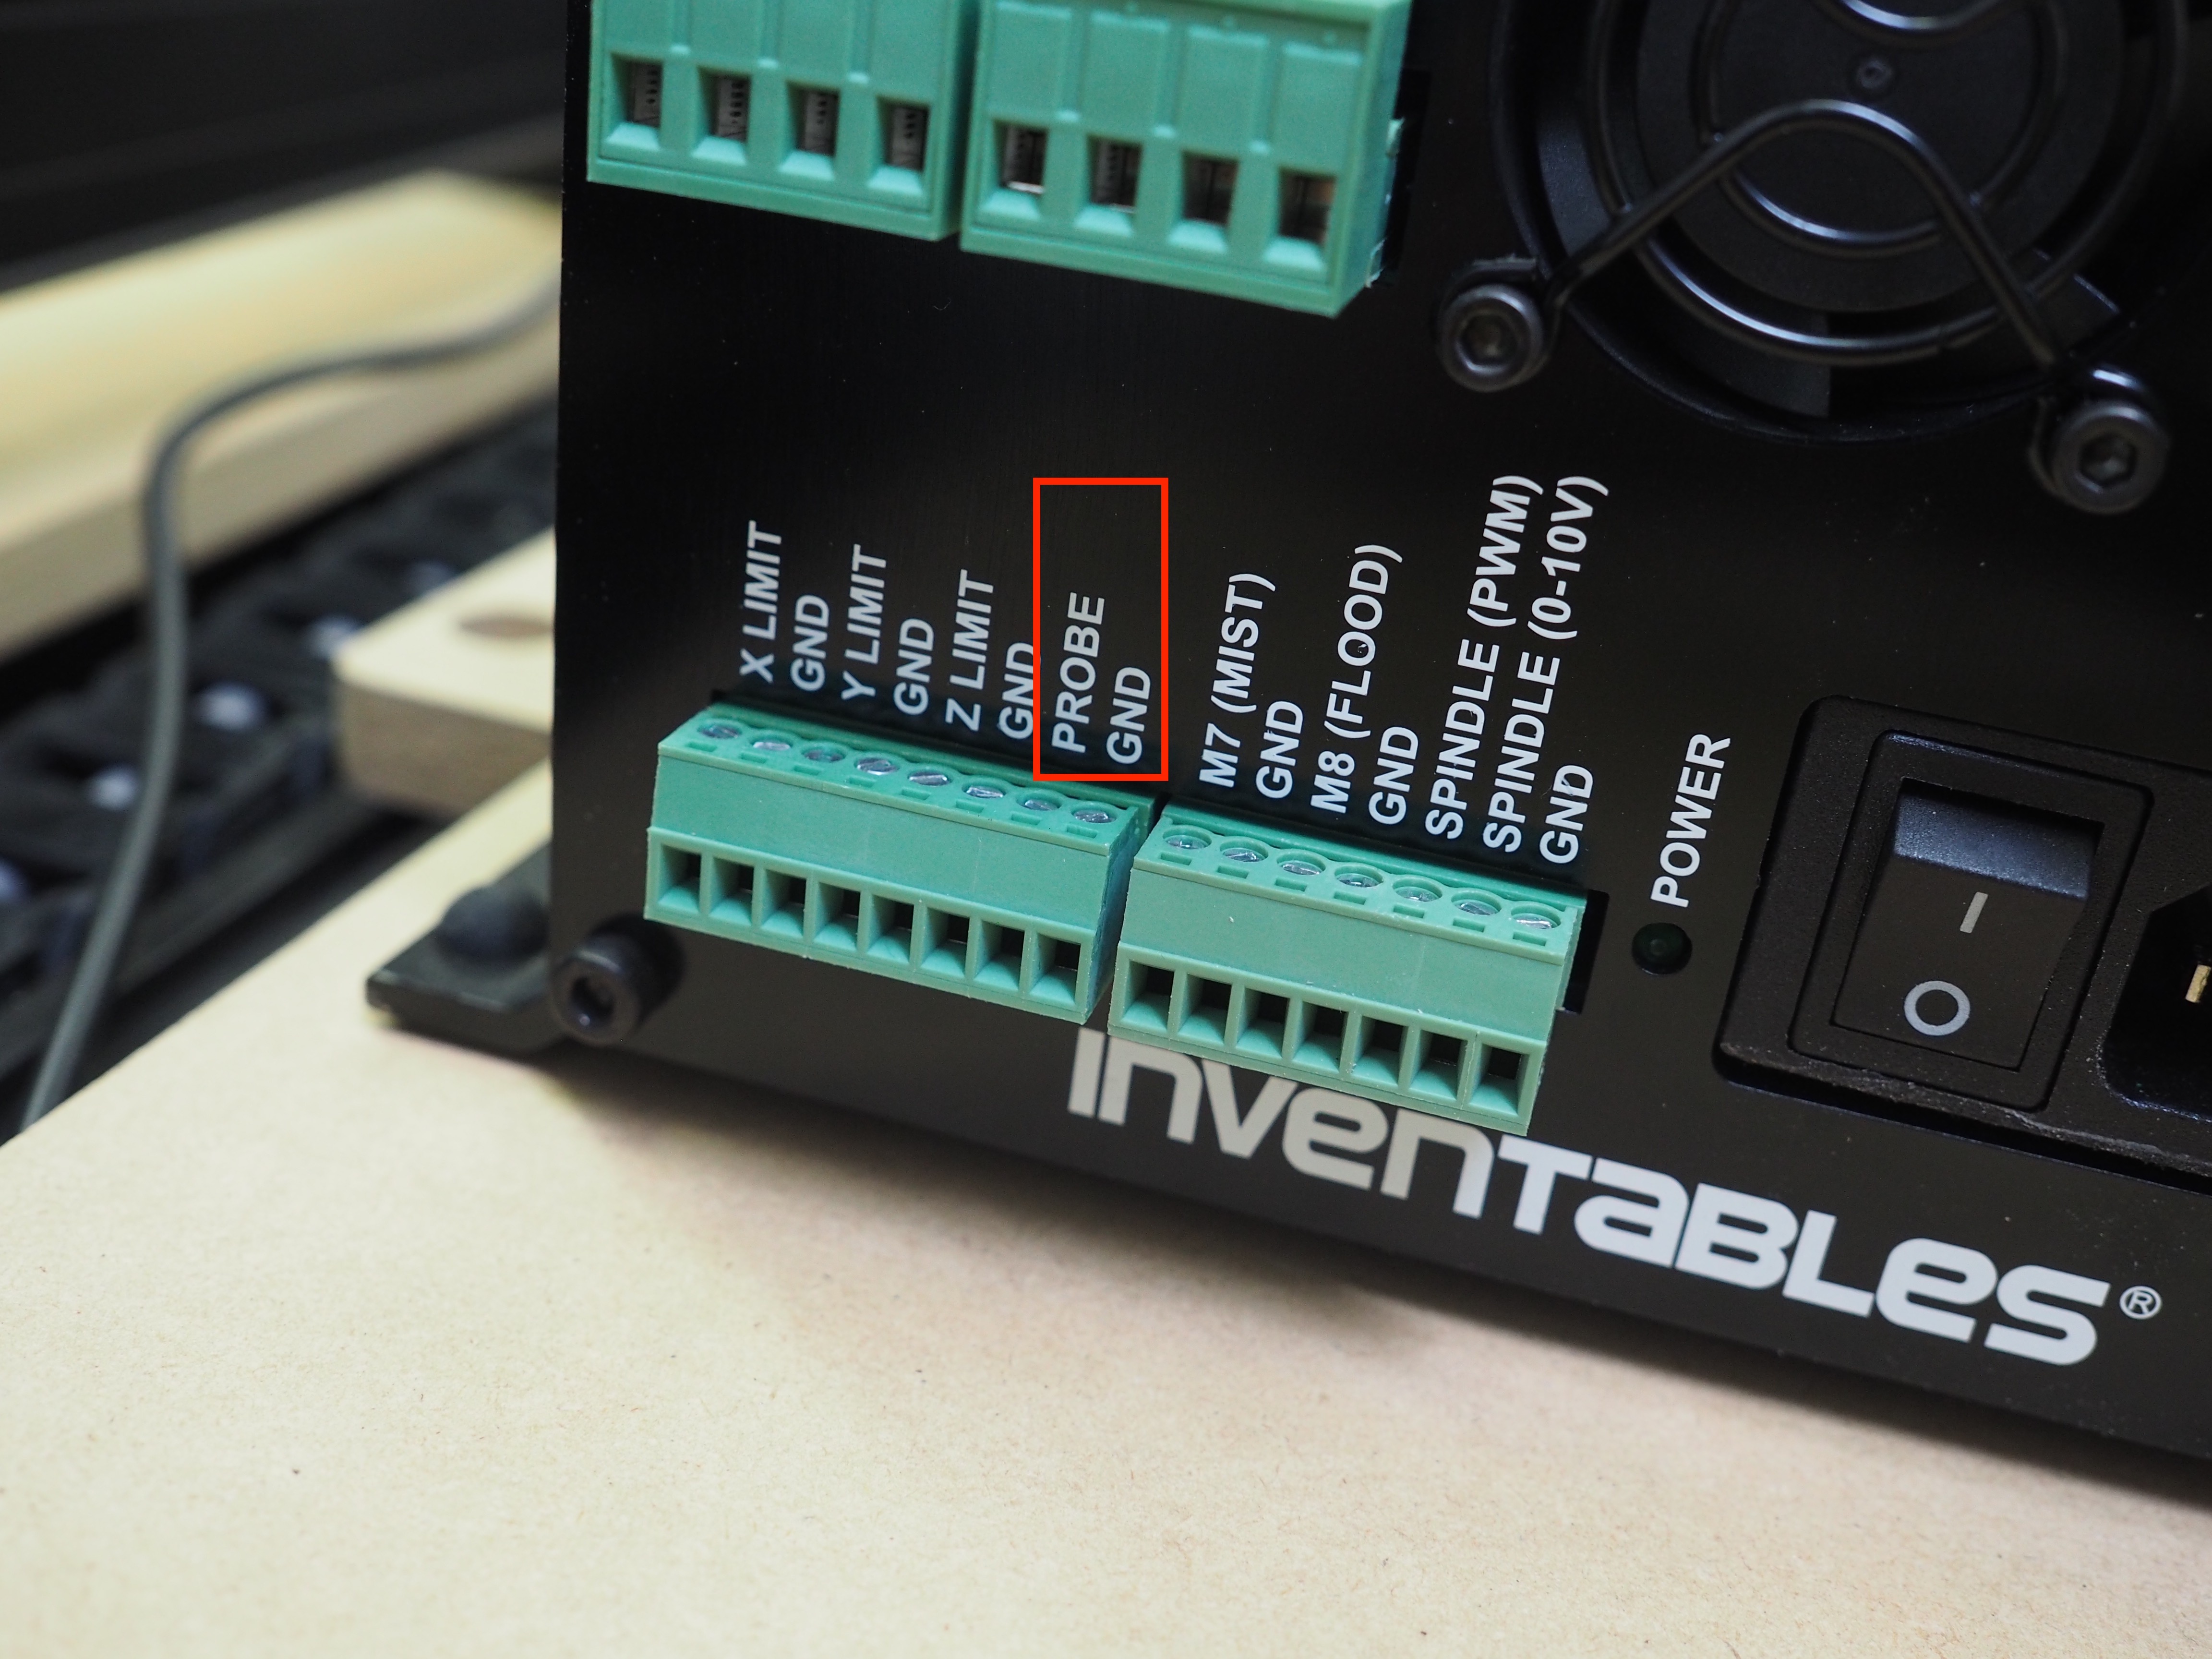
The z-probe’s red wire goes into the “PROBE” terminal port. The black wire goes into the “GND” terminal port to the right of the “PROBE” terminal port. Tighten the screws on the top of the green terminal ports to secure the wires in place.
If you do not have a hole on your x-carriage, your z-probe is installed on your machine. Please skip down to the z-probe computer setup section.
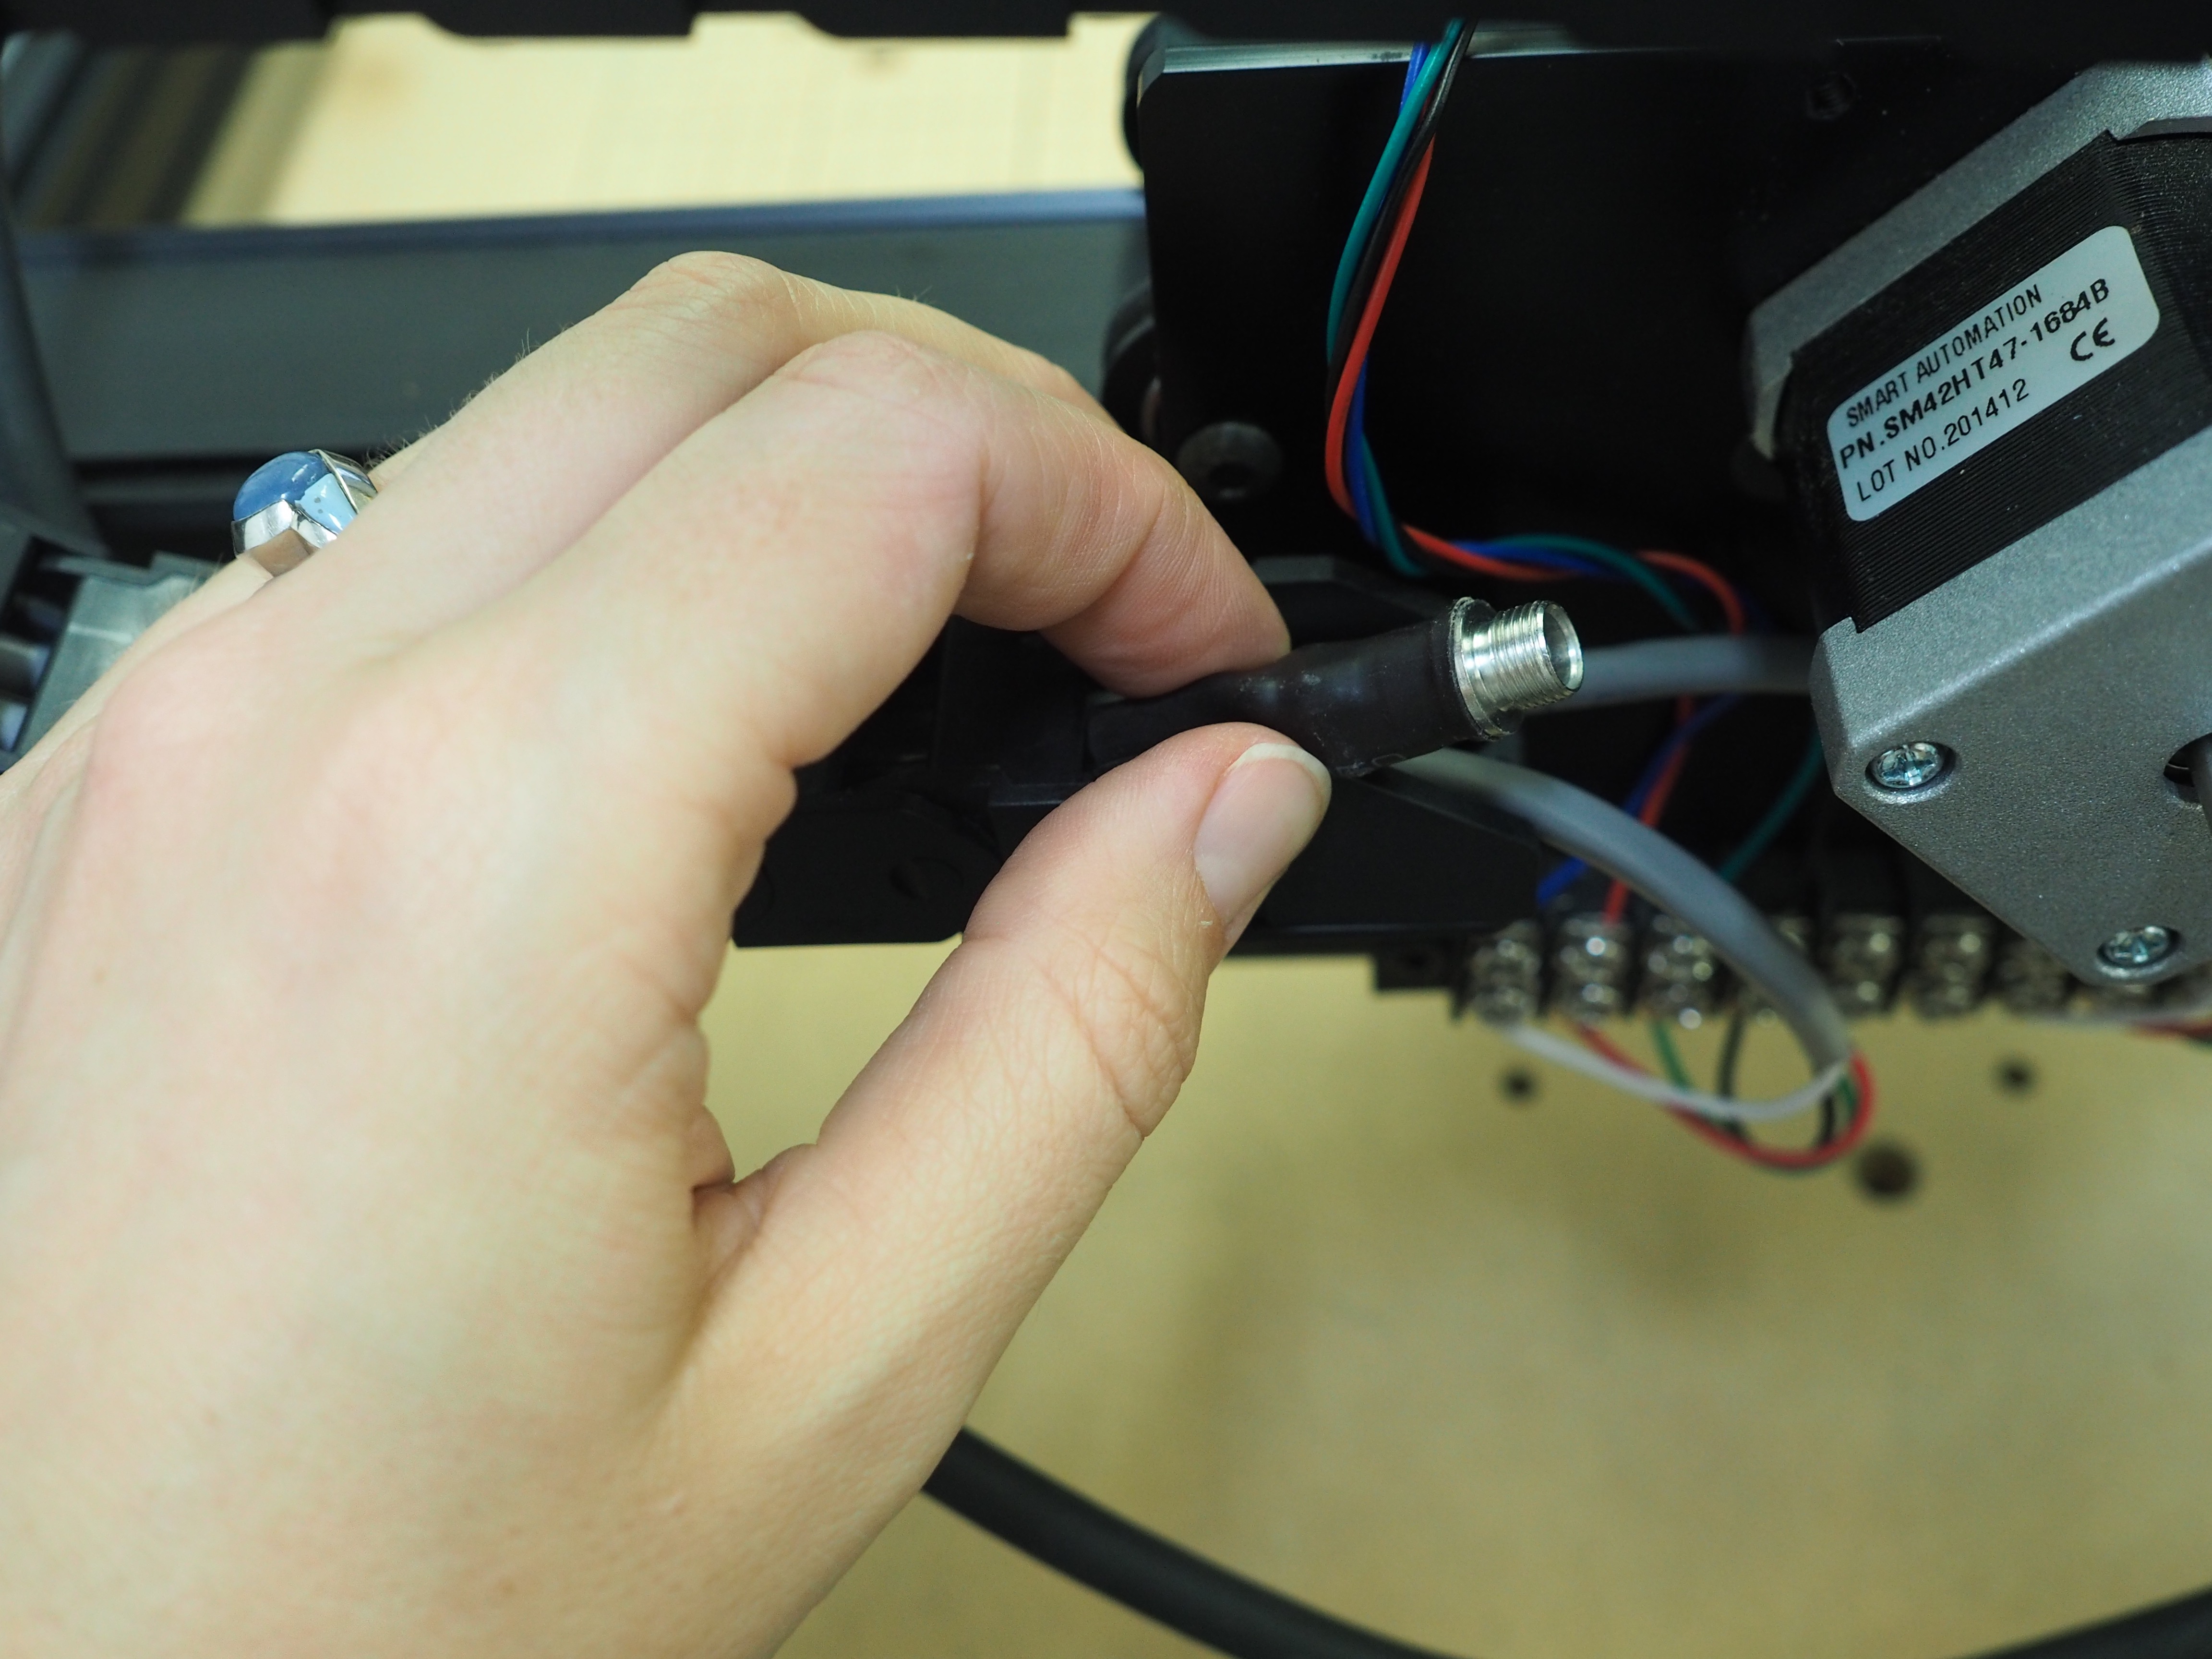
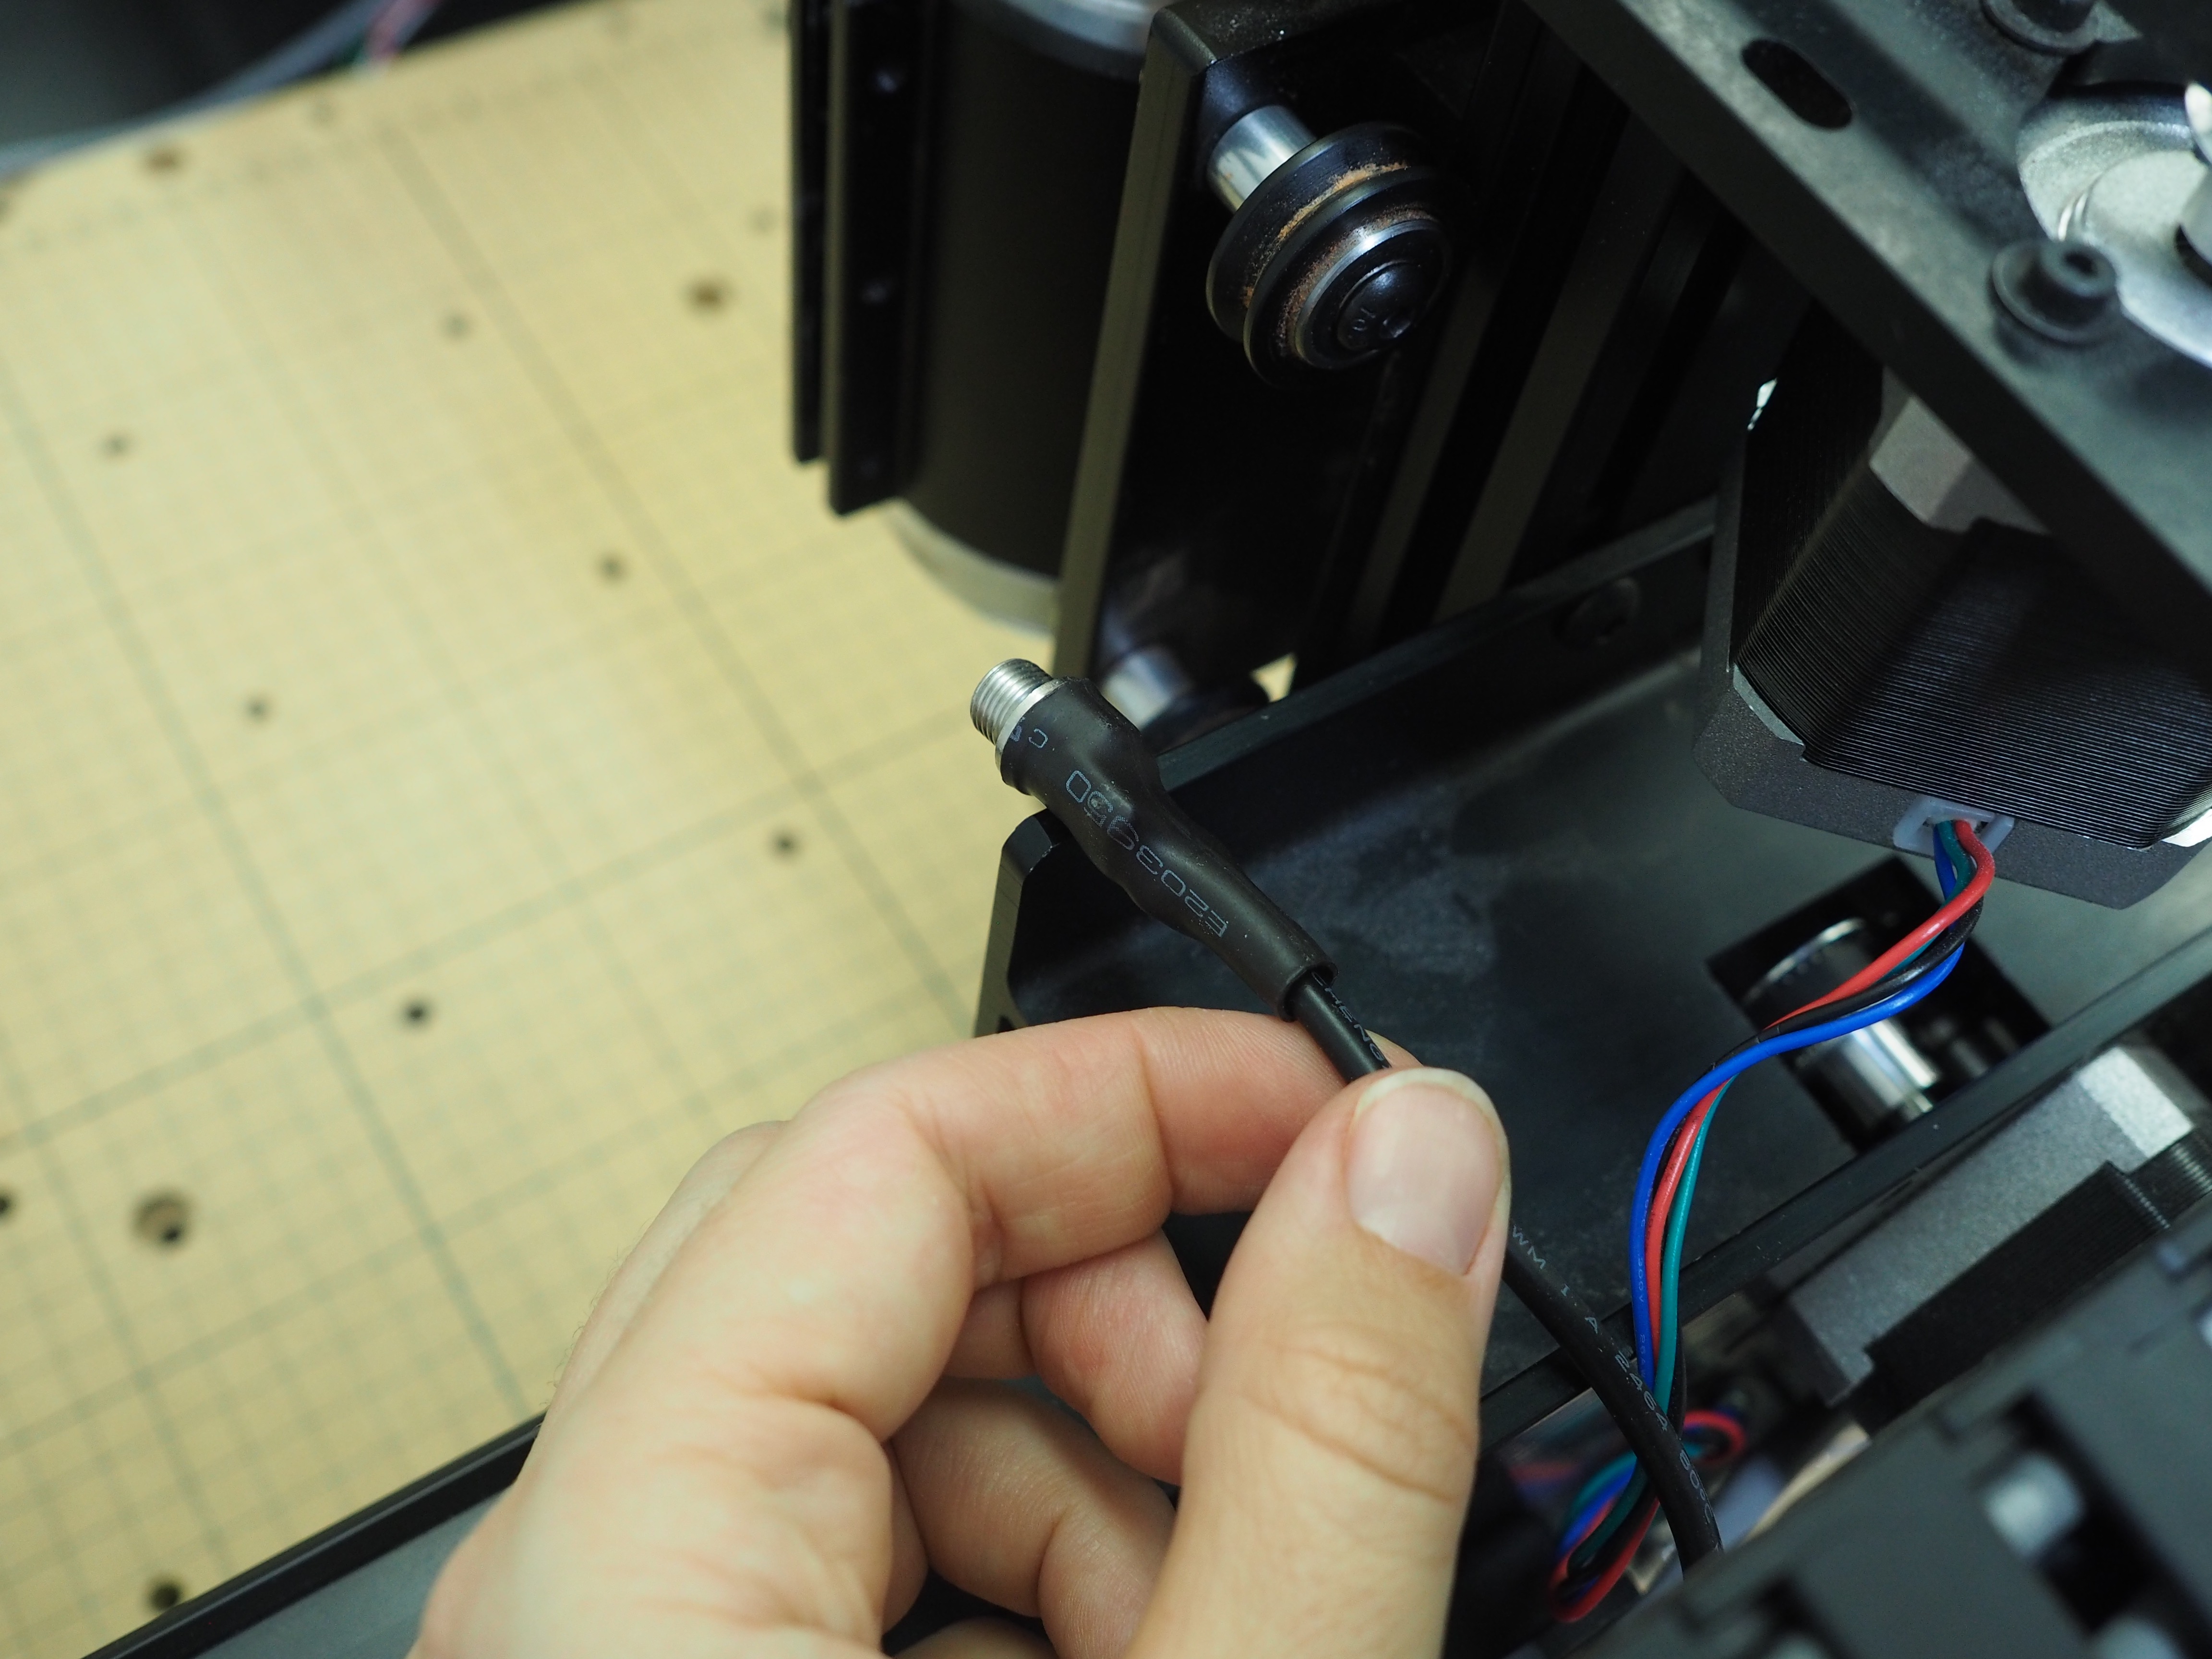
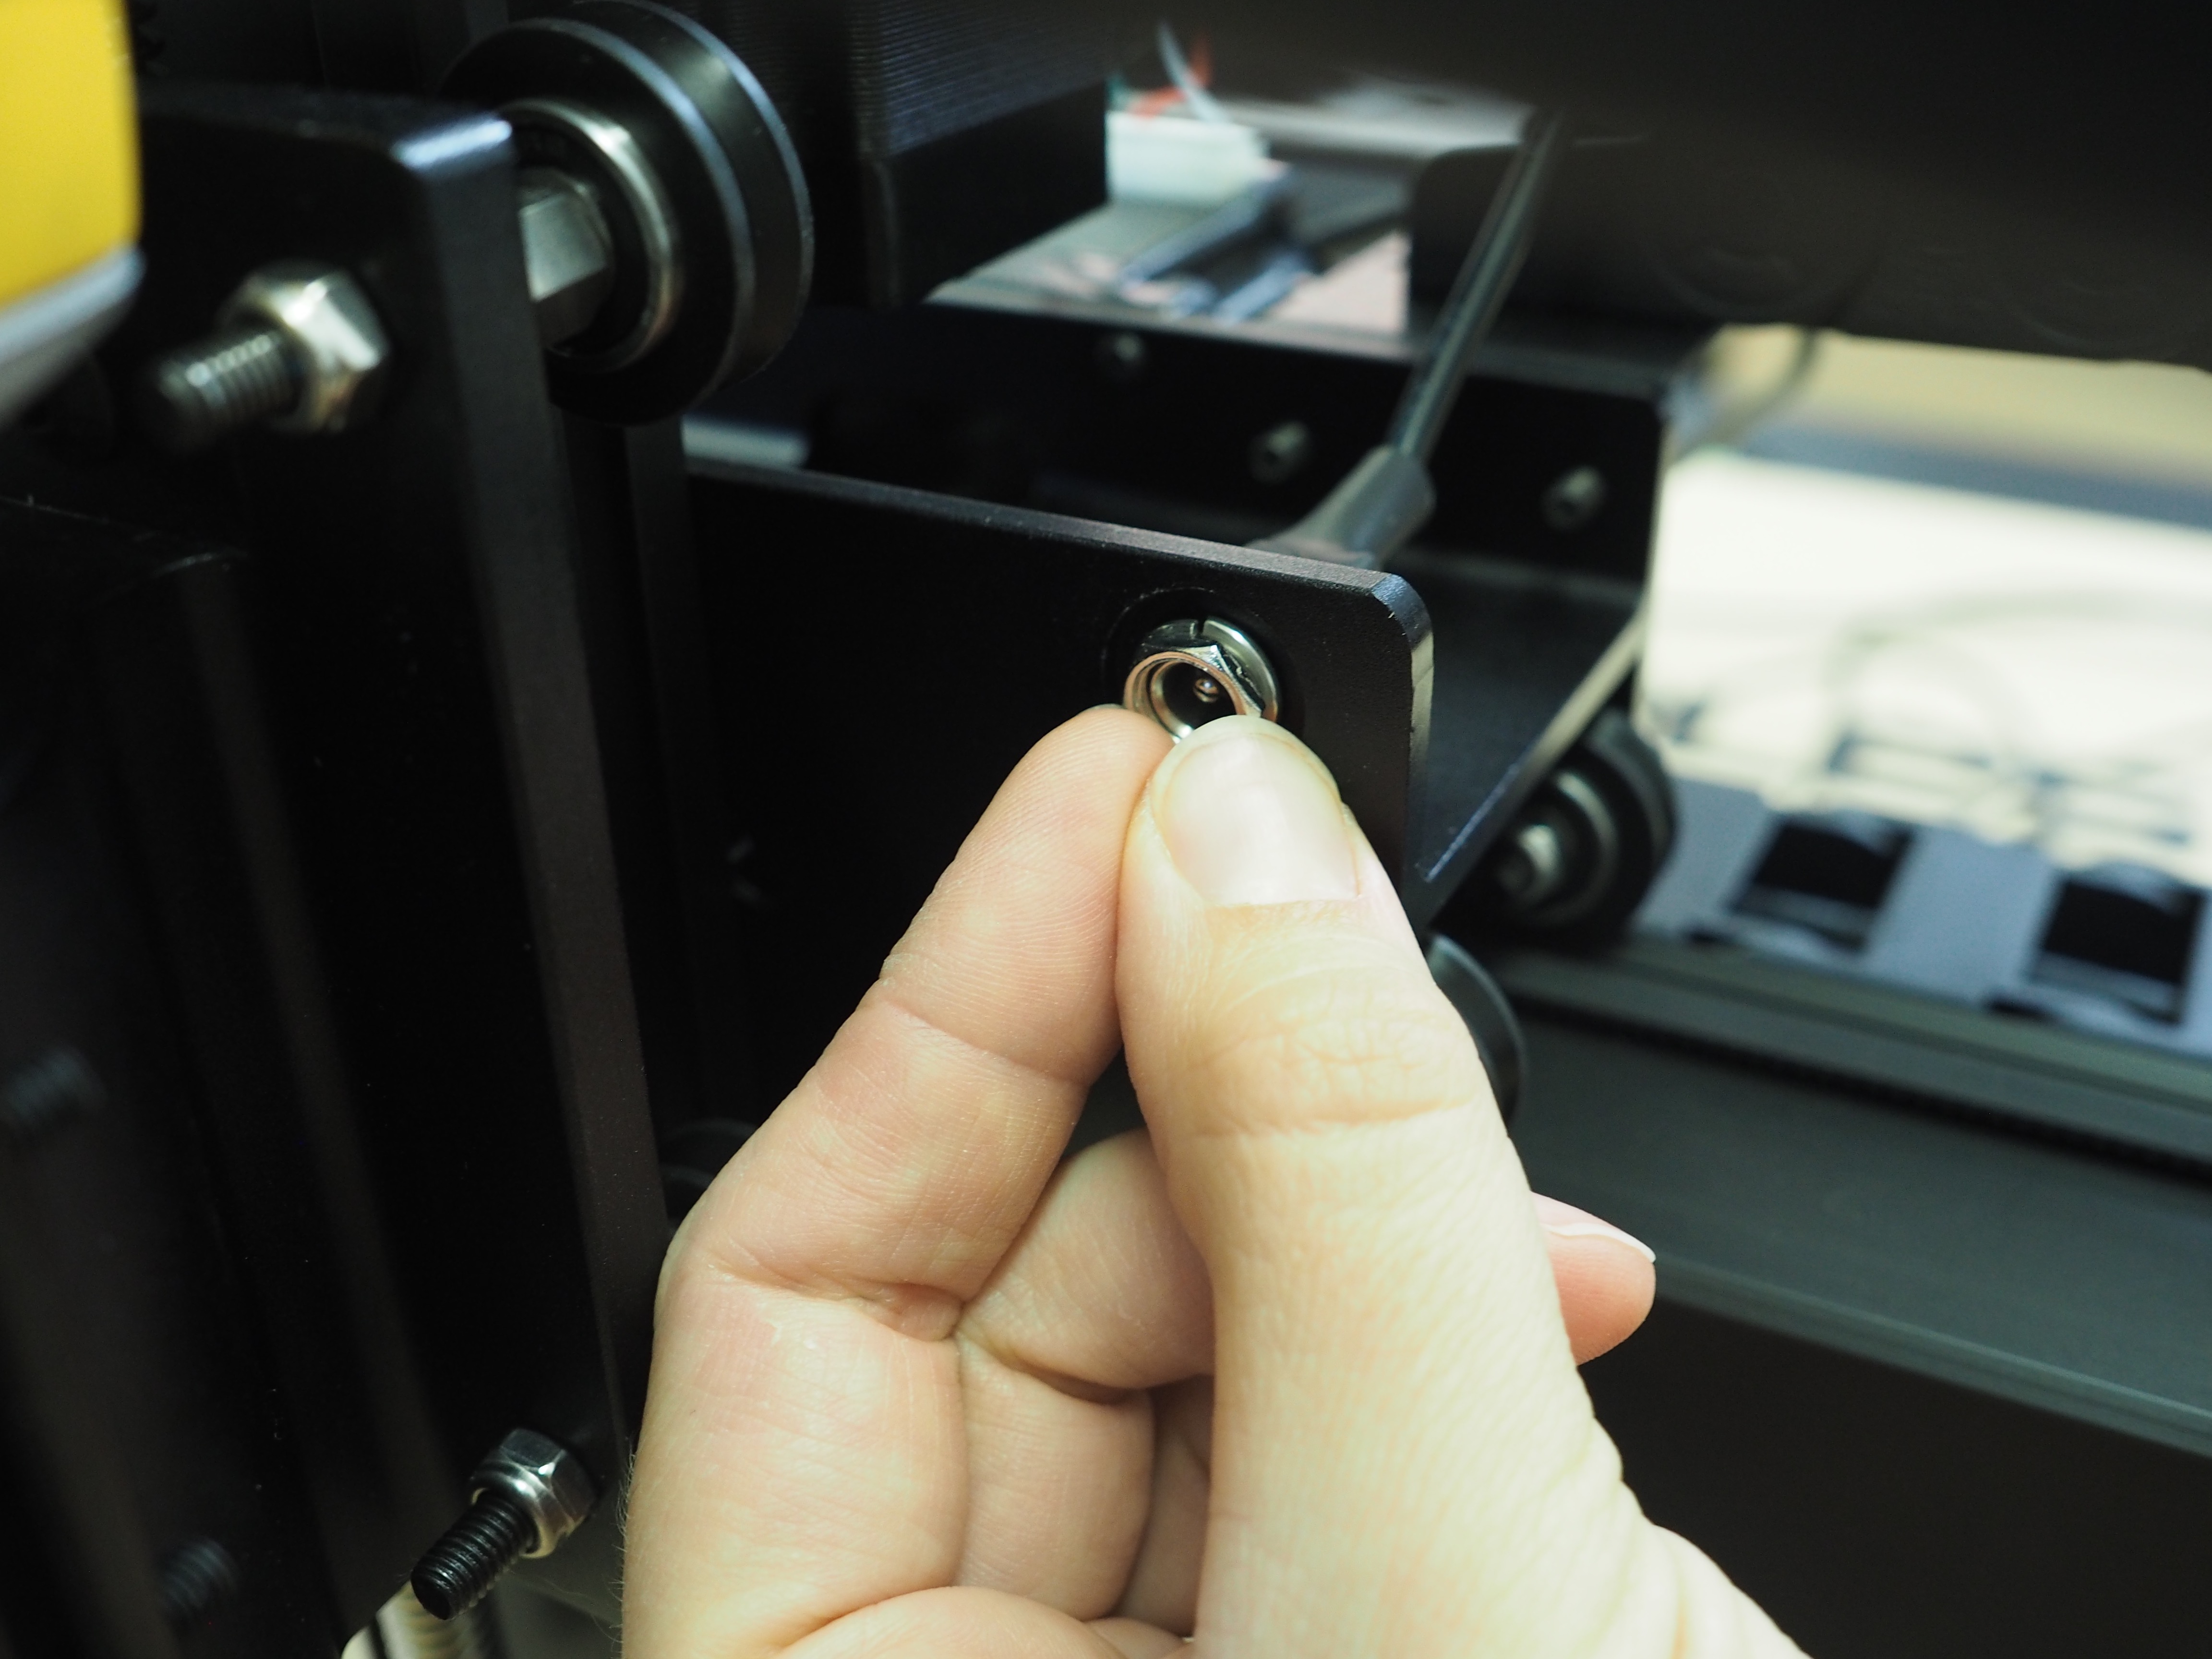
If your x-carriage does have a hole in the upper right corner, insert the z-probe connection so the threaded connection comes through from the back and sticks out the front of the x-carriage.
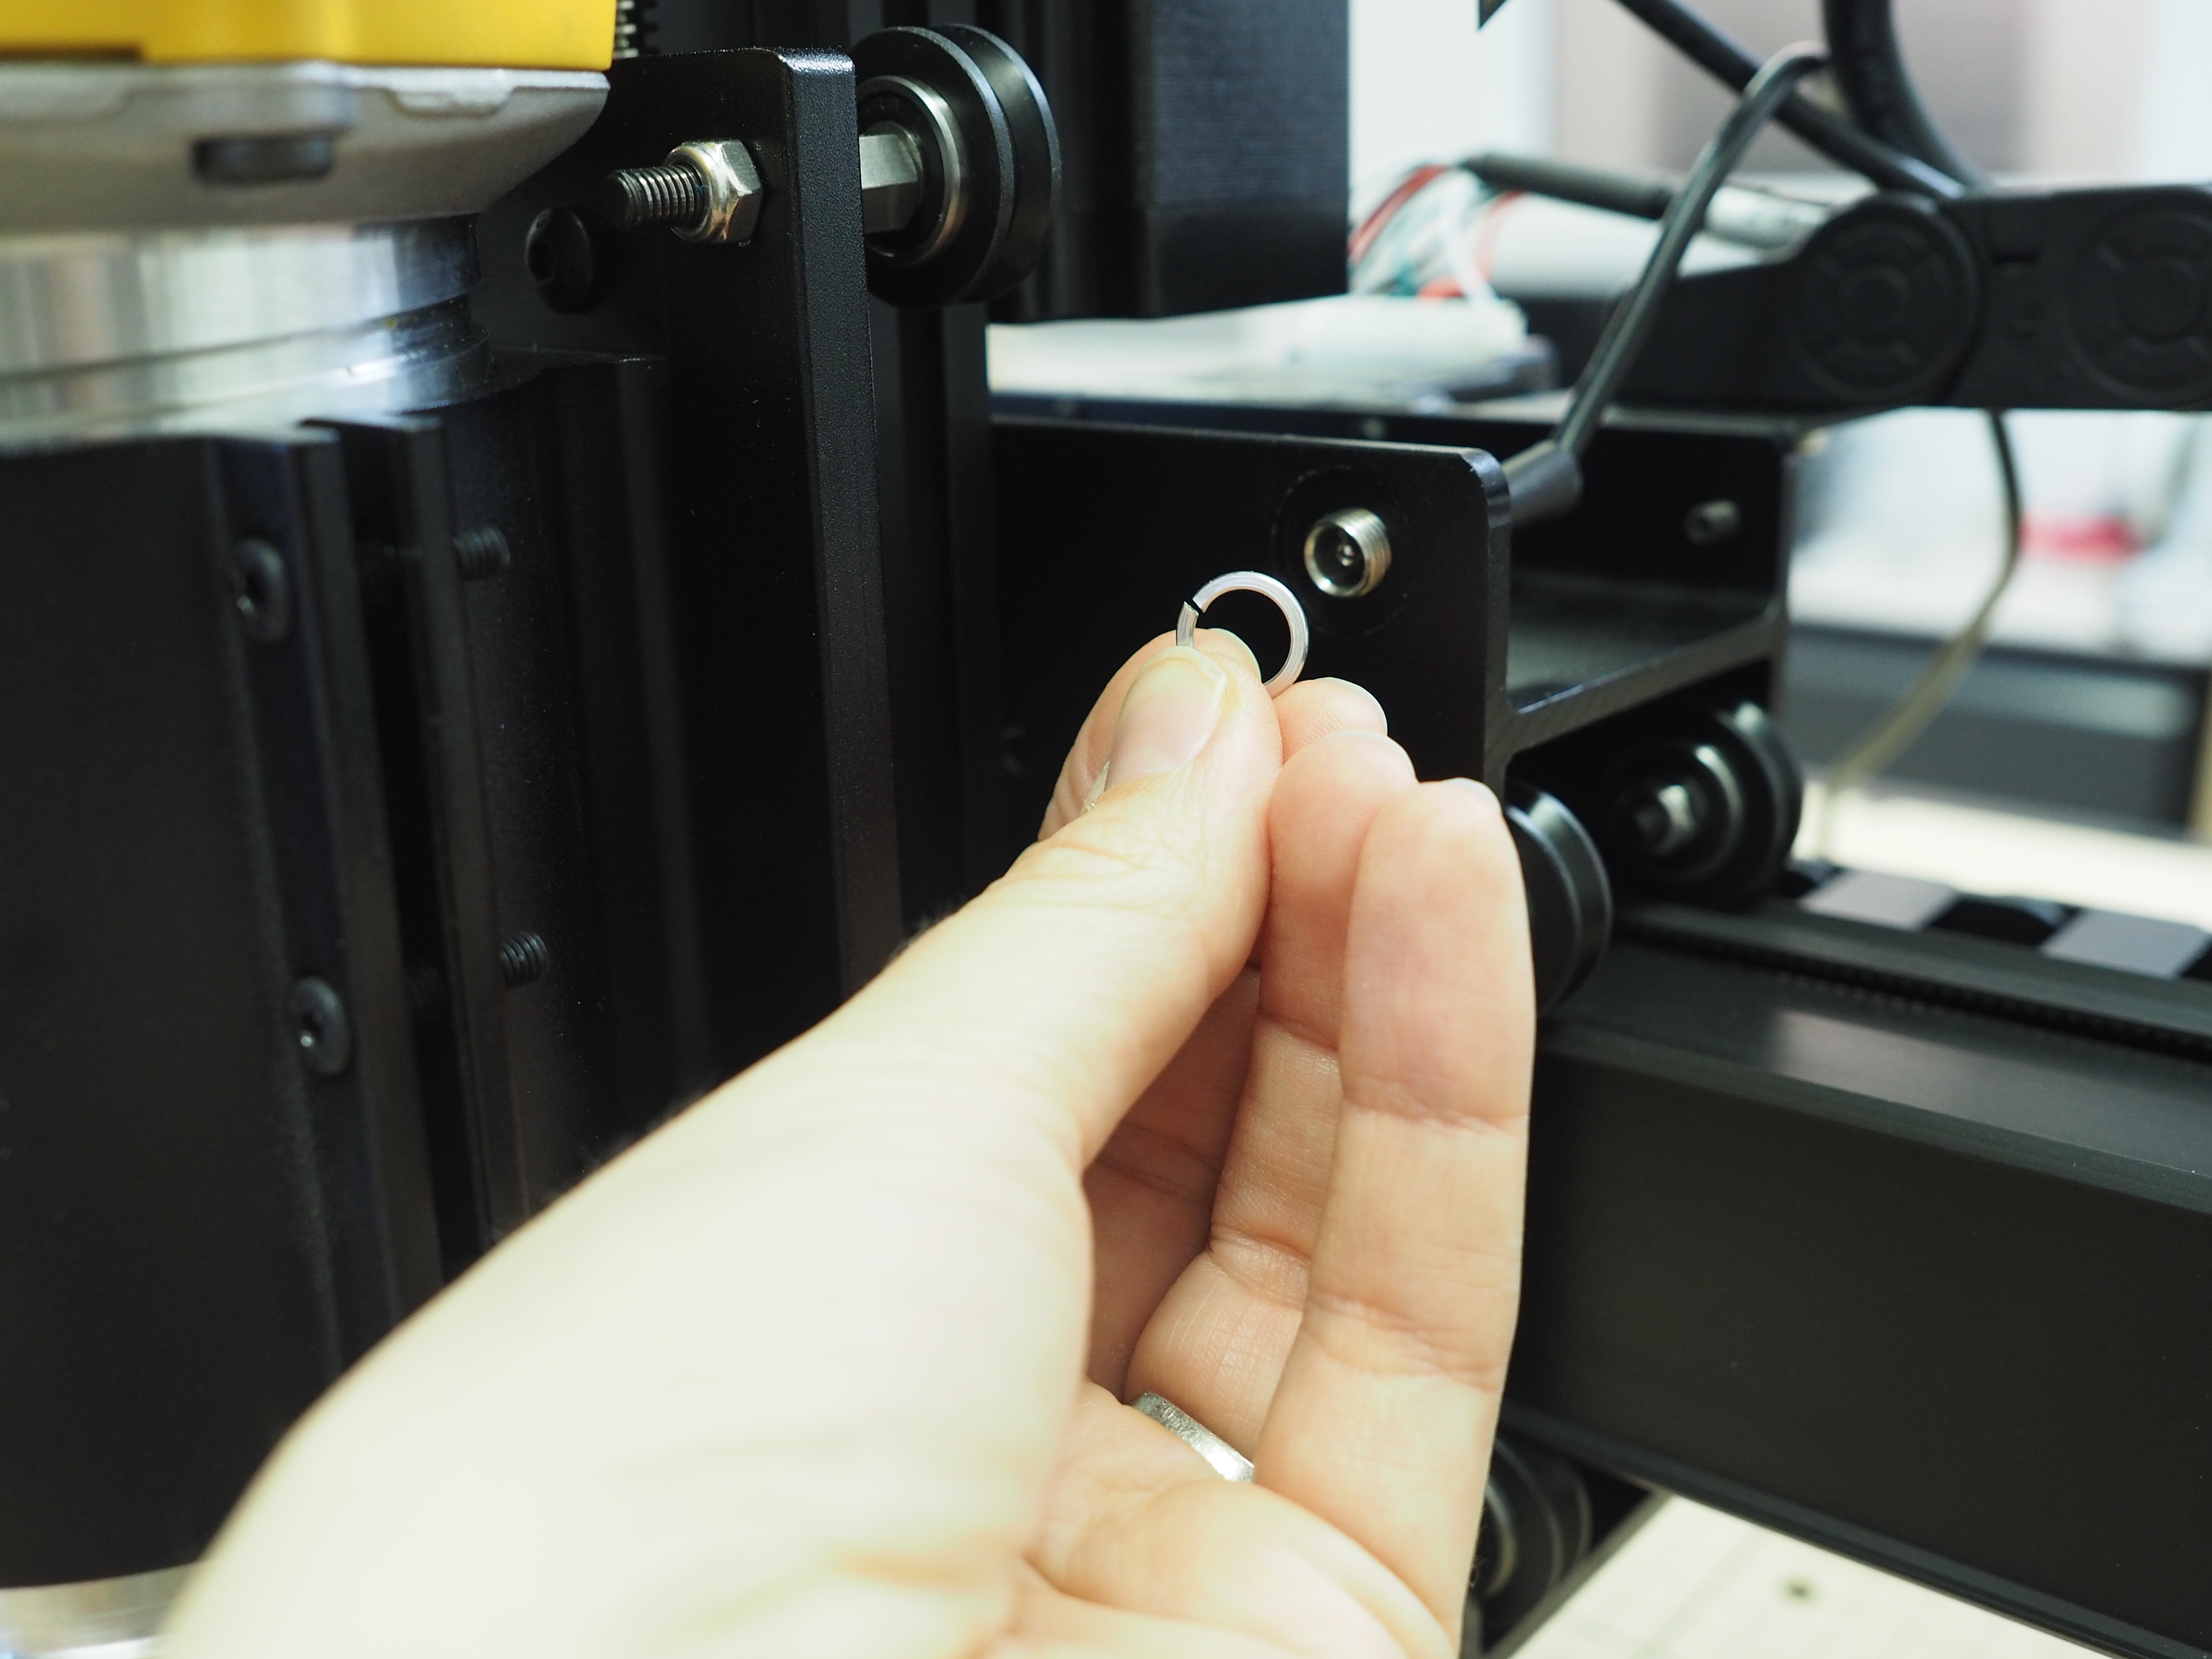
Locate the locking washer in your z-probe kit.
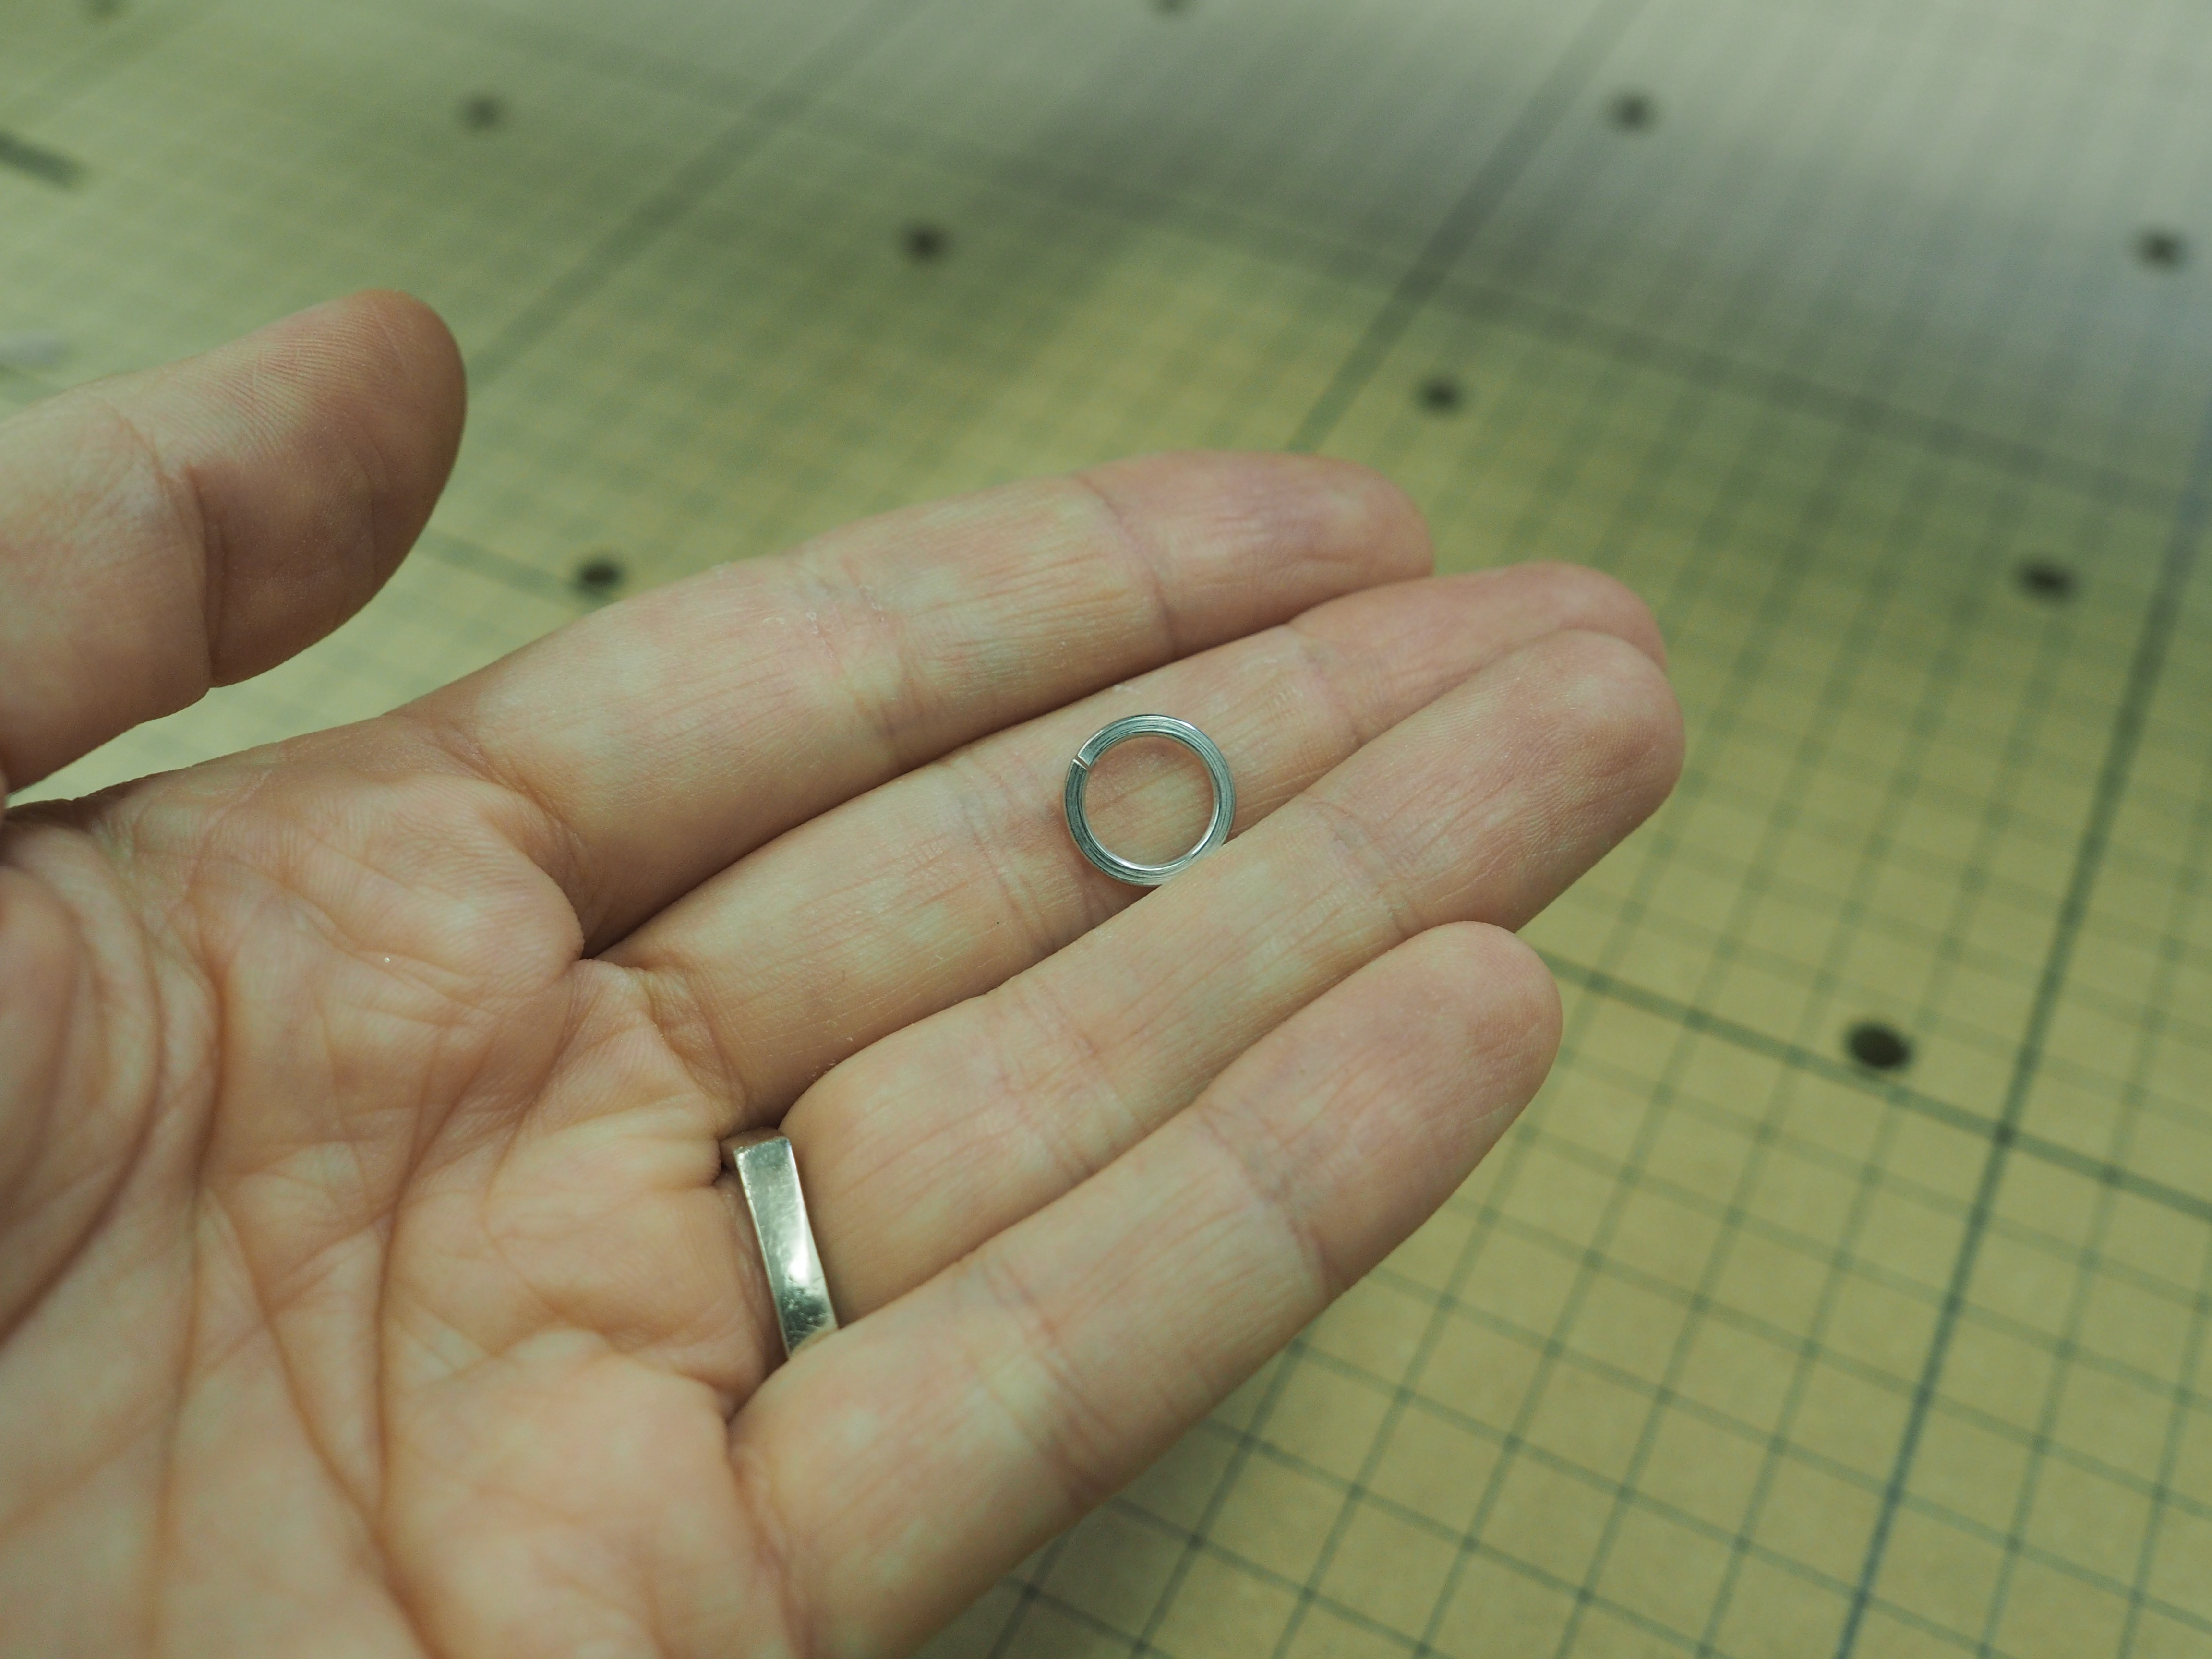
Add this to the end of the connector, from the front of the x-carriage.
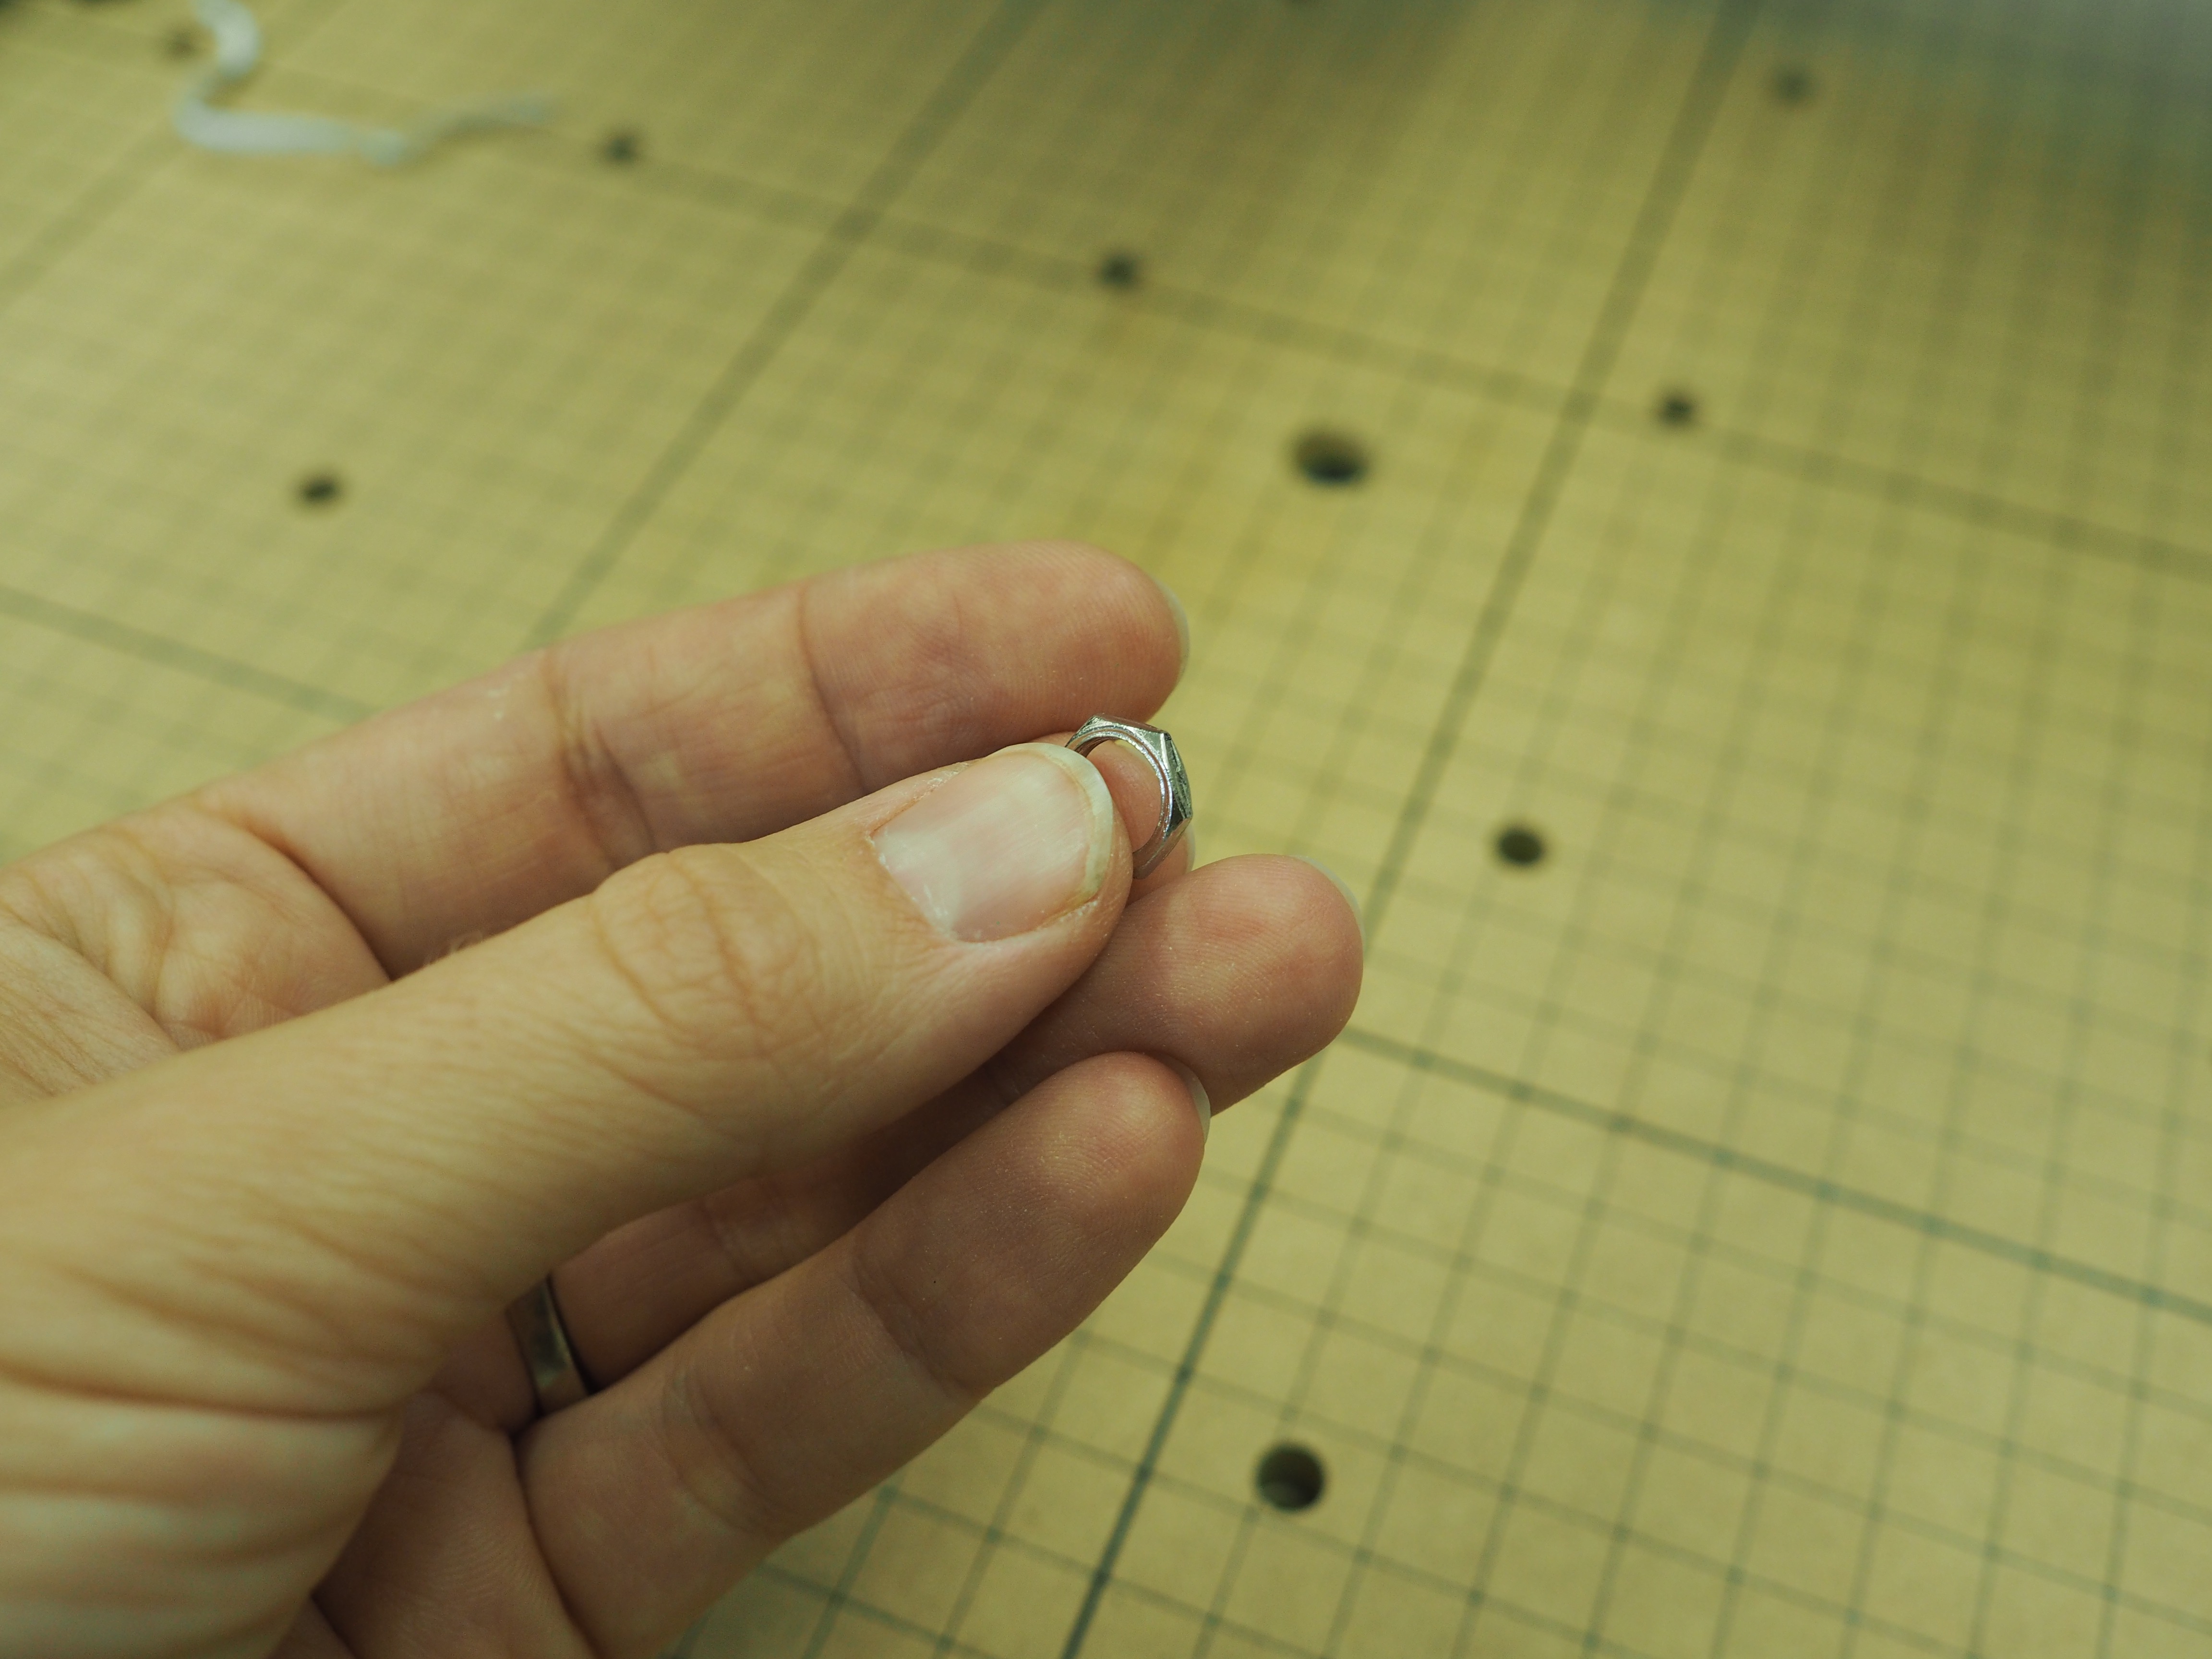
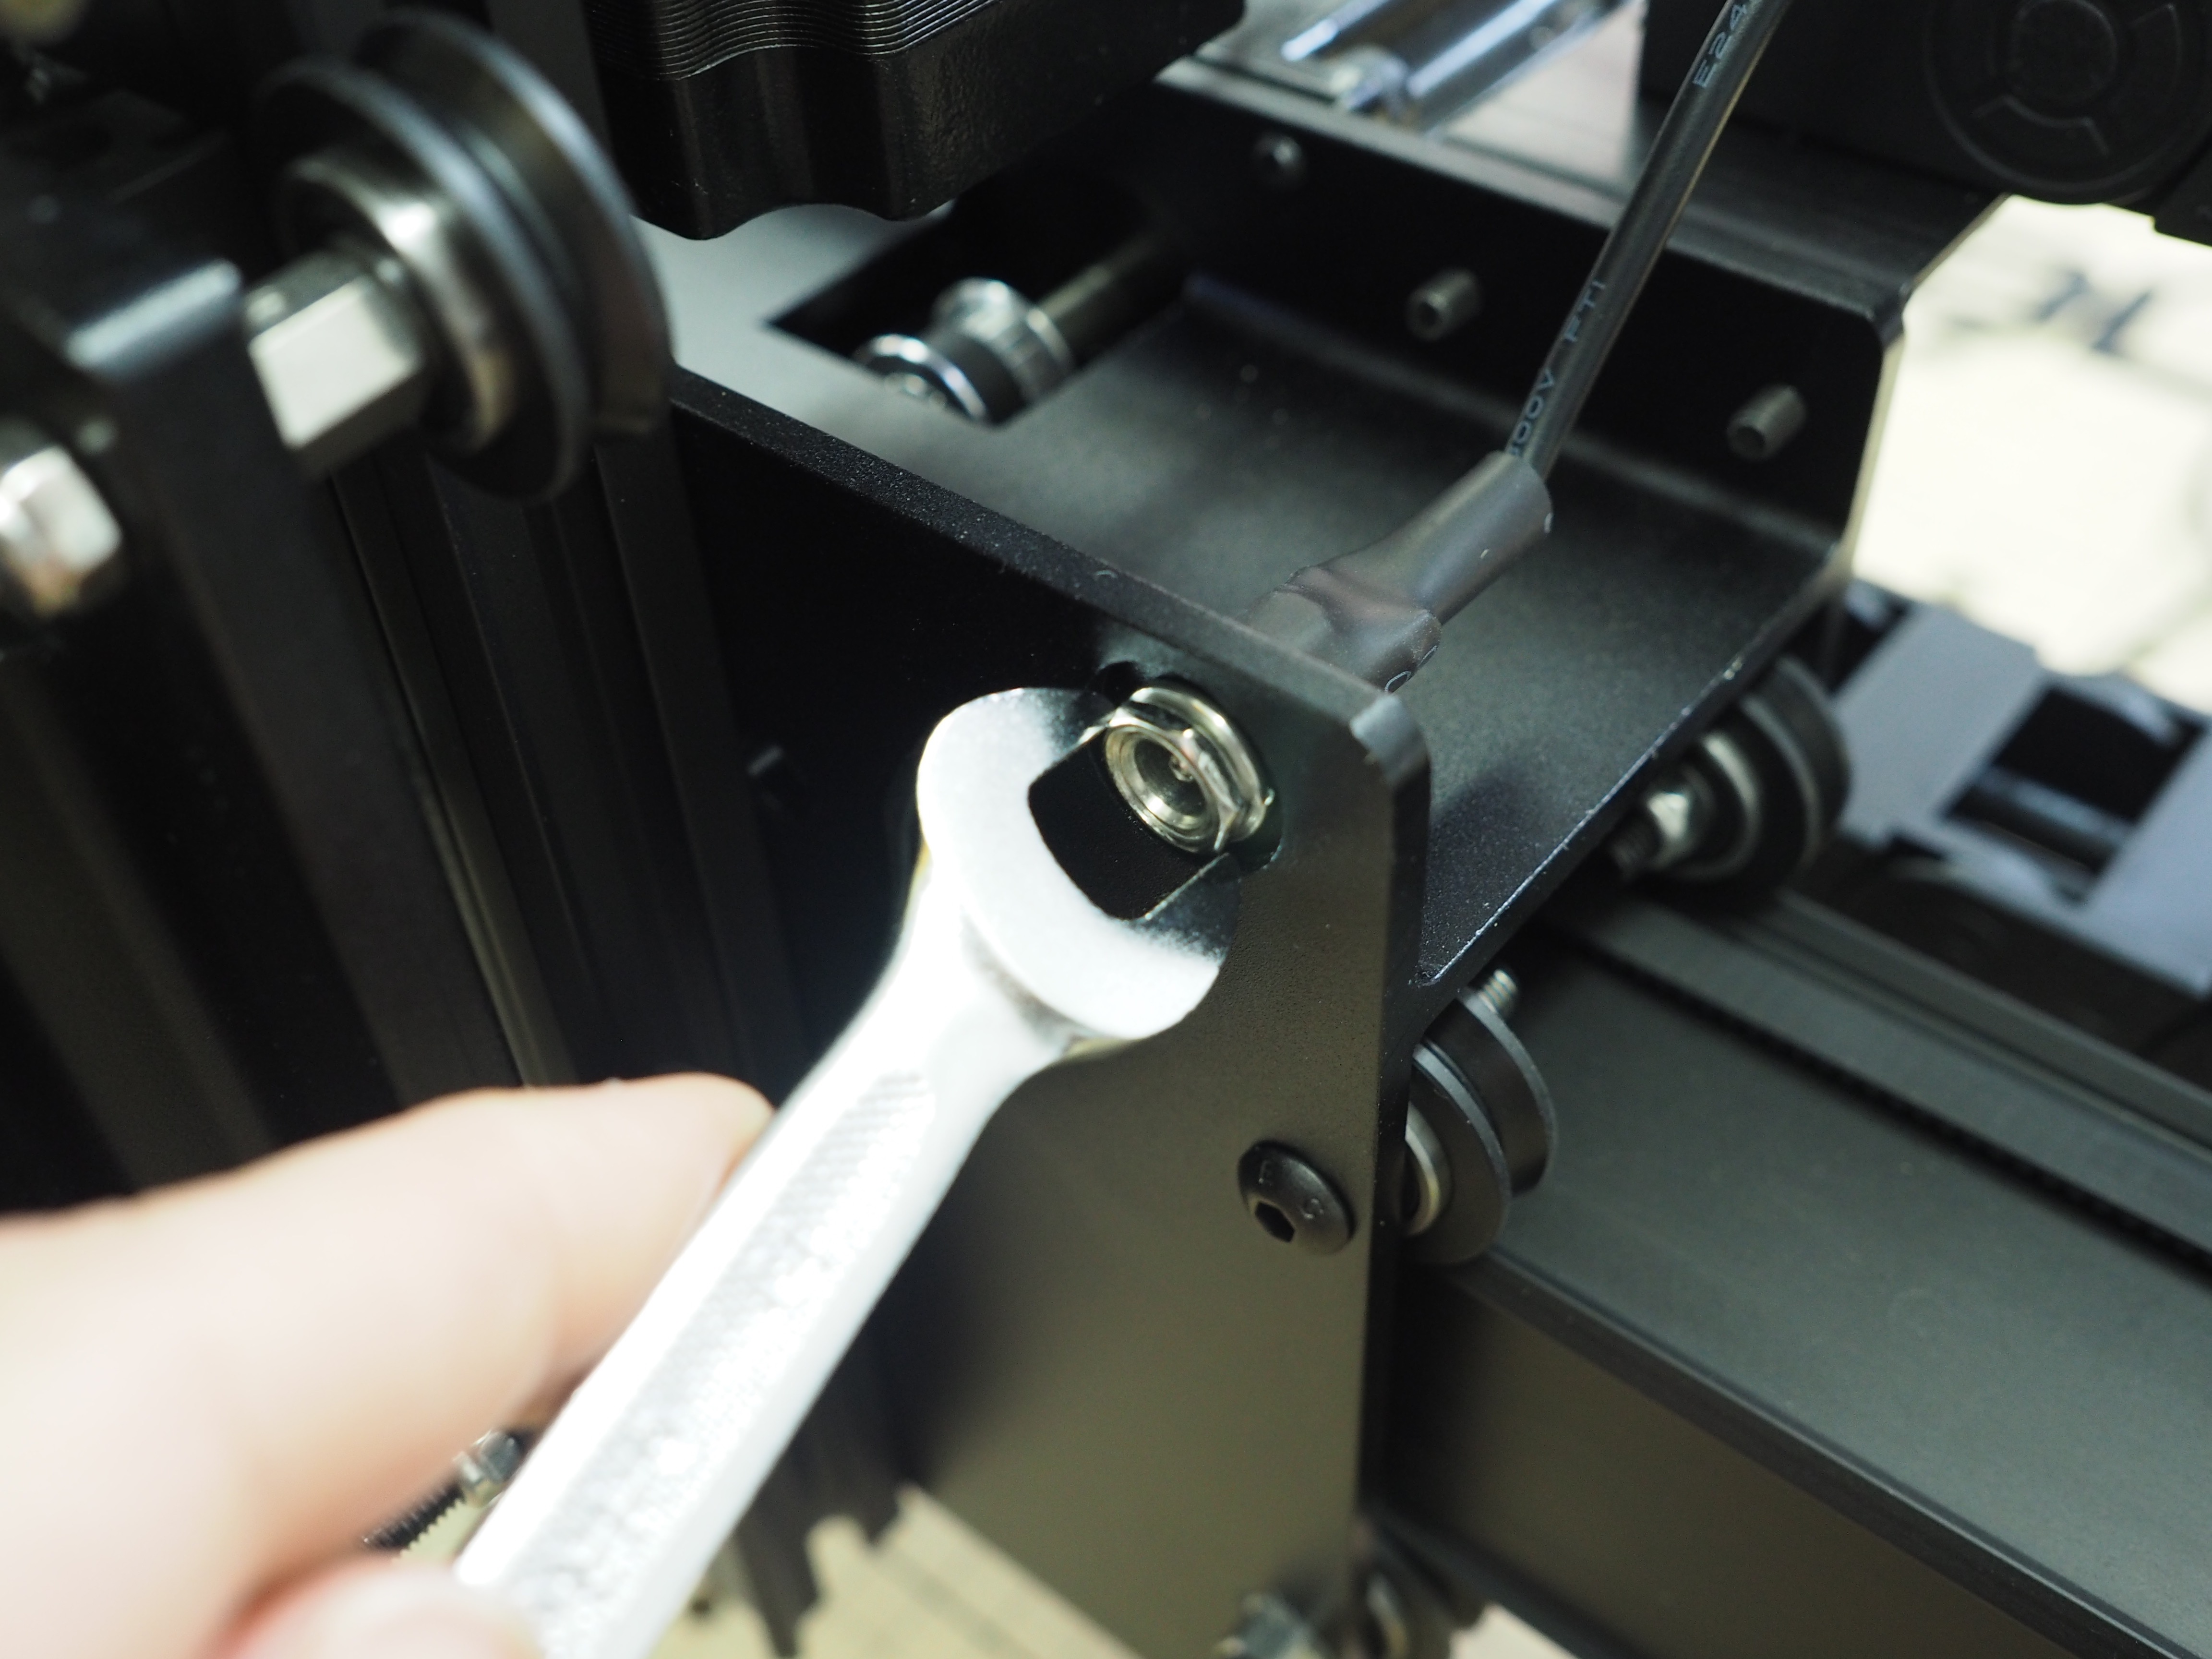
Next, thread the nut on top of the washer. You will want to tighten this down with a wrench.
Great! Now we’re ready to update your computer settings so you can use the z-probe.
Z-Probe Computer Set-up
In order to use the z-probe with Easel, you will need to make sure you are running grbl firmware 1.0c or later, and that you have Easel Driver 0.2.7 or later installed.
If you’re using an X-Controller, you’ll will already have the correct grbl firmware installed on your controller board. There is nothing you need to do for this step.
If you are using a gShield/Arudino motion controller, you will need to go to ‘Machine->Advanced->Upload Firmware’ in Easel to flash the latest firmware version to your board.</a>
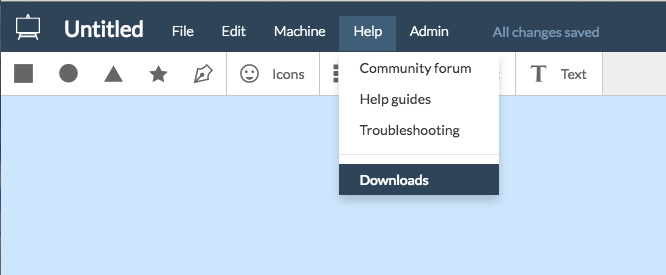
Once you have the grbl firmware installed, it’s time to download and install the correct Easel local driver. Go to Easel, and go to the Help -> Downloads section to get the latest available driver.
You’ll then want to go to setup in Easel to make sure that the Z-Probe is recognized by Easel.
Using Your Z-Probe
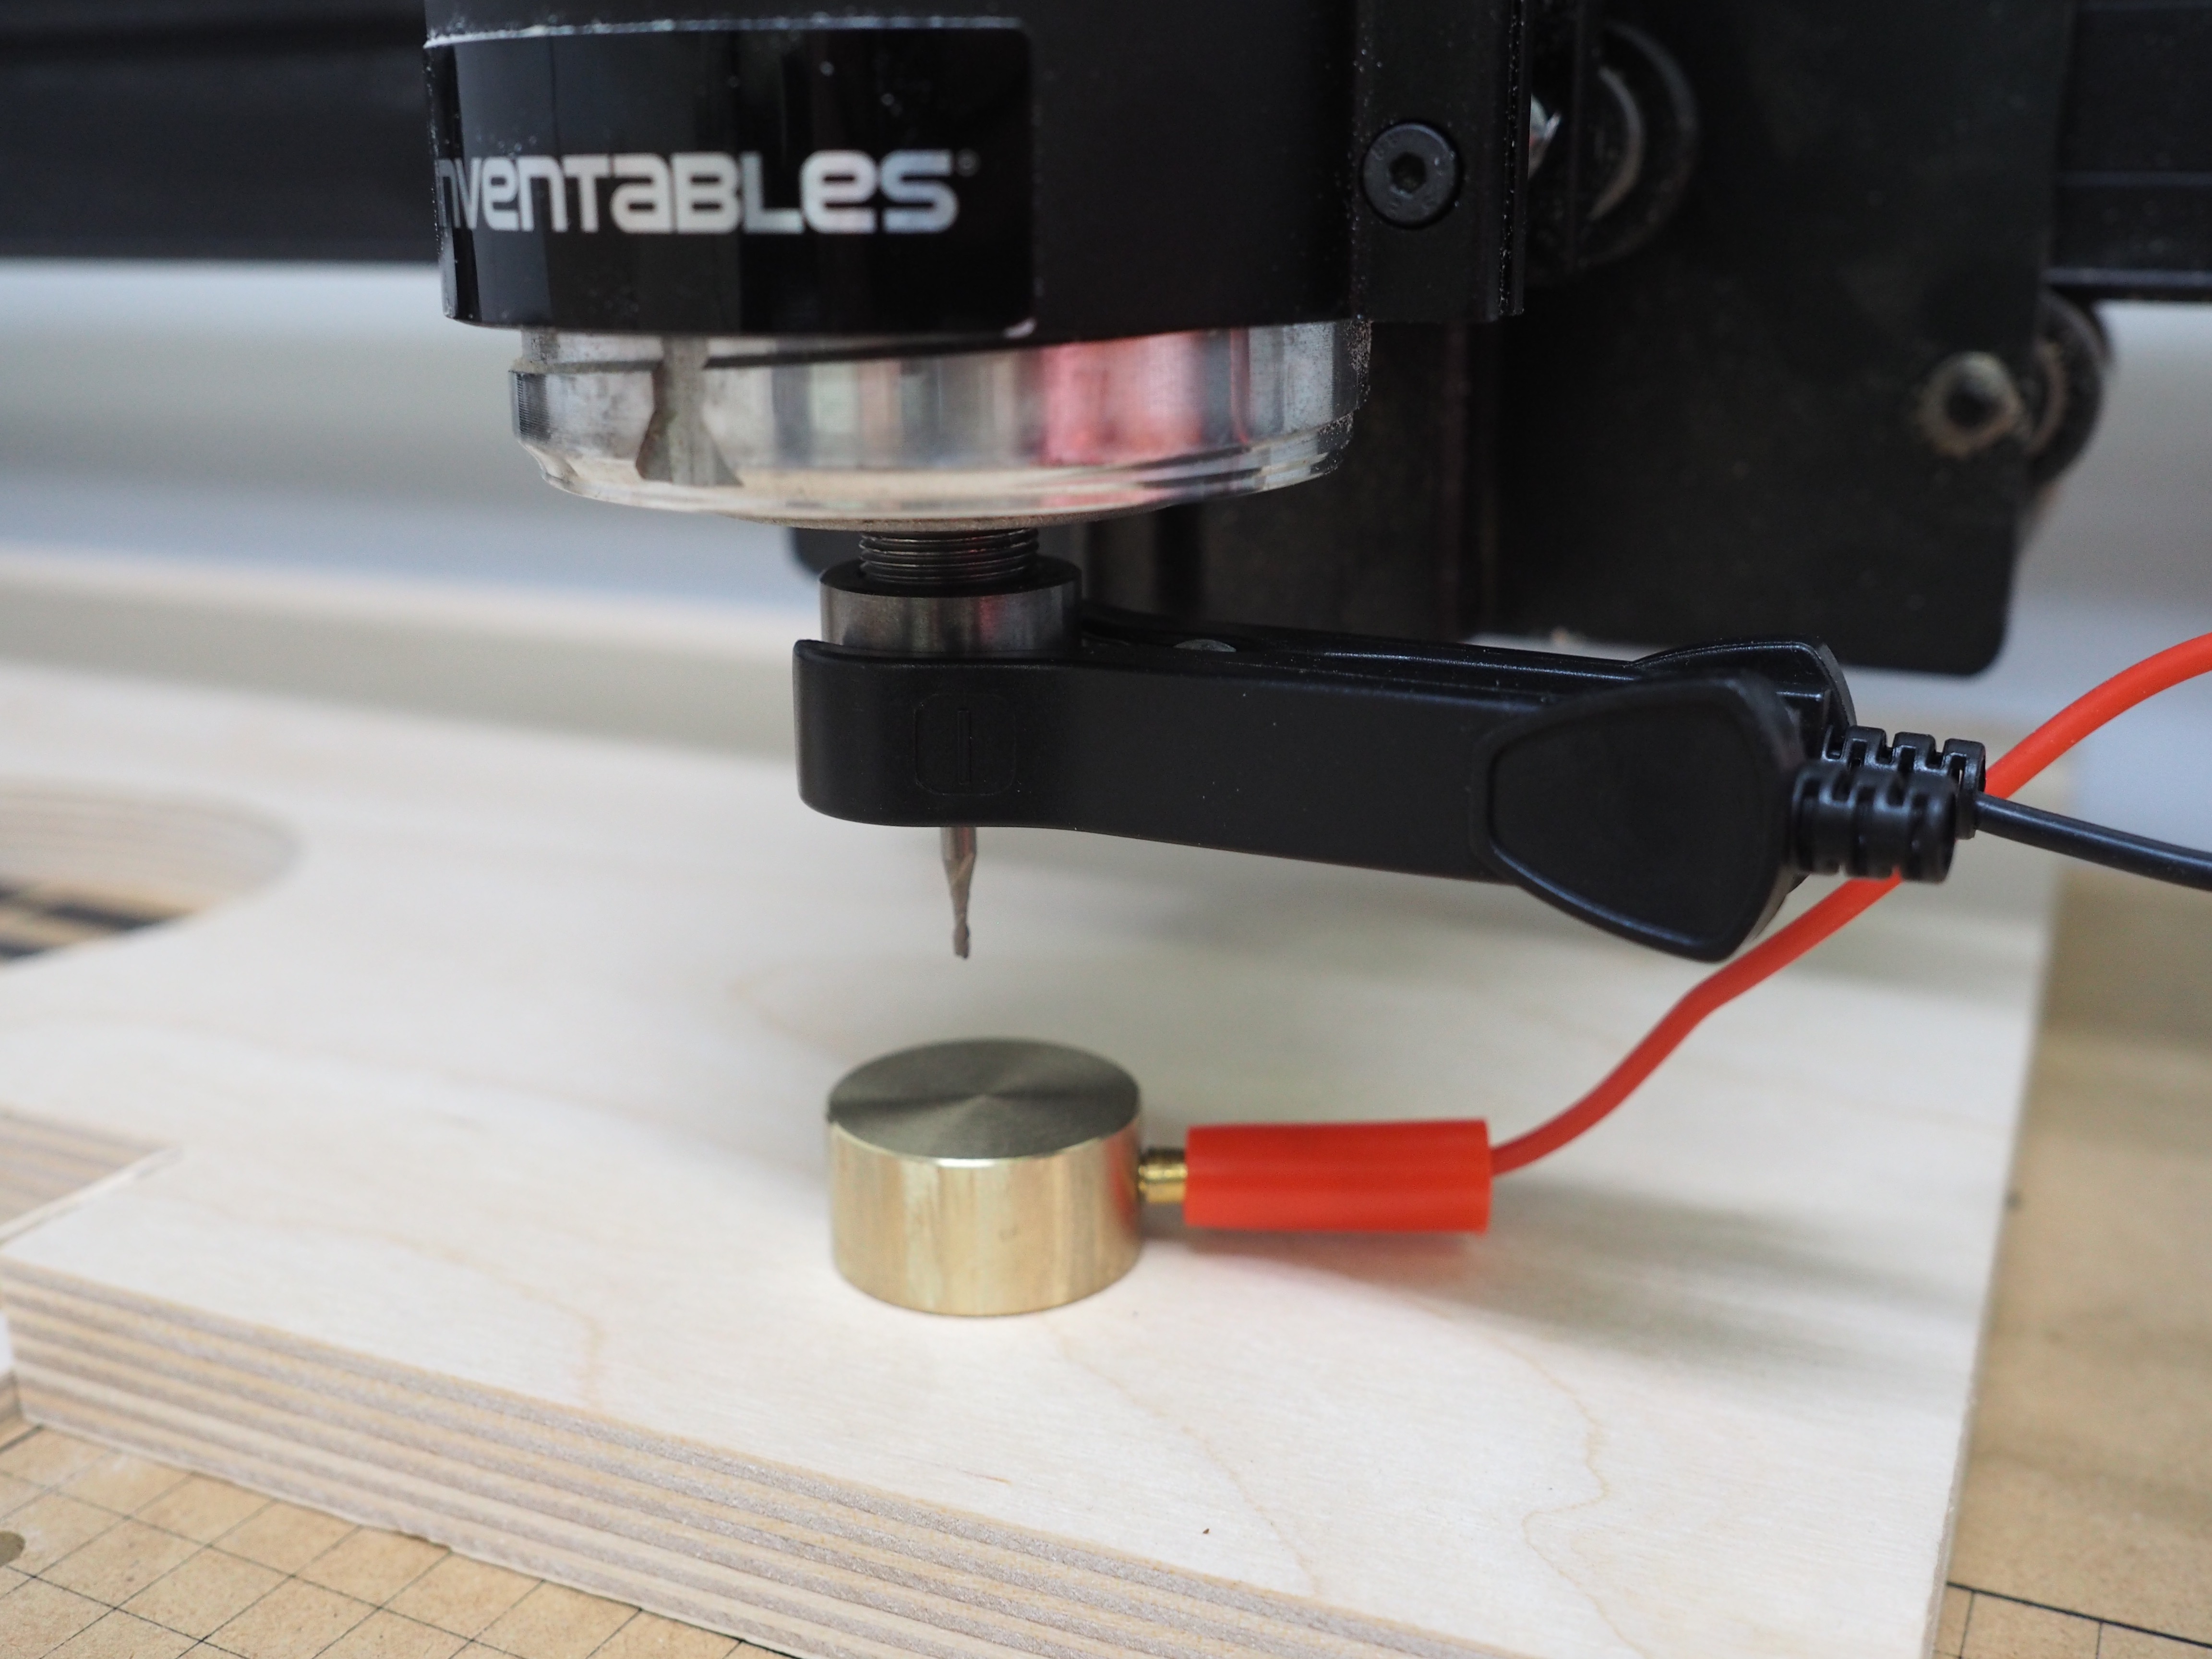
To use the z-probe wiring harness, plug in the twisted red and black wire into the connector located on your x-carriage.
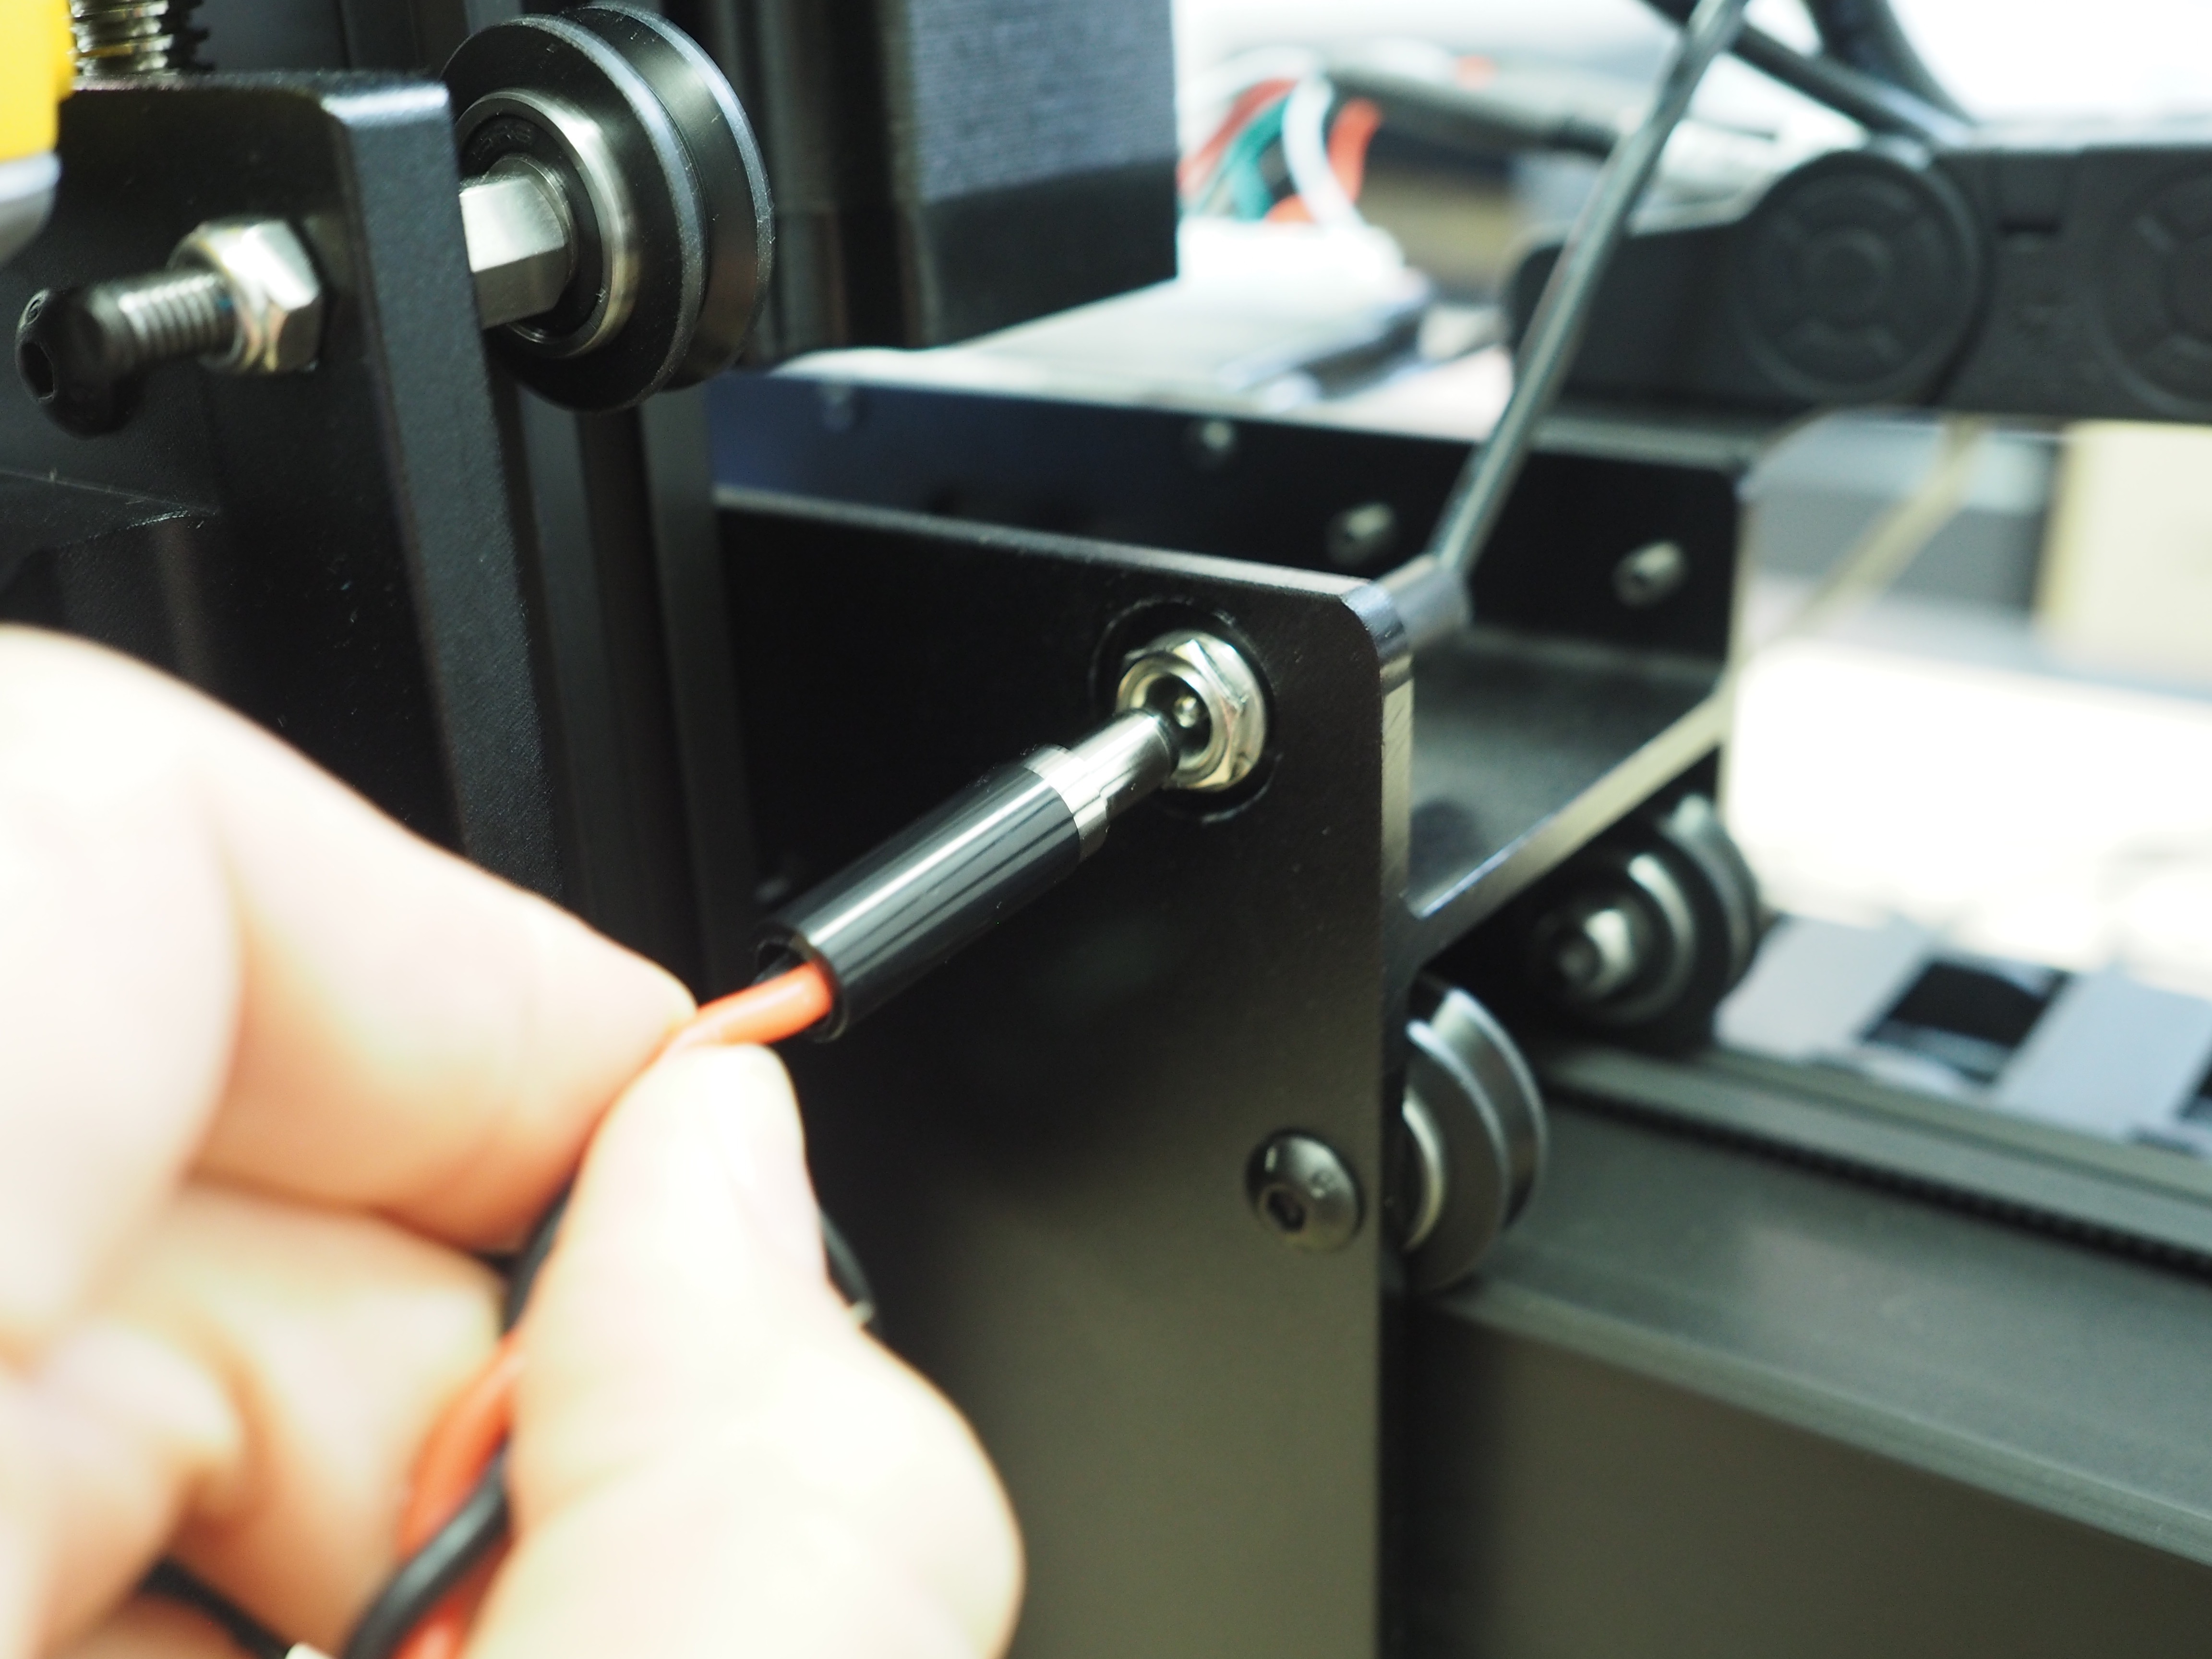
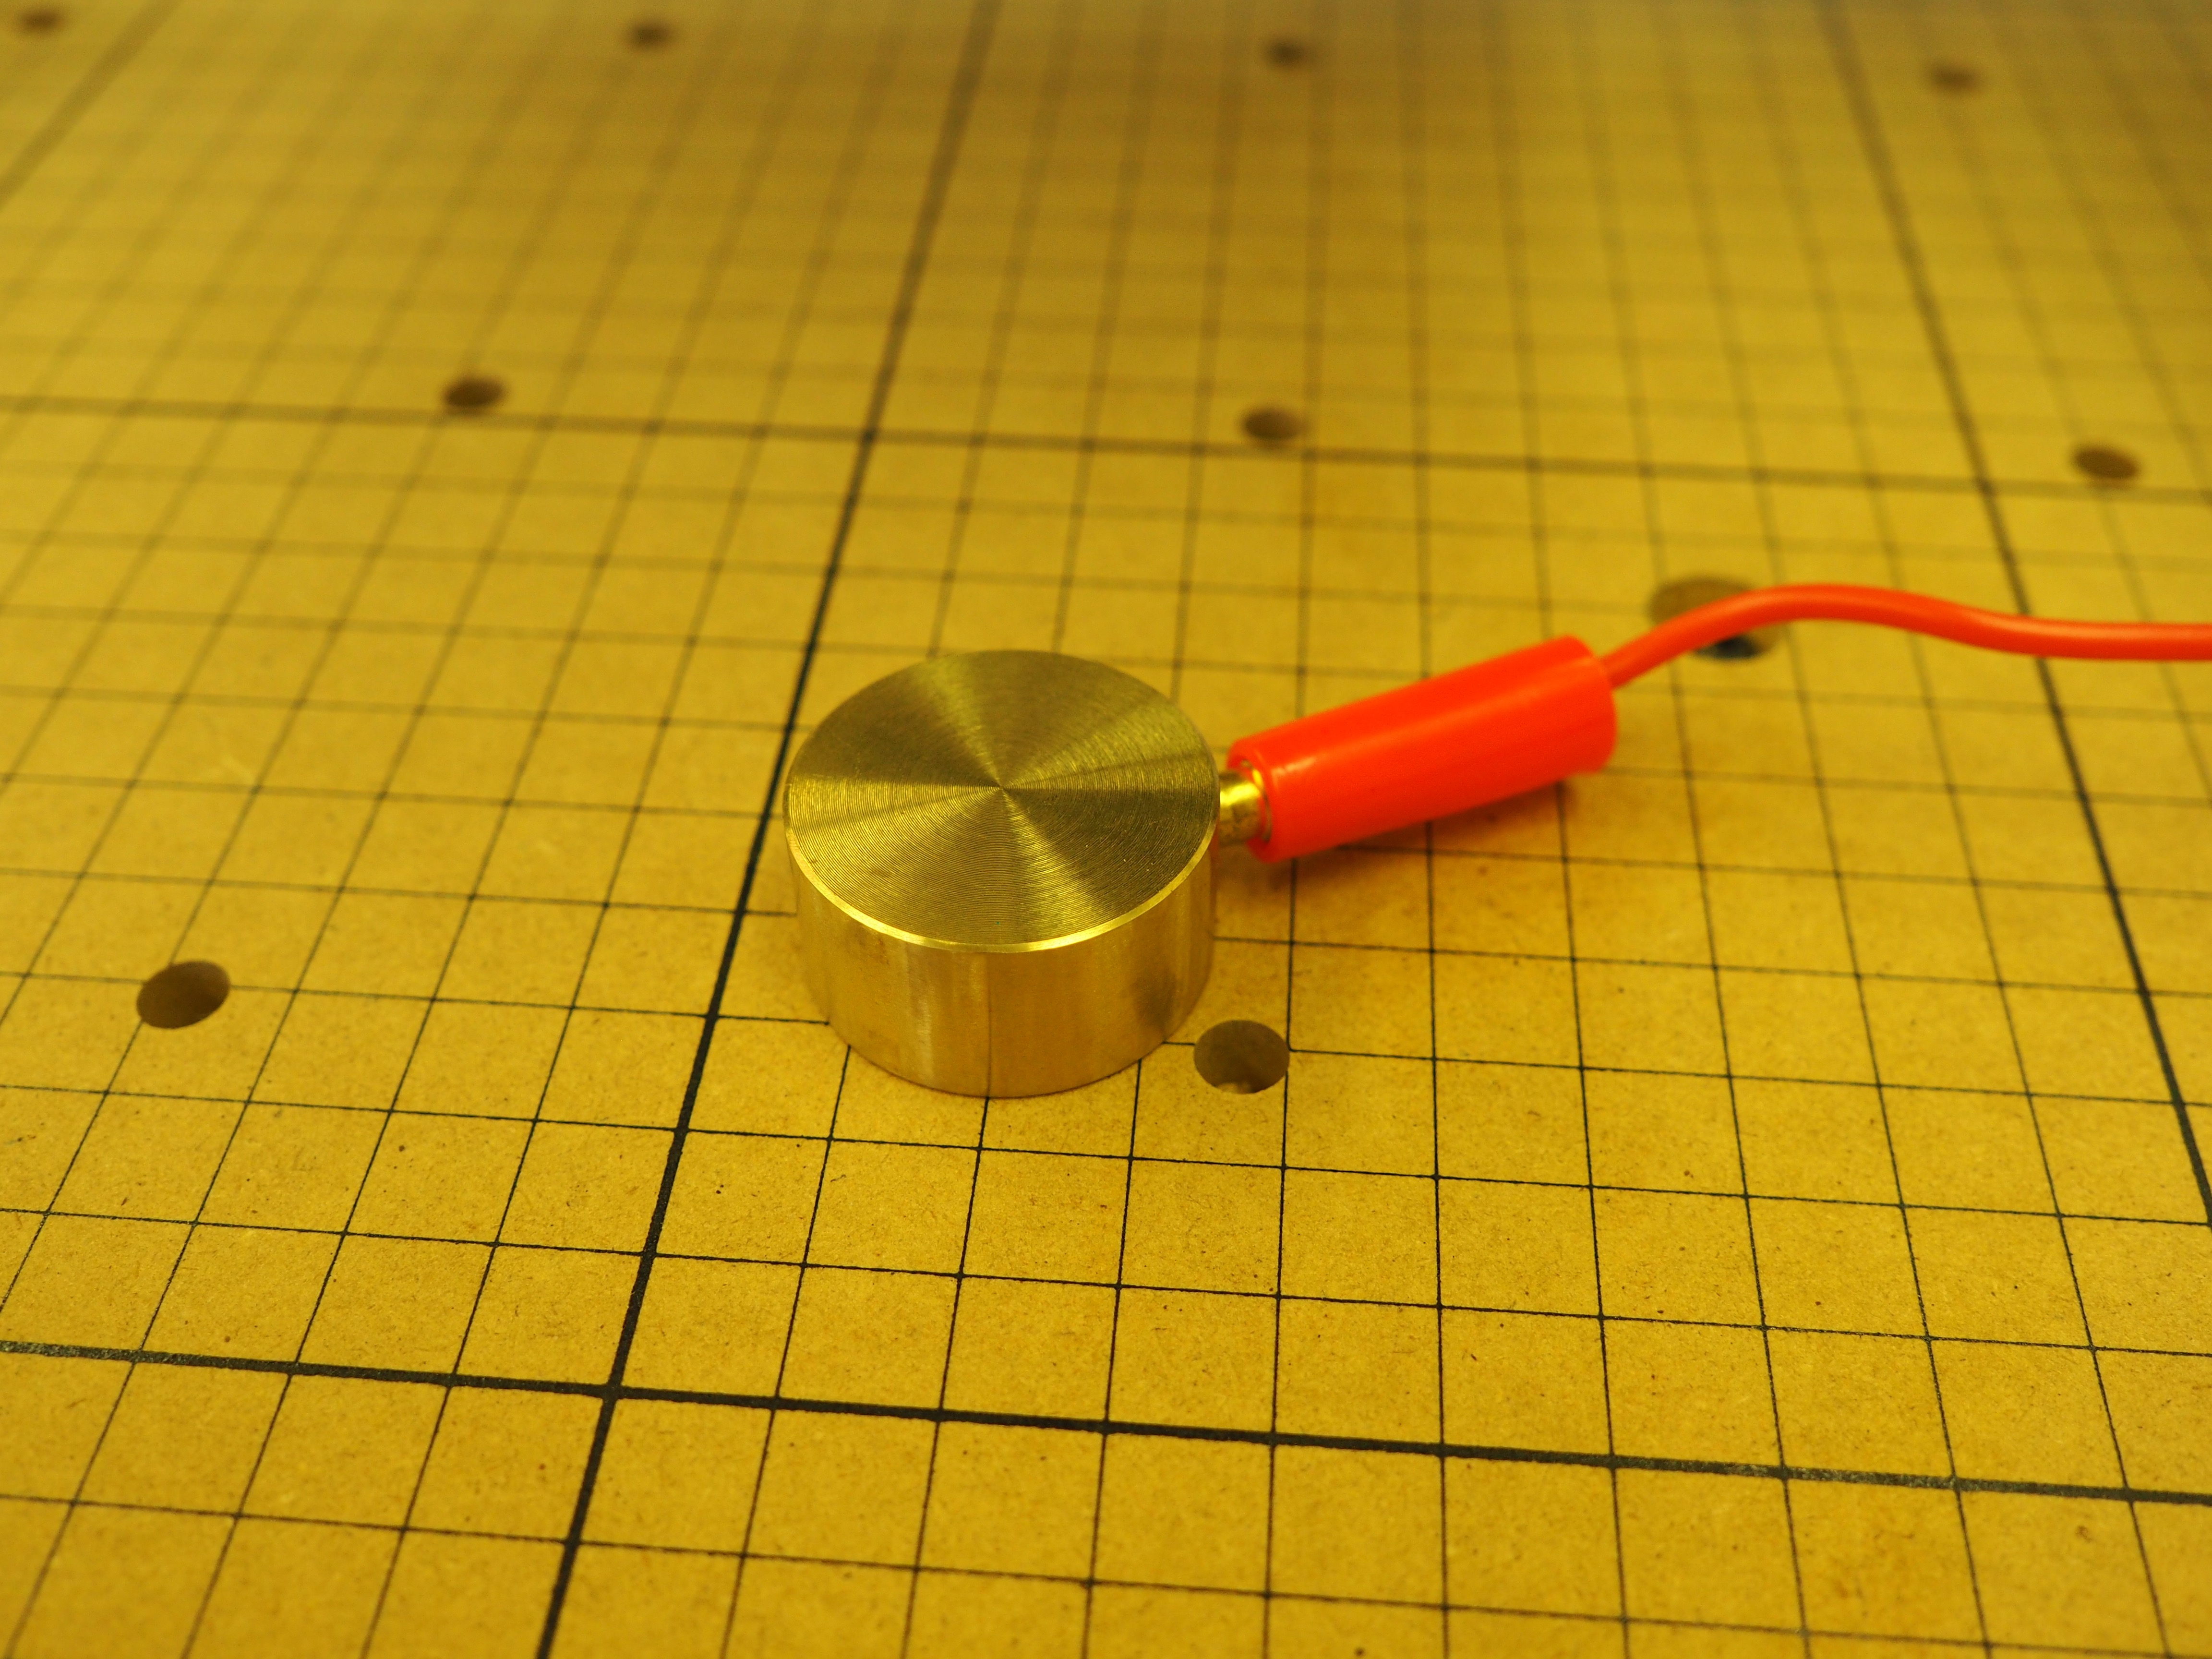
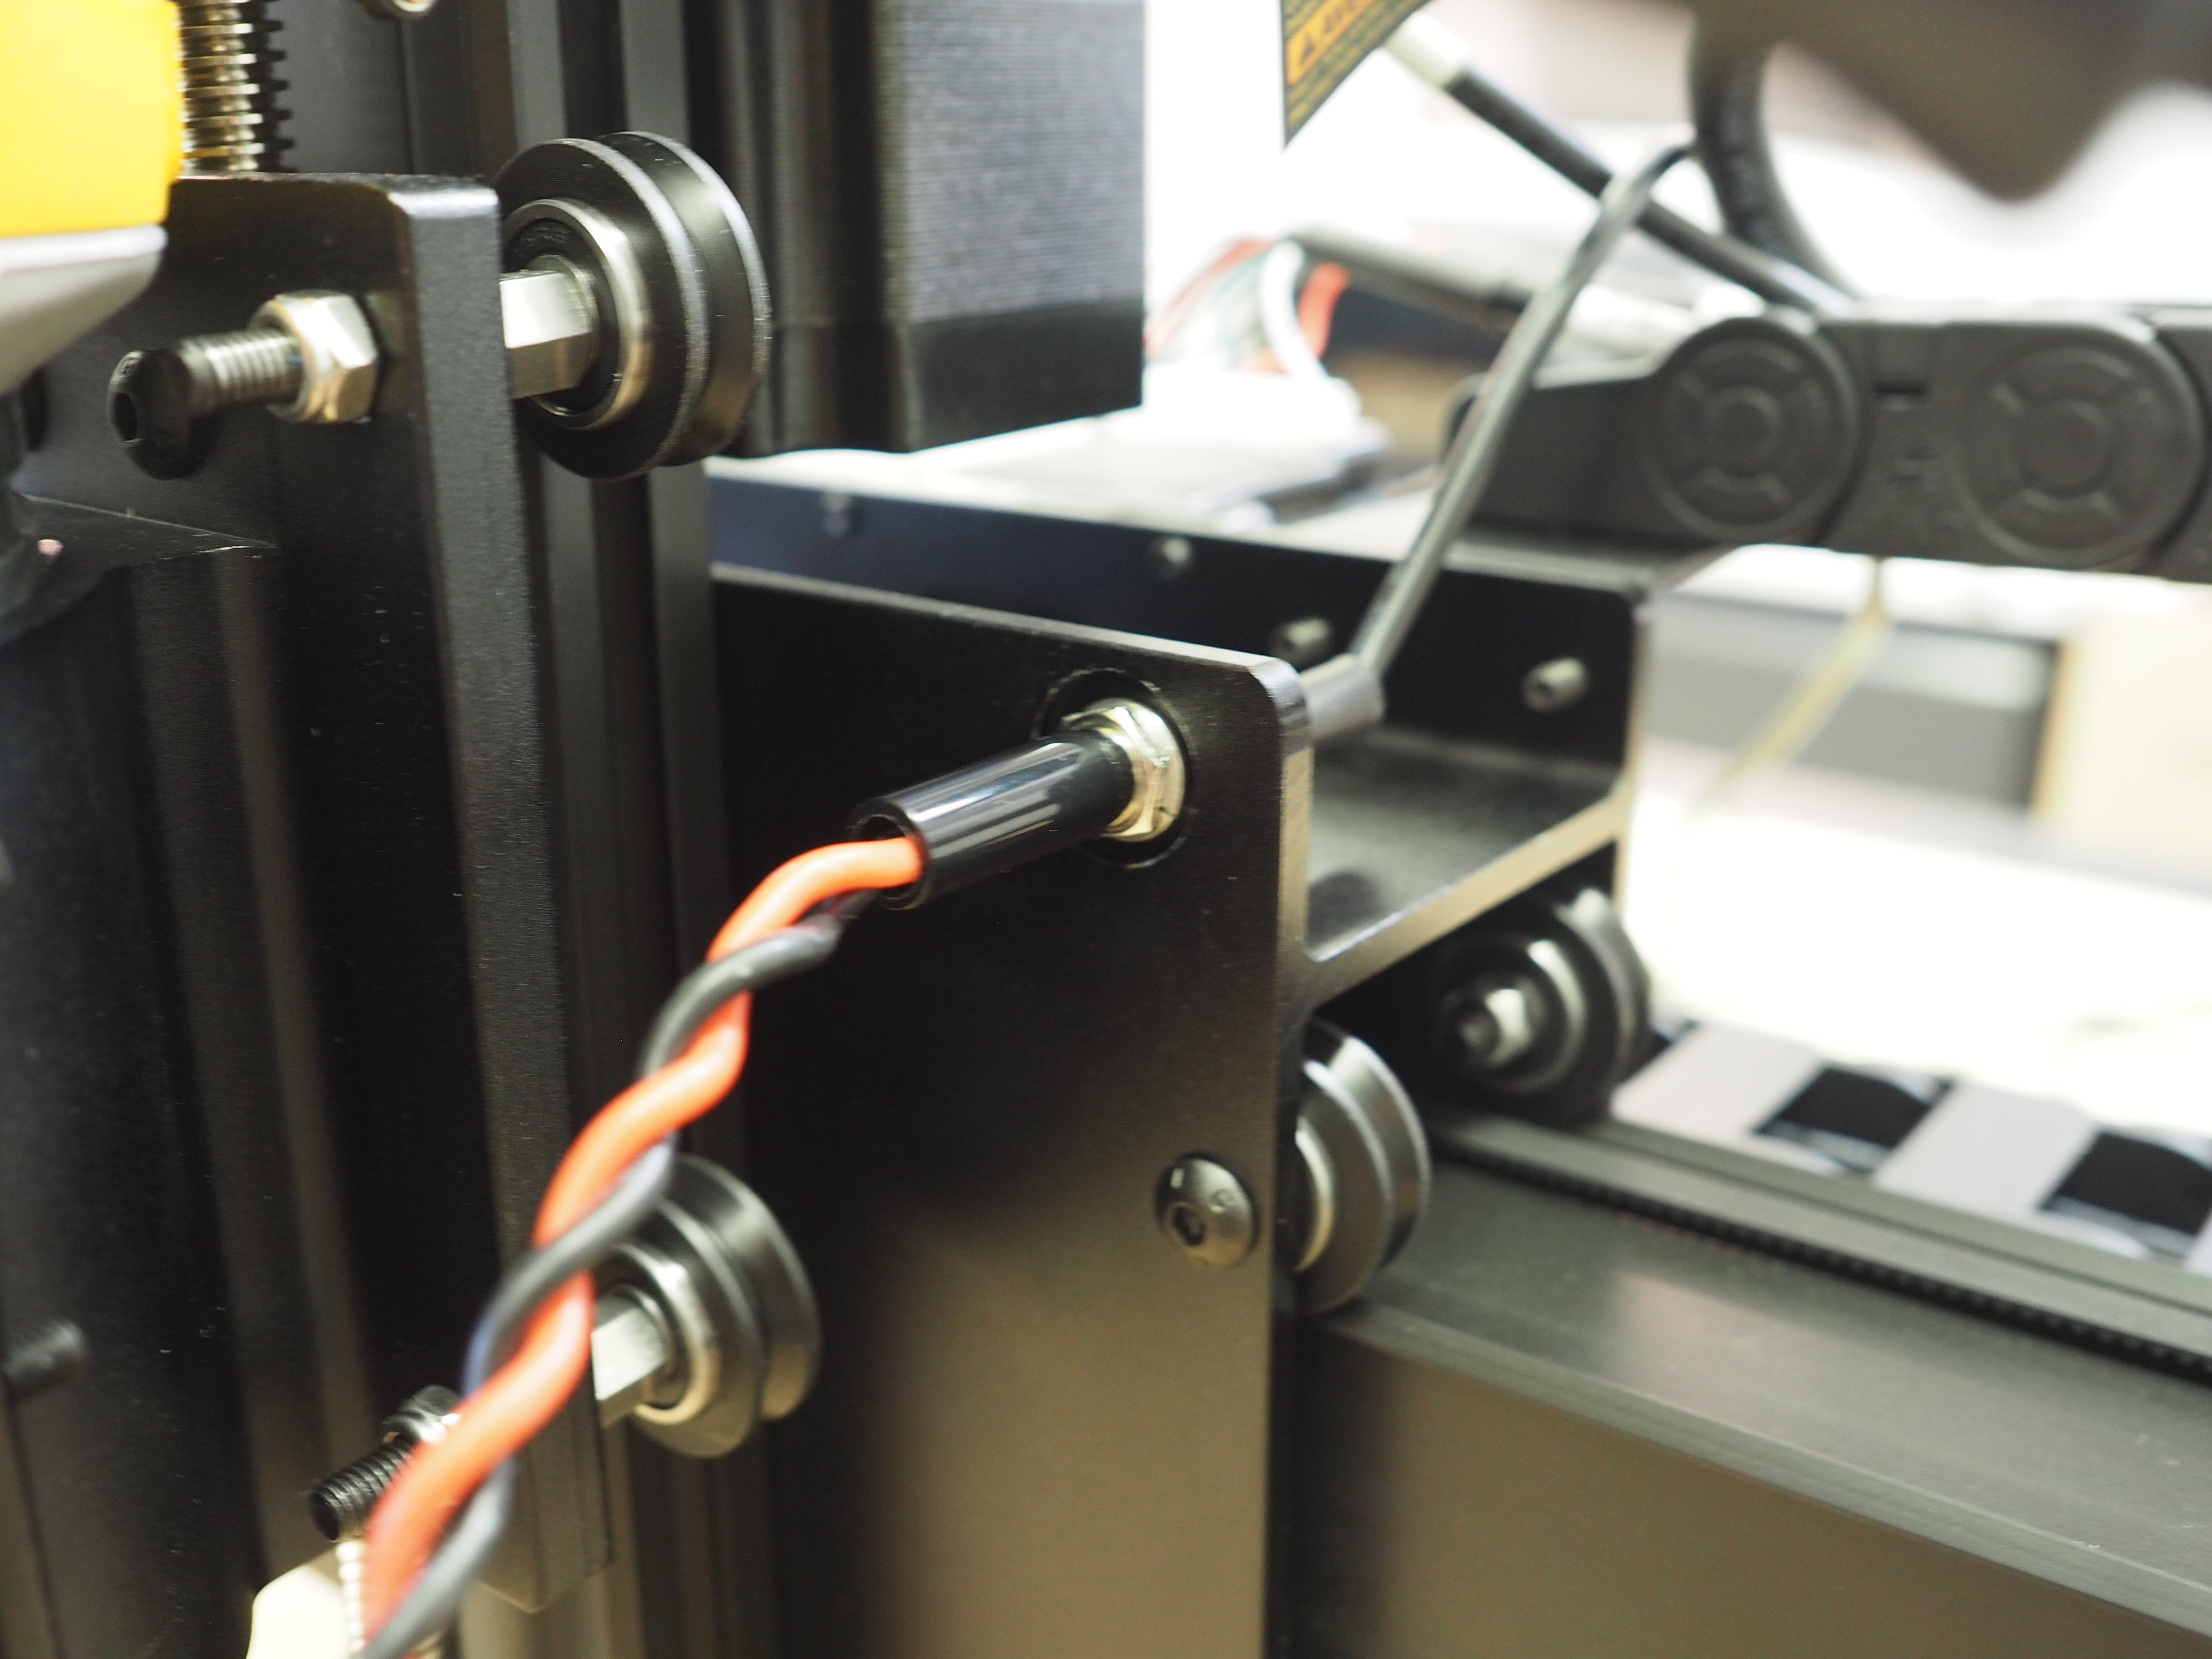 Connect the red wire on the other end of the wiring harness into the z-probe disc.
 Attached the clamp to the metal part of your collet or bit. Place the z-probe on top of your material.
 Then, when you’re ready to carve, use the Easel carving walkthrough to home your z-probe. Happy carving!
Next Step: Dust Control System
Connect the red wire on the other end of the wiring harness into the z-probe disc.
Attached the clamp to the metal part of your collet or bit. Place the z-probe on top of your material.
Then, when you’re ready to carve, use the Easel carving walkthrough to home your z-probe. Happy carving!