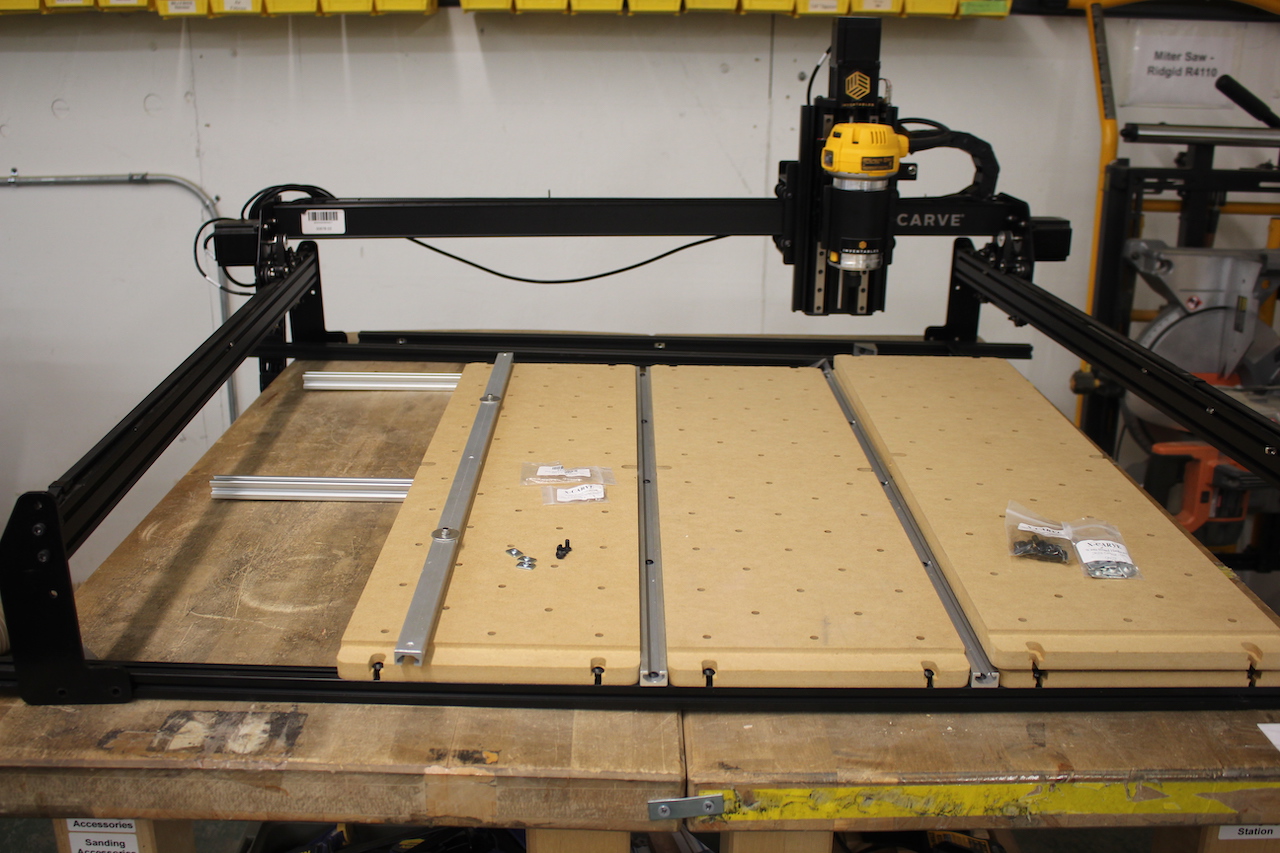
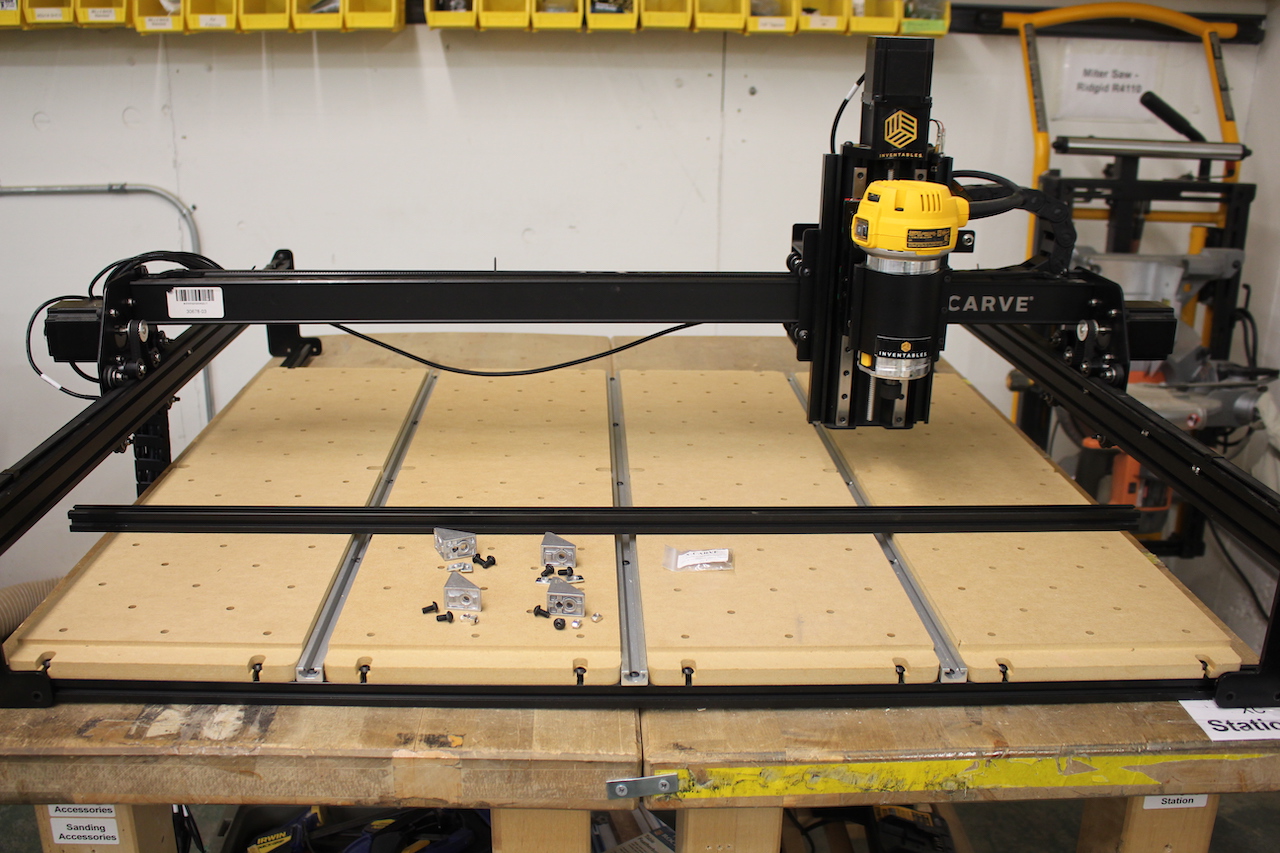
1000mm Modular Waste Board Kit
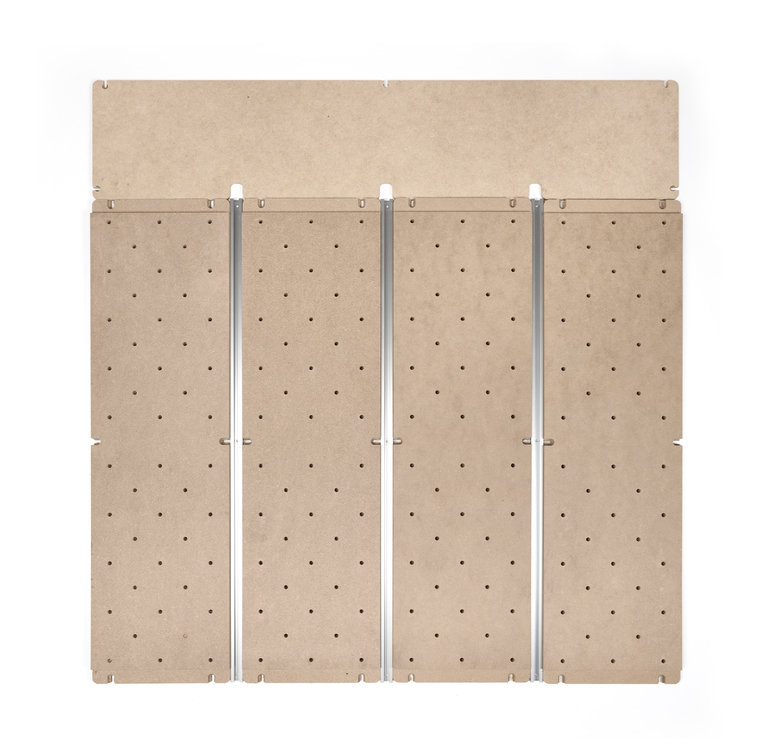
In this section, you will install the Modular Waste Board Kit. These instructions assume the 2" riser upgrades have been installed. If you do not have other upgrades, some steps can be skipped.
| 1000mm Modular Waste Board Kit | ||
| SKU | Name | Quantity |
| 30887-01 | Waste Board MDF Slat | 4 |
| 30887-02 | MDF Back Board | 1 |
| 25300-03 | T-Track Extrusion | 3 |
| 30517-18 | Threaded Inserts | 200 |
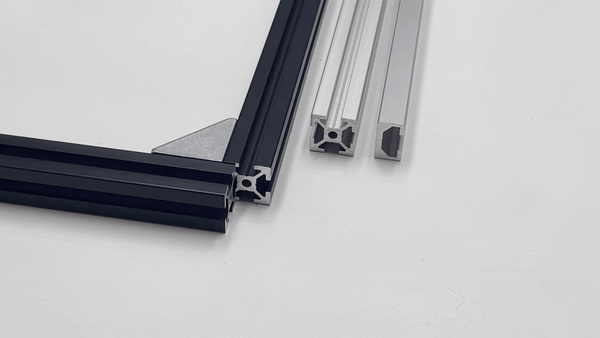
| 26047-04 | Aluminum Extrusion, 20mm x 20mm 898mm Lg | 2 |
| 26018-01 | Extrusion Bracket (Gusset) | 4 |
| 25281-16 | M4 Pre-Assembly T-Slot Nuts | 9 |
| 28058 | Tee Nut M5 Pre-Assembly | 29 |
| 30888-01 | Waste Board Hardware Kit | 1 |
| 5mm Hex Driver Bit | 1 | |
| M4 Oversize Washers | 6 | |
| M5 Tee Nut Twist in | 8 | |
| M4 Nylon Insert Lock Nut | 6 | |
| M4 x 8mm Button Head Cap Screws | 9 | |
| M4 x 10mm Button Head Cap Screw | 6 | |
| M5 x 10mm Button Head Cap Screws | 8 | |
| M5 x 12mm Button Head Cap Screw | 29 | |
| M5 Flat Washer | 29 | |
Start by powering off the X-Controller and disconnecting the green terminal blocks. You'll need to remove the sideboard and disconnect the screws holding down the drag chain to the sideboard extrusion.
If you have the dust shoe installed, detach the dust shoe from the z-axis and raise the pole arm out of the bracket. Set this aside to reinstall later.
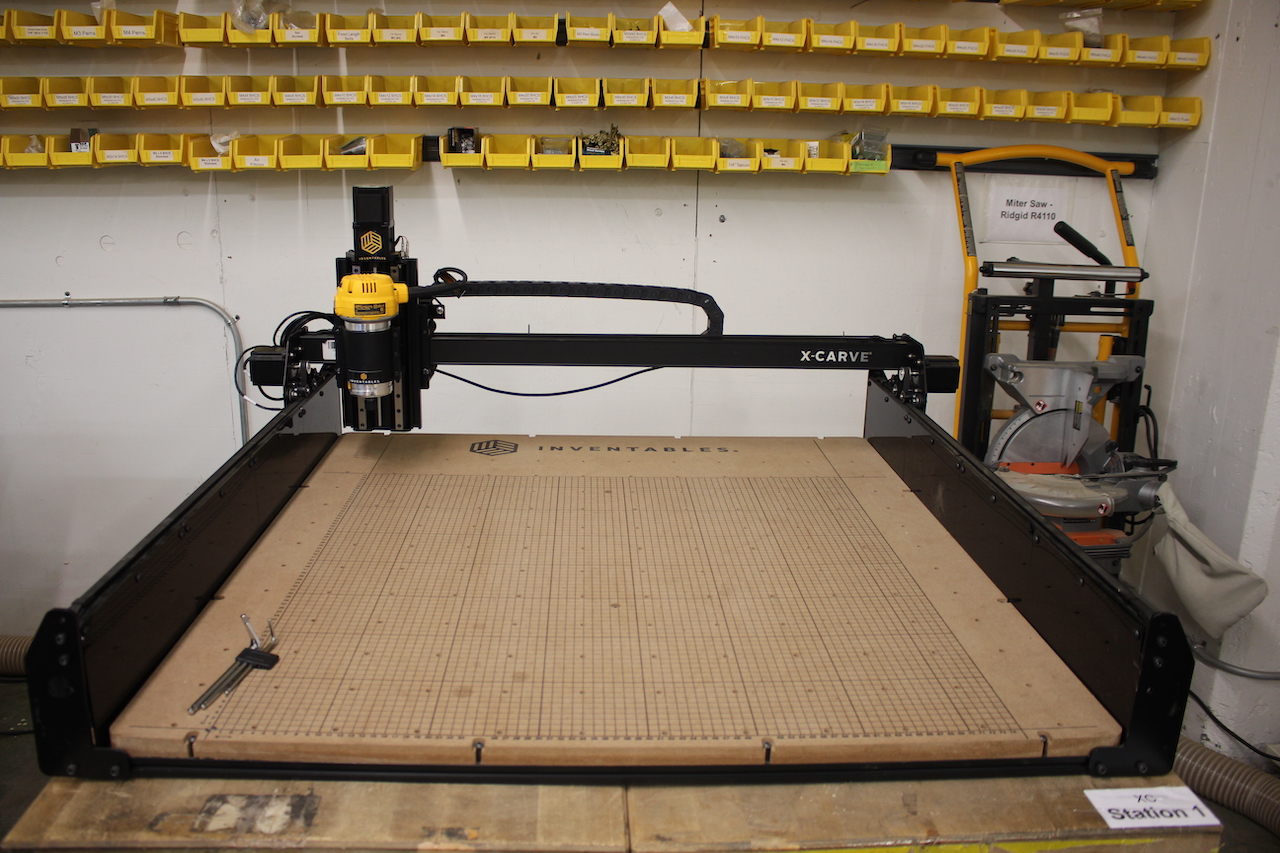
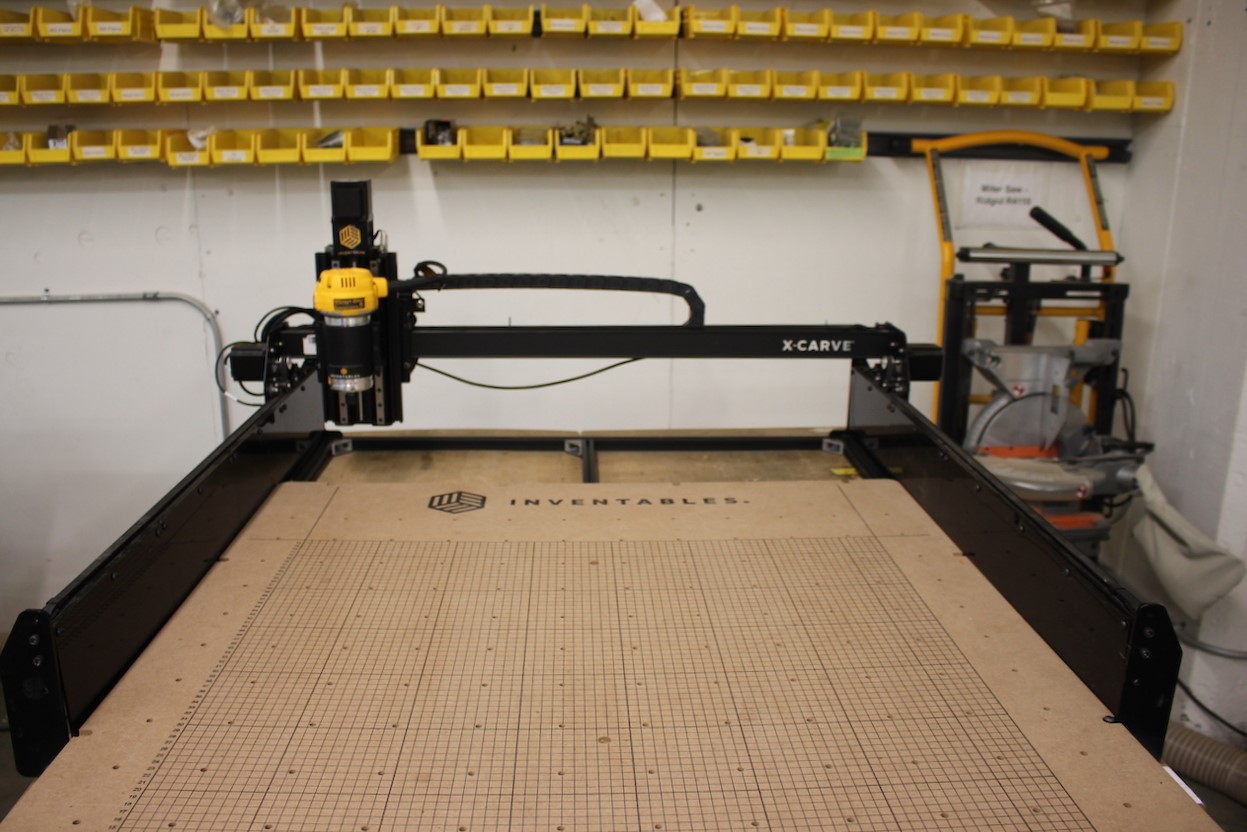
Loosen and remove the button head cap screws that hold the wasteboard down to the frame. There are two screws in the center and 12 around the edges. You will not need these screws later.
.jpg)
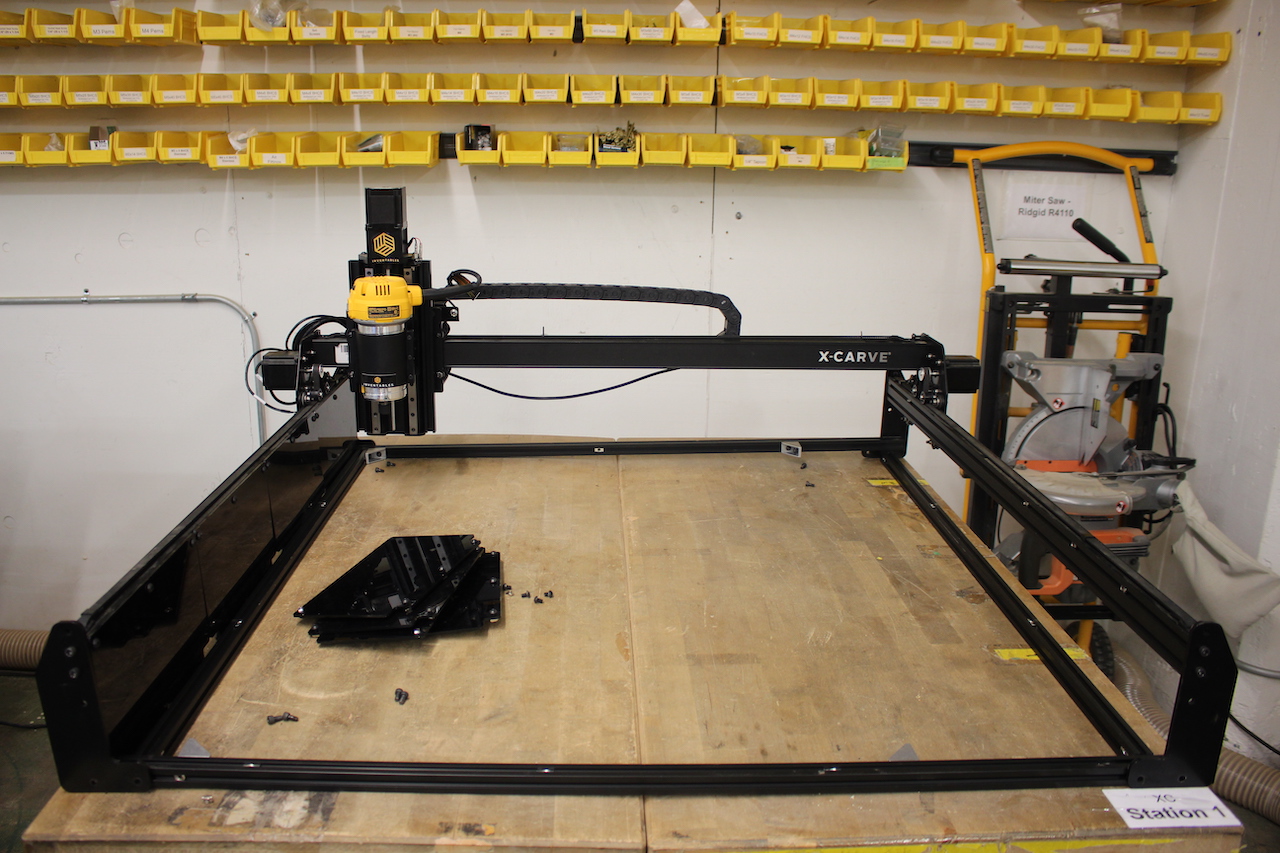
Once all the screws are removed, gently raise over brackets and slide the wasteboard forward to remove. Set aside.

Loosen the button head cap screws and remove the gusset brackets from the middle extrusion. Set this extrusion and hardware aside, you will not need these components.
.jpg)
Loosen and remove the lower socket head cap screws on the risers or end plates. There are 2 on each plate, total of 8 screws. Set the hardware aside, you will need this hardware later.
.jpg)
Loosen the button head cap screws that secure the Stiffener Panels to the wasteboard and to the makerslide. Remove the stiffeners from both sides. Set the hardware aside, you will need this hardware later.

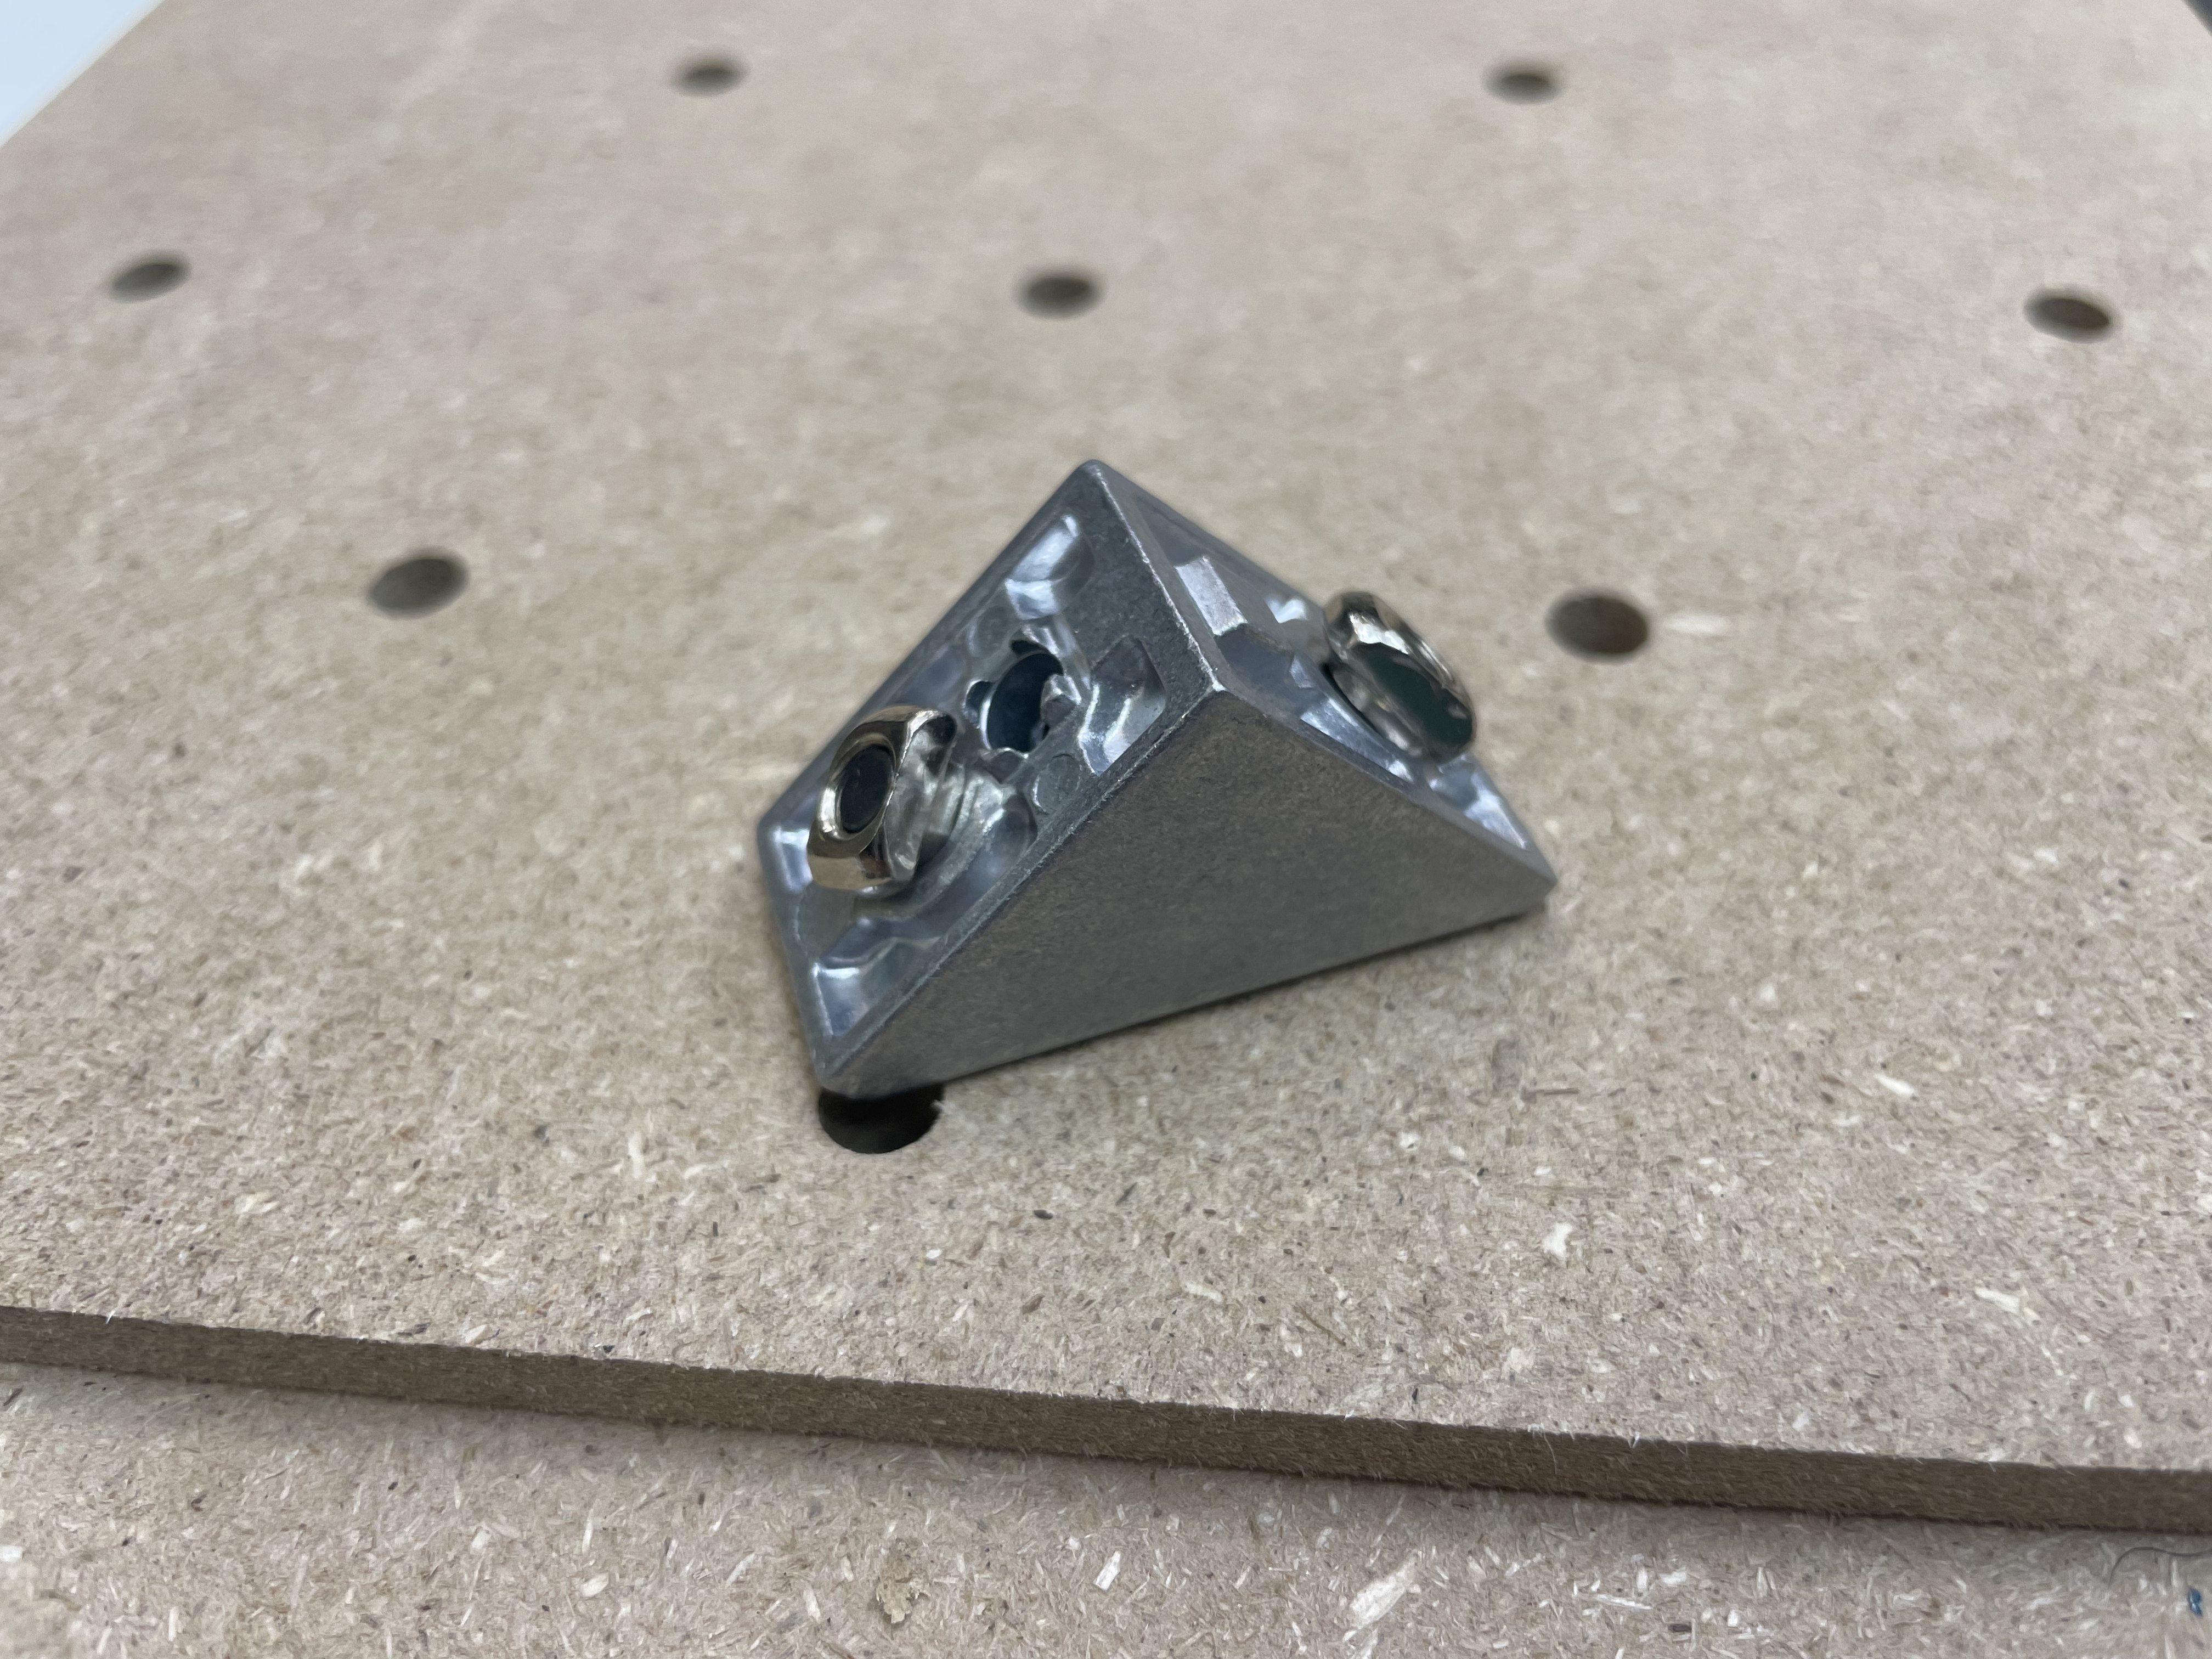
Loosen the gusset brackets on all 4 corners of the frame and separate extrusions. Keep 2 gusset brackets with pre-assembly t-slot nuts loosely threaded to use in the next step. Set remaining hardware aside, you will need this hardware later.
.jpg)
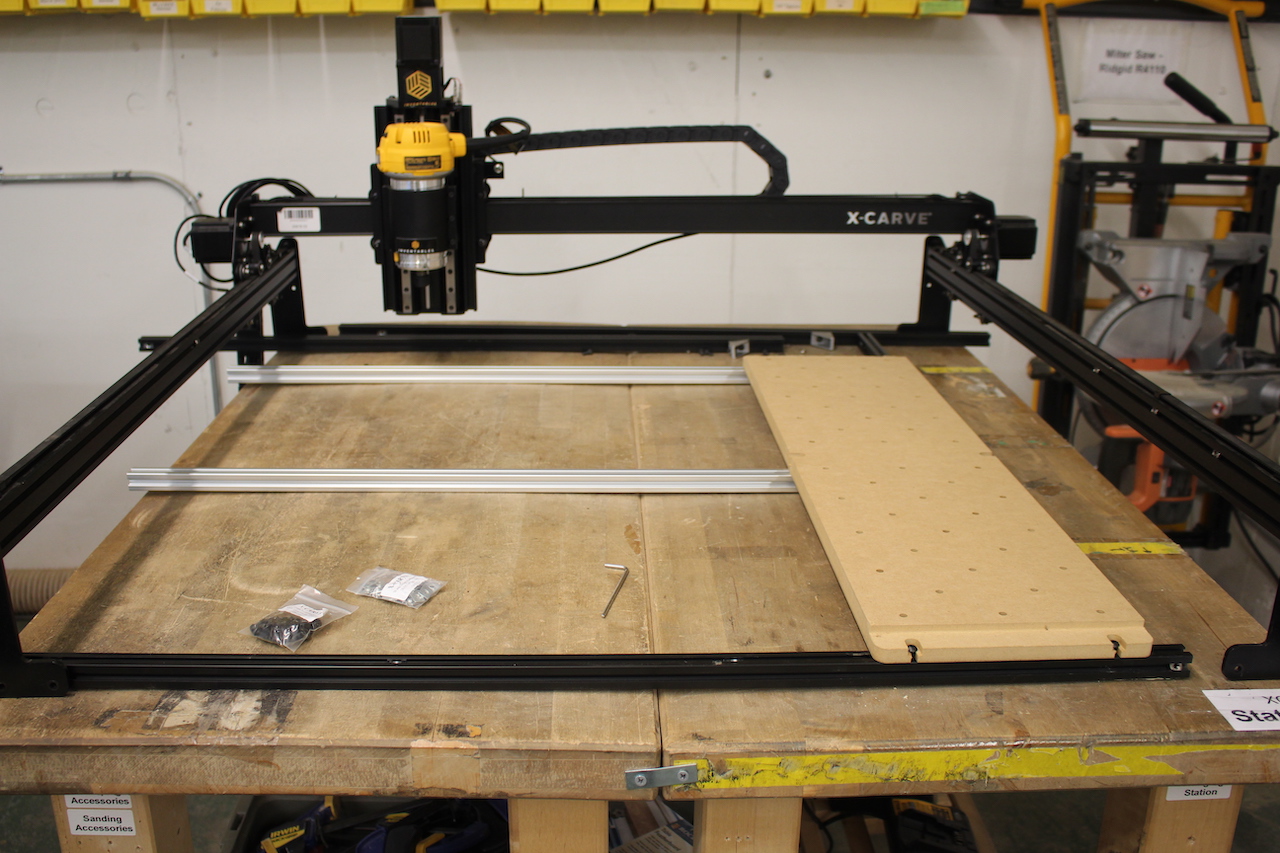
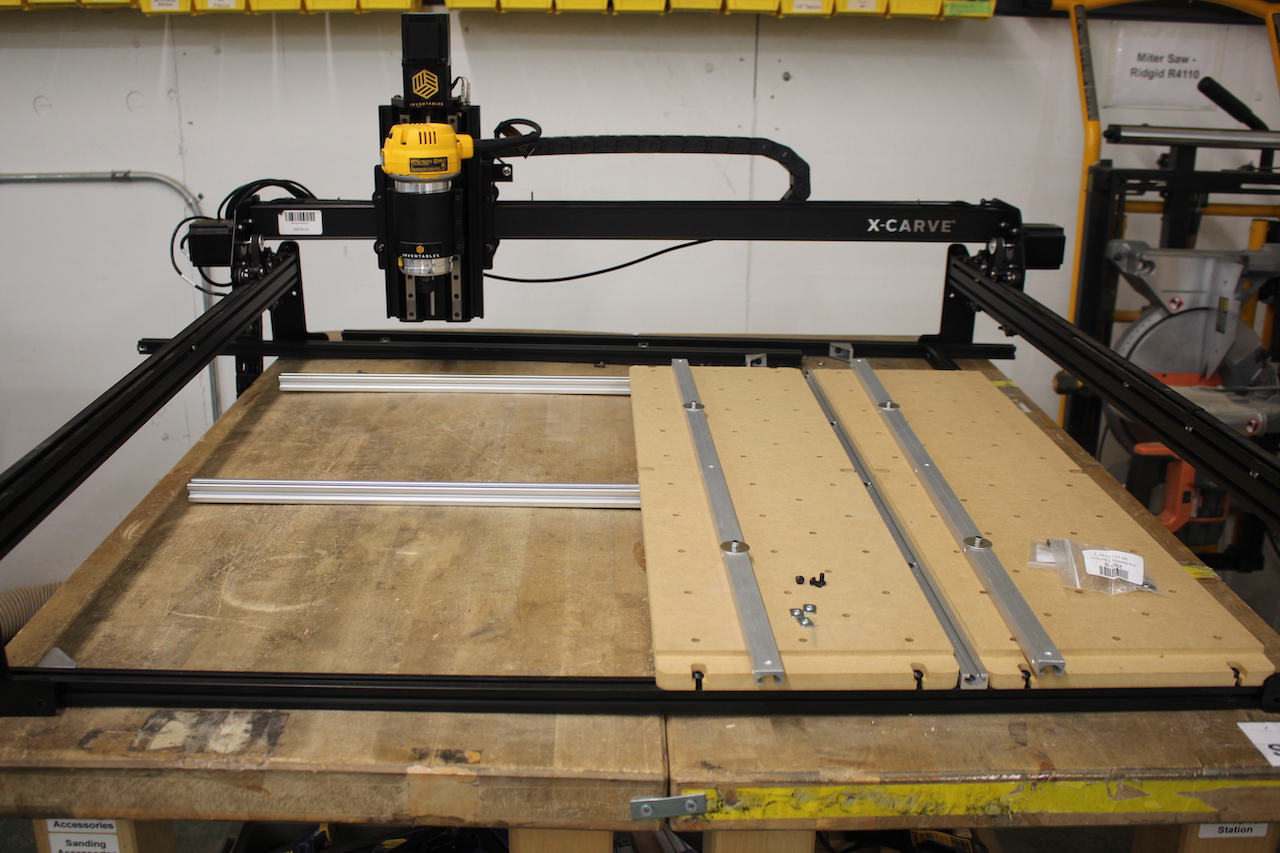
Once the base of the wasteboard base is separated, start assembling the Modular Waste Board Kit by aligning two 20mm x 20mm extrusions at a right angle (958mm extrusion on the right and 1000mm extrusion on the bottom). Use M5 x 10mm button head cap screw and M5 pre-assembly t-slot nuts on the gusset bracket.
.png)
Use one waste board extrusion and one waste board tee track as guides to set the correct location of the 1000mm rail (circled above). Then use a 3mm hex to secure the extrusion bracket. Alternatively, you can set this spacing by measuring 1.25" / 32mm.
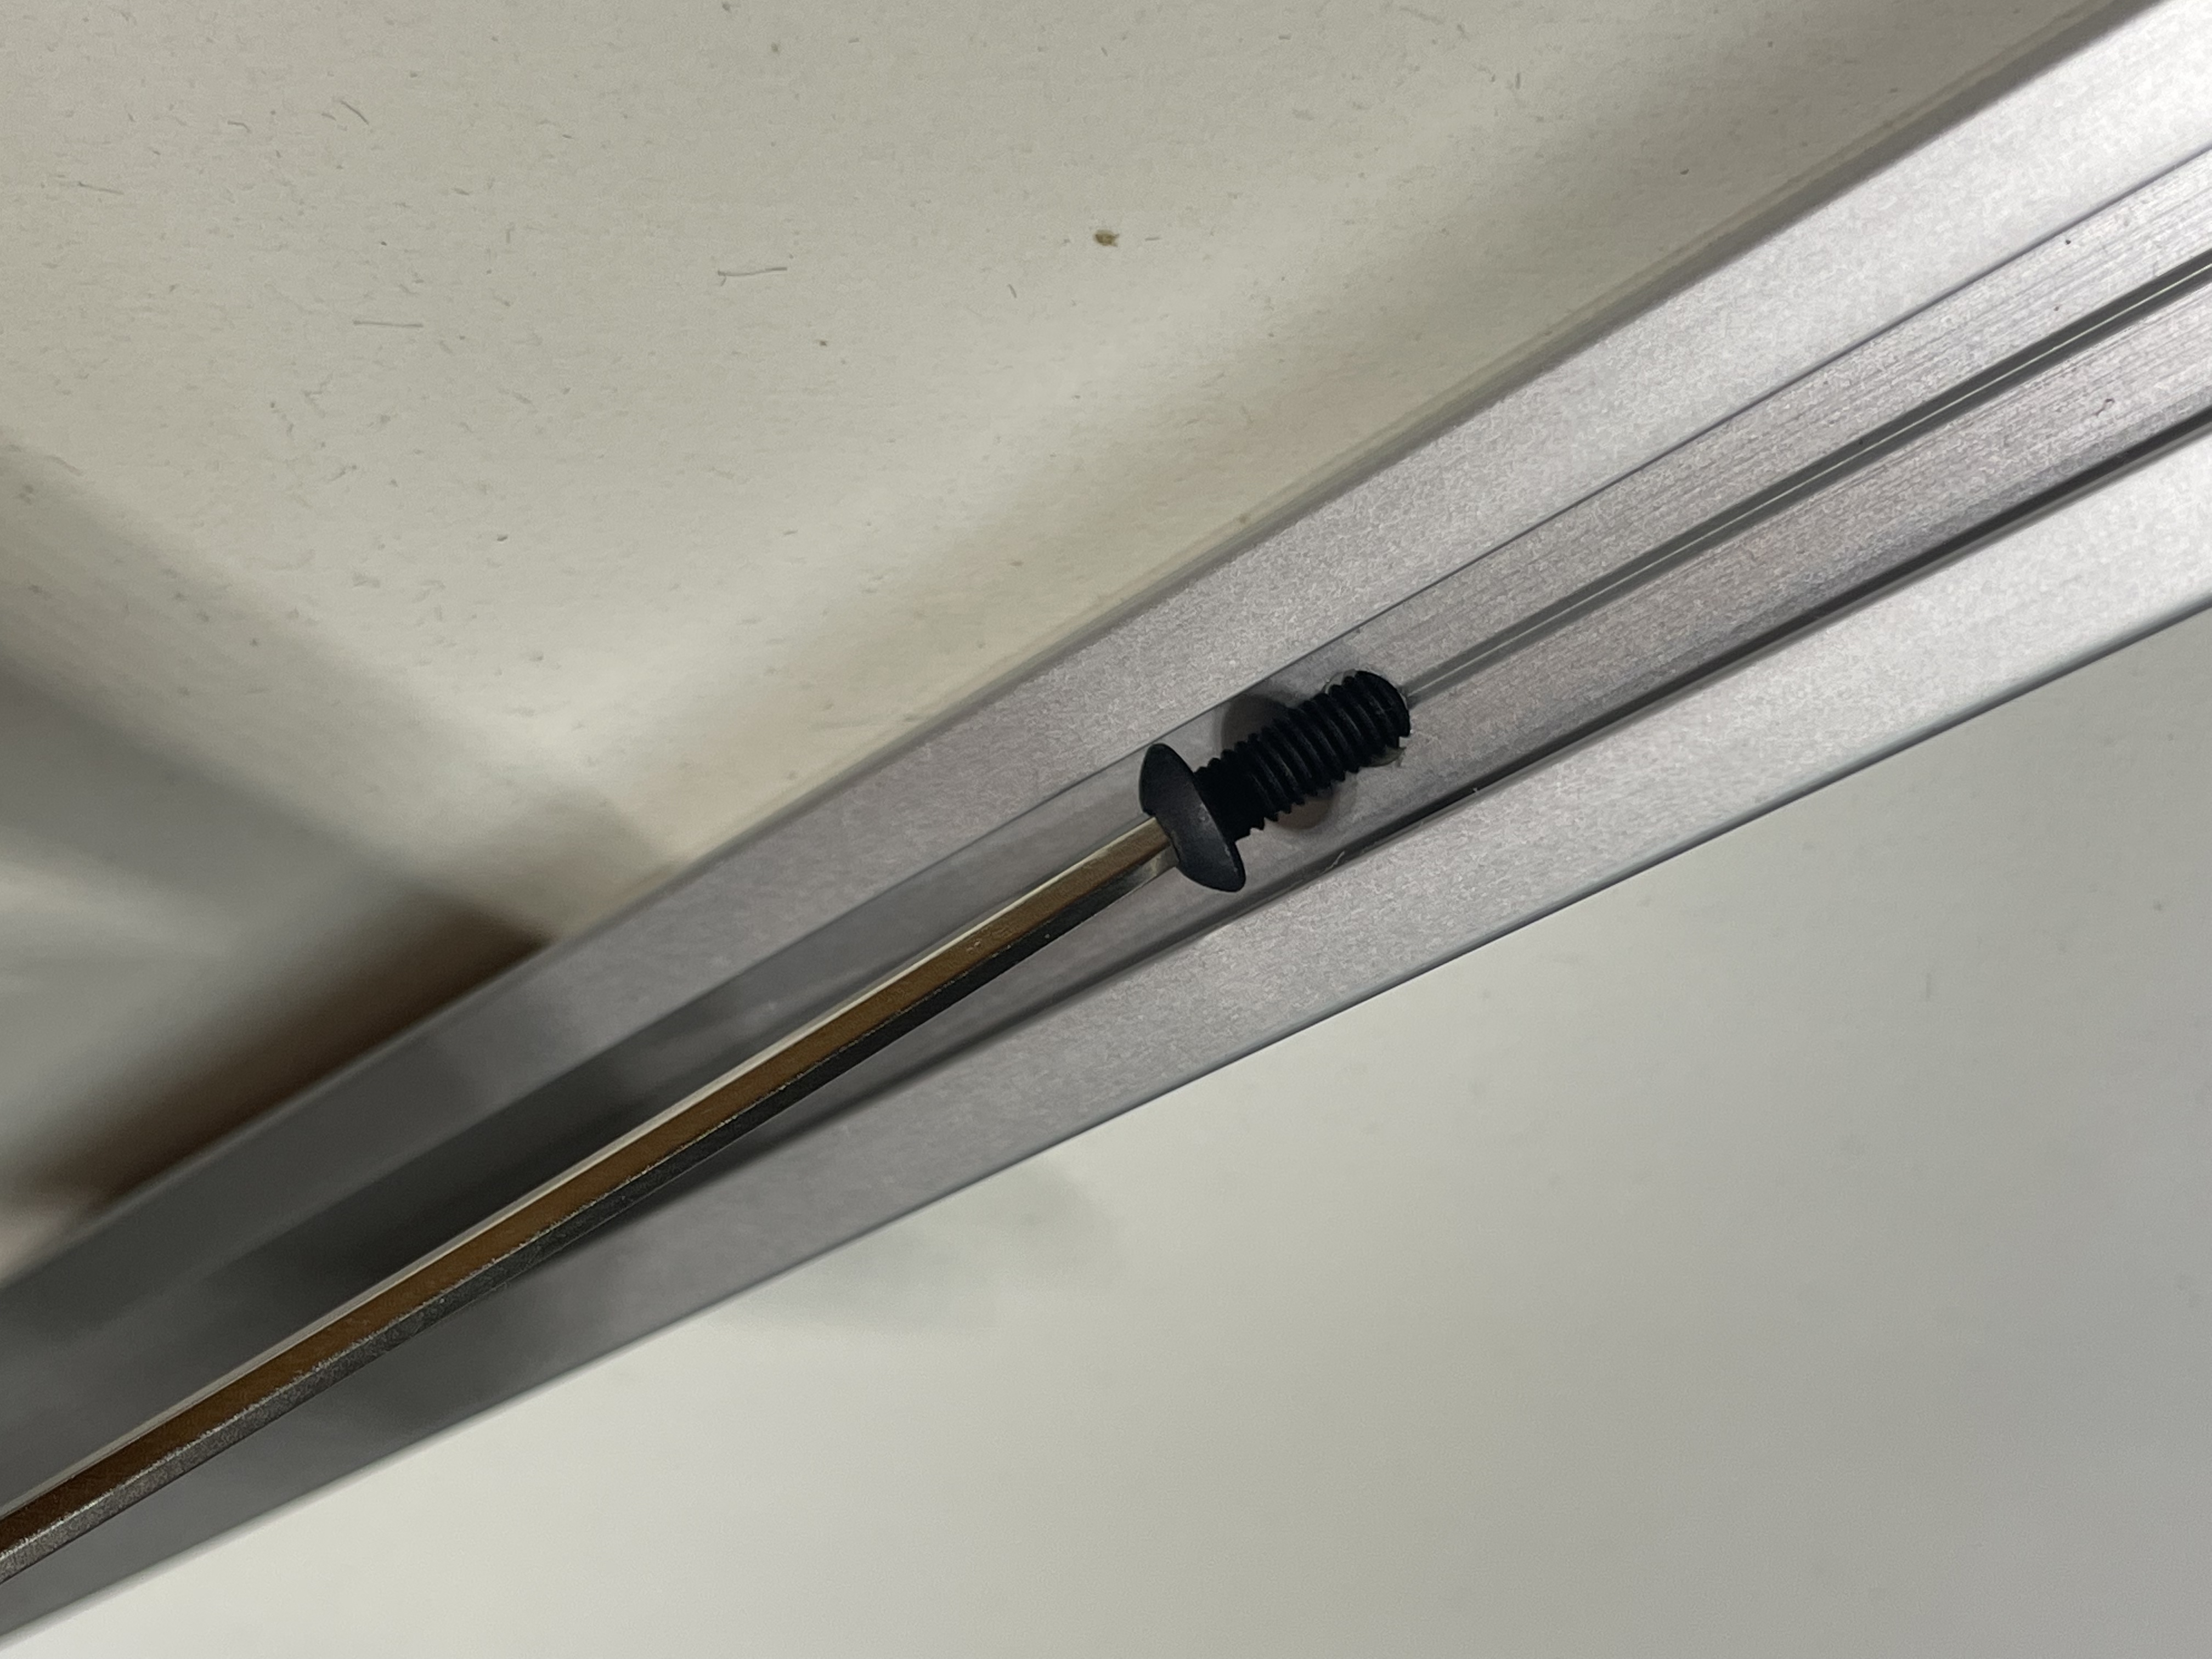
Thread 3 M5 x 12mm Button Head Cap Screws into 3 M5 Pre-Assembly T-Slot Nuts. Slide 2 screw assemblies into the 1000mm extrusion and 1 into the 958mm extrusion. You will have to slide it into the 958mm extrusion from the back.
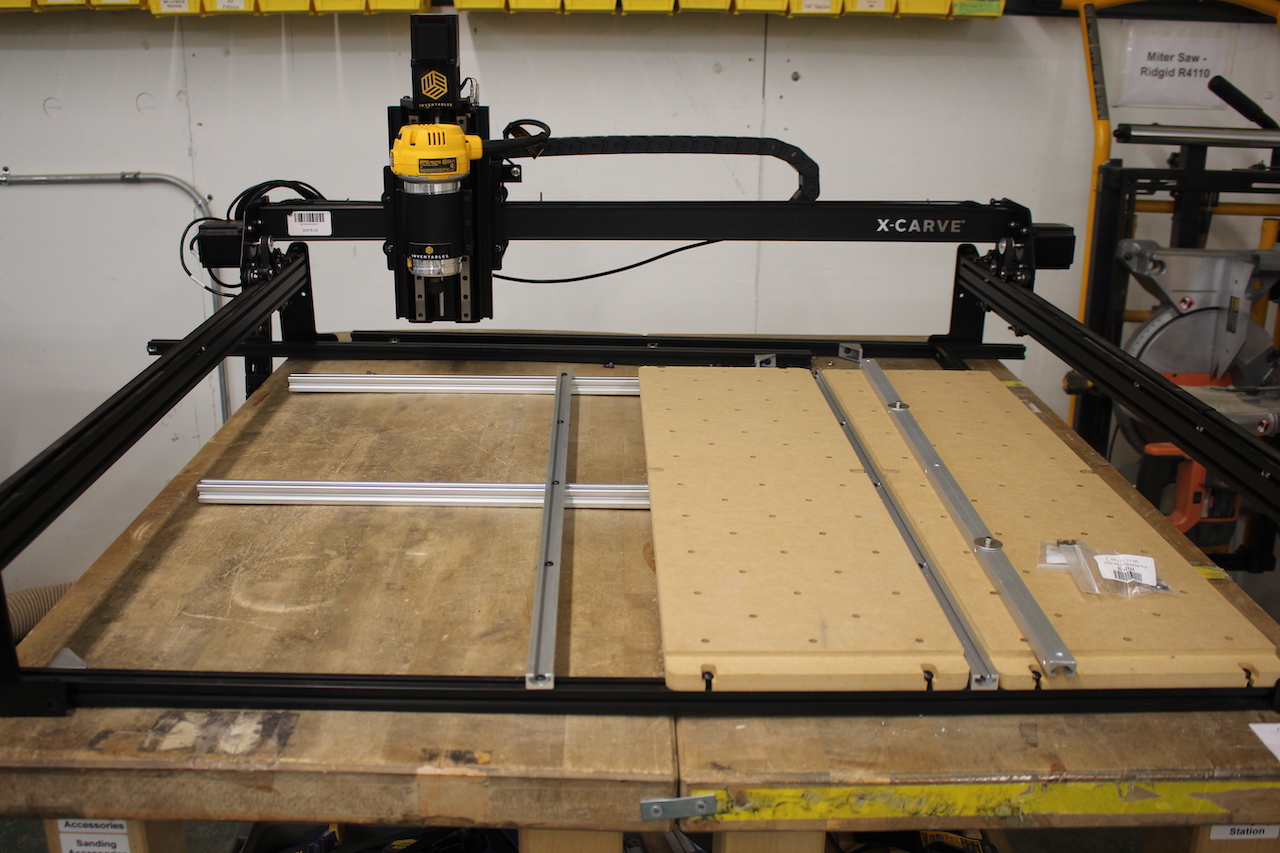
Attach the First MDF Slat
Align the first wasteboard slat with the edges of the base extrusions and slide screws into place. Secure by tightneing the three screws.
.png)
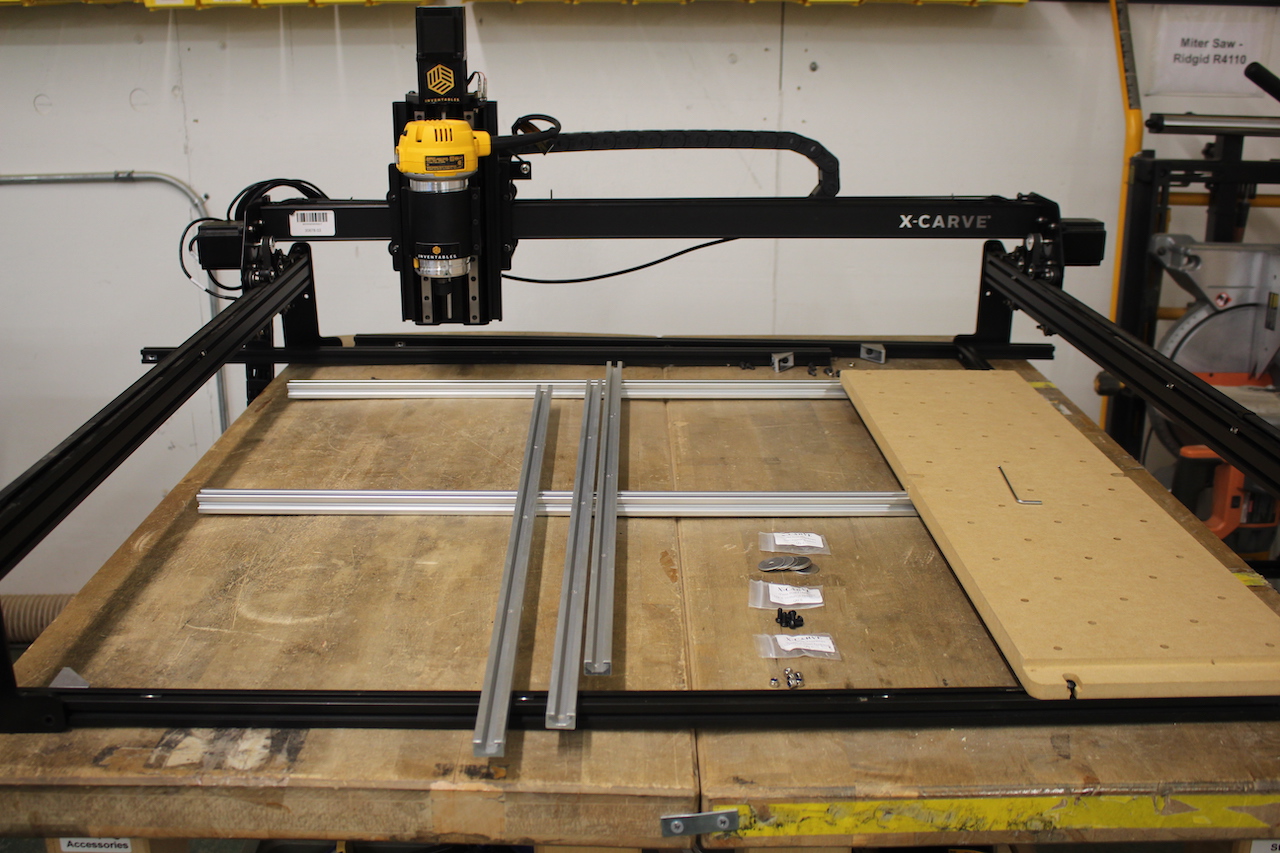
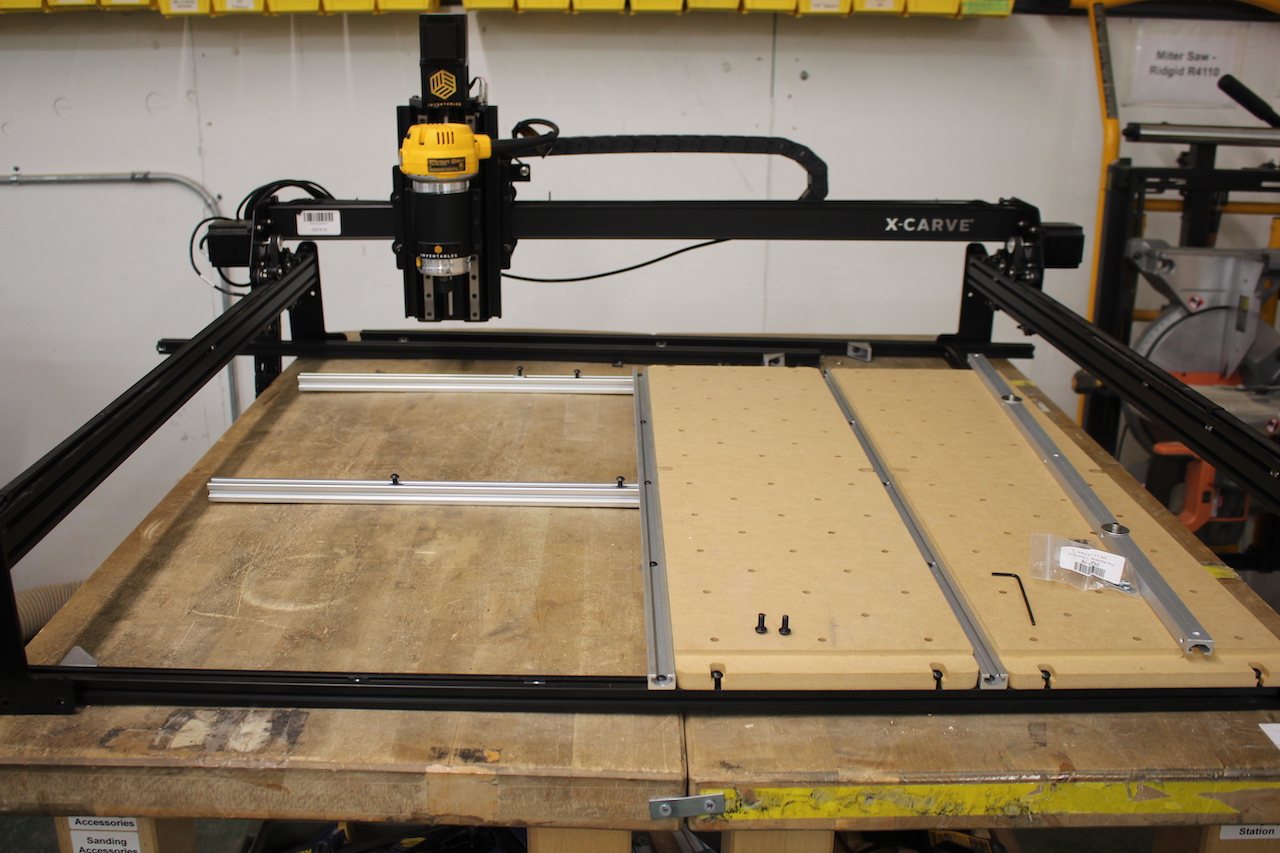
Gather the 2 silver 20mm x 20mm x 898mm extrusions, 3 M5 x 12 Button Head Cap Screws and 3 M5 Pre-Assembly T-Slot Nuts.
Thread the M5 x 12mm Button Head Cap Screws into the M5 Pre-Assembly T-Slot Nuts. Slide 2 of them on to the top silver 20mm x 20mm 898mm extrusion and 1 to the middle silver extrusion (shown below).
.jpg)
Slide the screw assemblies in place and align the extrusions with the first MDF slat holes. Tighten down the button head cap screws (shown below).
Assemble t-tracks
Gather the Tee Track Extrusions (3), M4 x 10mm Button Head Cap Screws (6), M4 Nylon Insert Lock Nut (6), Oversize Washer (6).
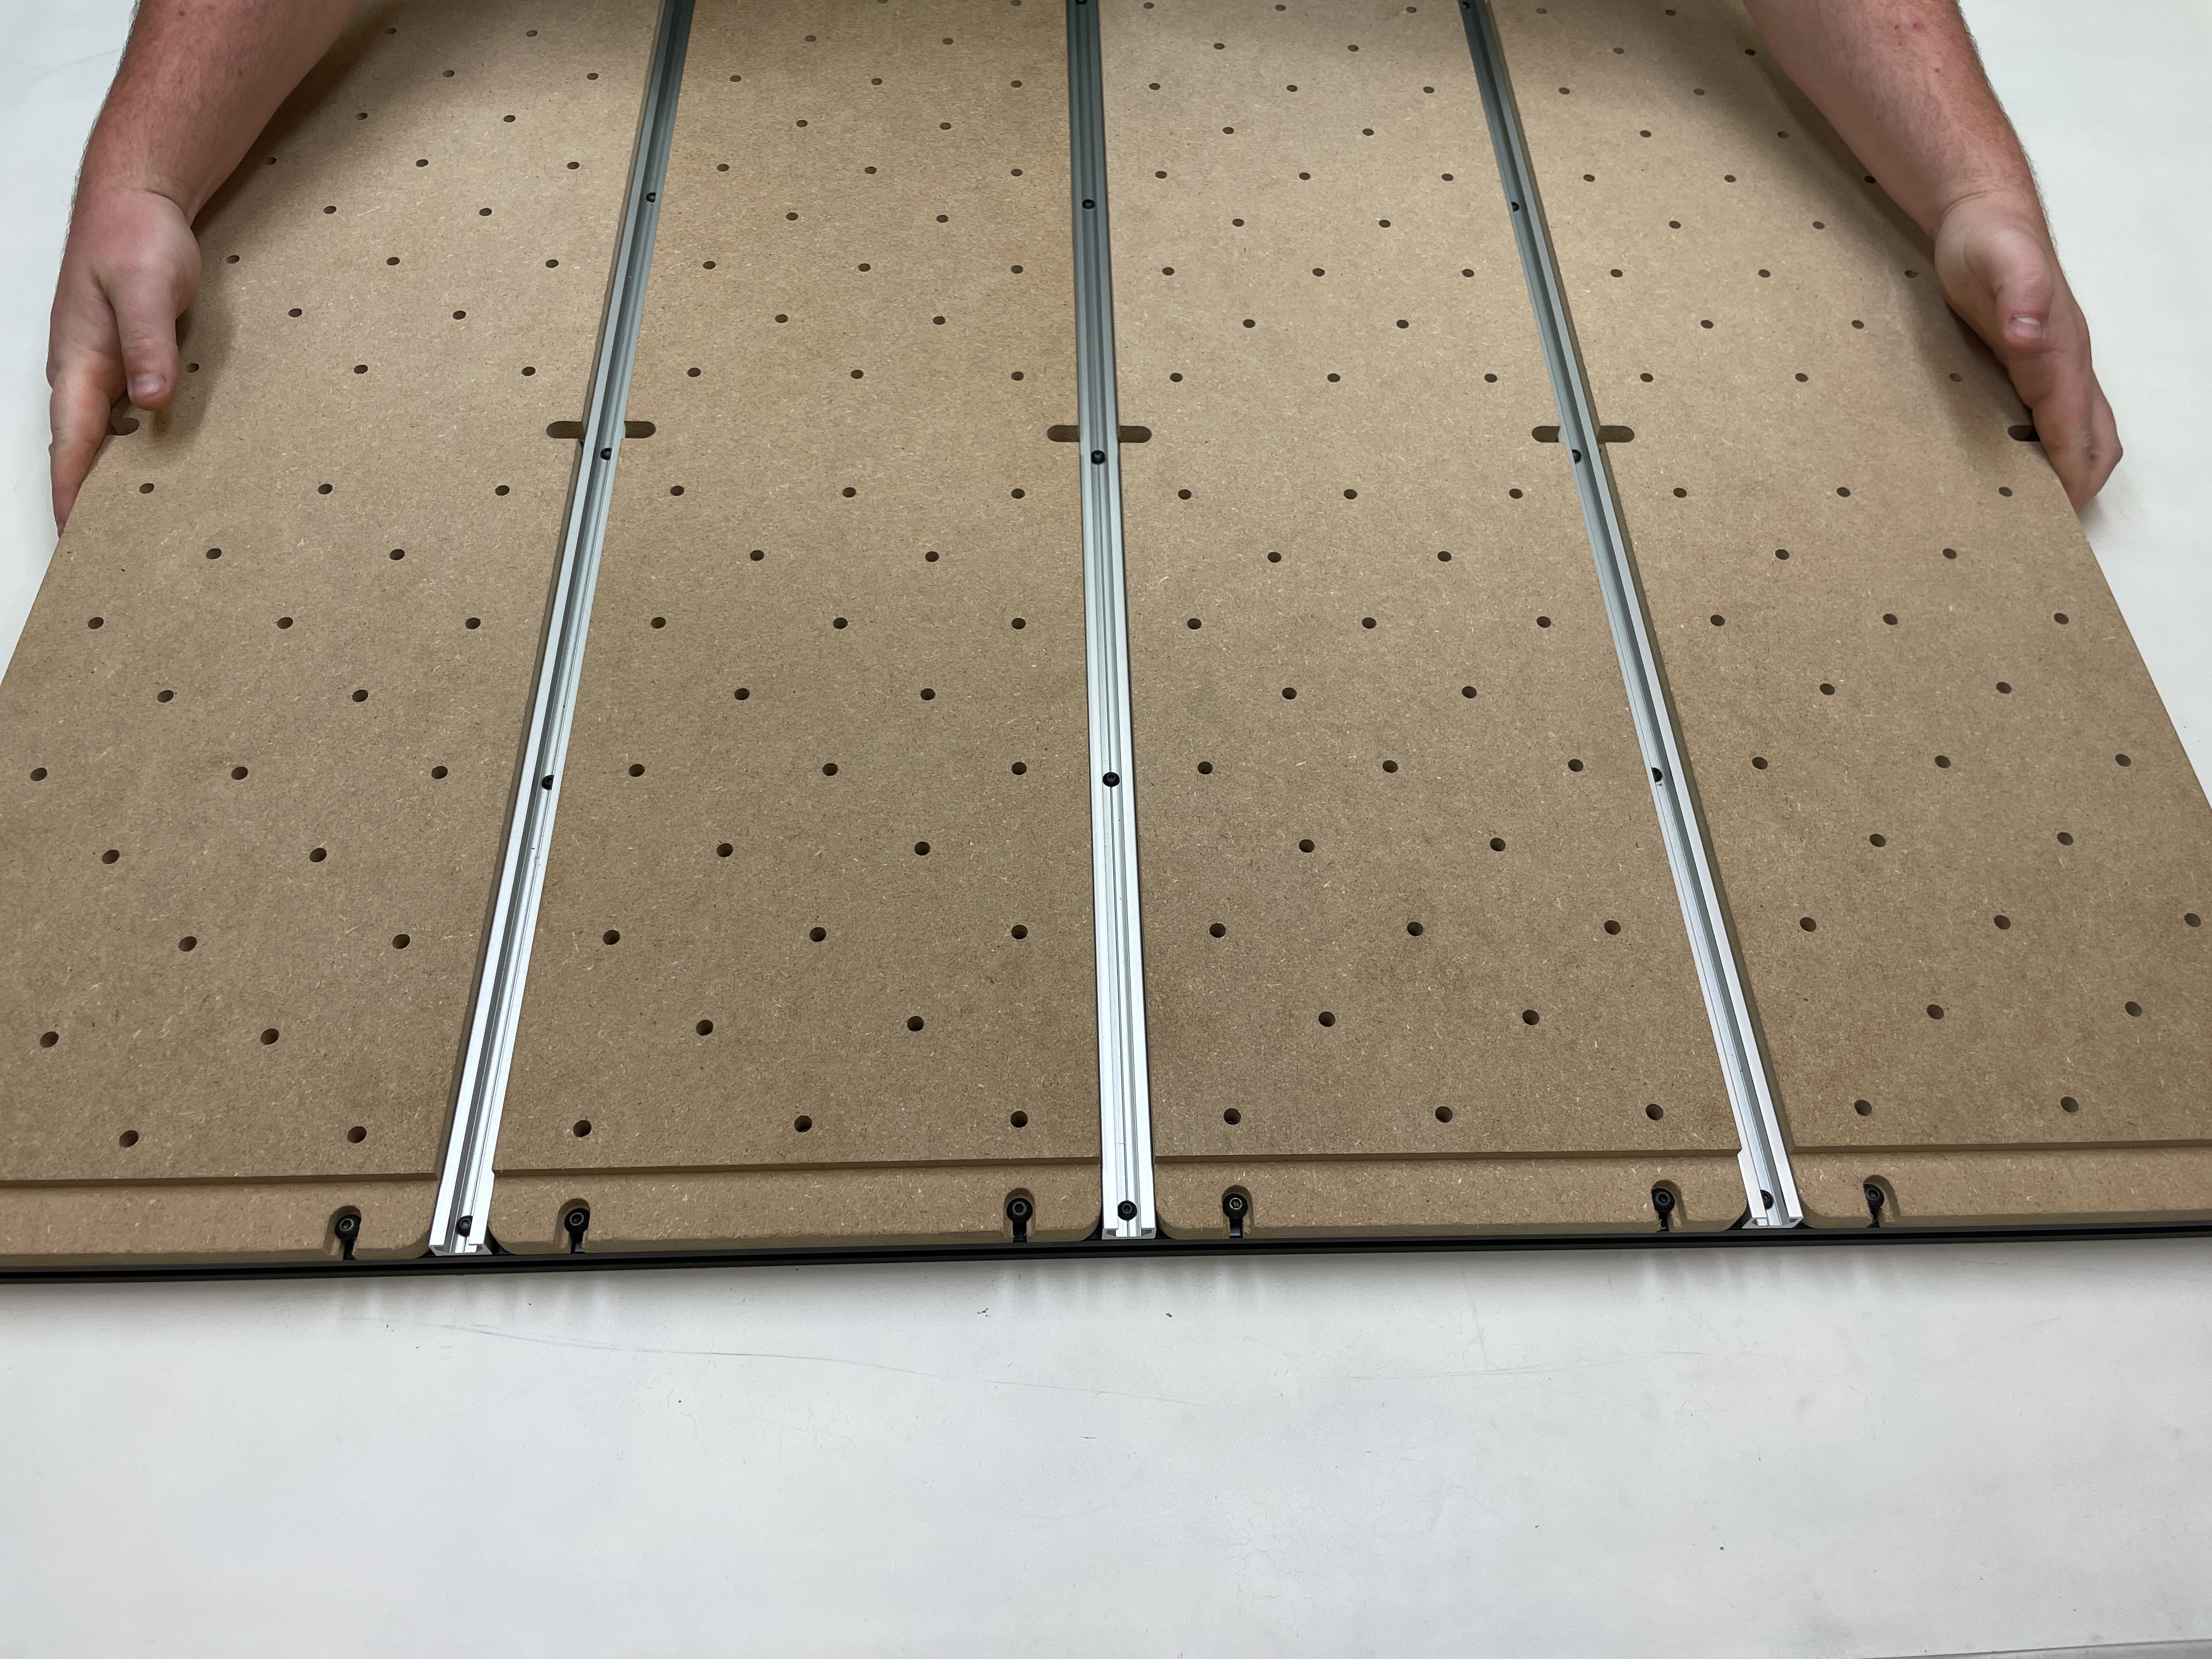
Each section of tee track has 5 holes drilled in it. We will be installing oversized washers on the second and fourth holes, as shown below.

Use a 2.5mm allen to insert the M4 x 10mm button head screw into the appropriate hole of the tee track. Add an oversized washer onto the screw, then an M4 Nylock nut.
Tighten using your 2.5mm hex key with a 7mm wrench. Repeat this for the second and fourth hole in each of the three tee tracks.

Install first t-track
Attach one M4 pre-assembly t-slot nut (25281-16) into the top slot of each of the 3 extrusions that run side to side.
Place the tee track on top of the extrusions and thread an M4 x 8mm screw through the t-track and into each tee nut. Start with the black extrusion in the front. You may need to move the silver extrusions in order to line up the tee nuts with the holes in the t-track.
.gif)
.gif)
Slide the t-track extrusion to be against the MDF slat.
Install second MDF slat
Thread 2 M5 x 12mm Button Head Cap Screws into 2 M5 Pre-Assembly T-Slot Nuts. Two will go to the rear extrusion.
.jpg)
Slide 2 M5 Pre-Assembly T-Slot Nuts into the middle extrusion and another 2 on the lowest extrusion.
Align the 2 screws on the rear silver extrusion to the spacing on the waste board slat, and slide the slat onto the screws. Align the front of the waste board slat to the two pre-assembly t-slot nuts in the black extrusion (pictured above). Thread two M5 x 12mm button head cap screws through that waste board slat and into the M5 pre-assembly t-slot nuts.
Push the second MDF slat against the tee track. We will tighten these screws at the end, for now it is best to leave them a bit loose.
Install remaining t-slot track and MDF slats
Follow the same steps as before, install the second t-slot and MDF slat.
Use M4 pre-assembly t-slot nuts (25281-16) into the top slot of each of the 3 extrusions that run side to side.
Slide the t-slot track against the MDF slat and secure without fully tightening.
Use M5 x 12mm socket head cap screws and M5 Pre-Assembly T-Slot Nuts to align and loosely secure the 3rd MDF slat (shown below).
Install the last t-track using 3 M4 pre-assembly t-slot nuts (25281-16) into the top slot of each of the 3 extrusions that run side to side.
Install the fourth MDF Slat
Use M5 x 12mm button head cap screws and M5 pre-assembly t-slot nuts to align the fourth MDF Slat. Two on the top silver extrusion, one in the middle extrusion and two on the lower black extrusion.
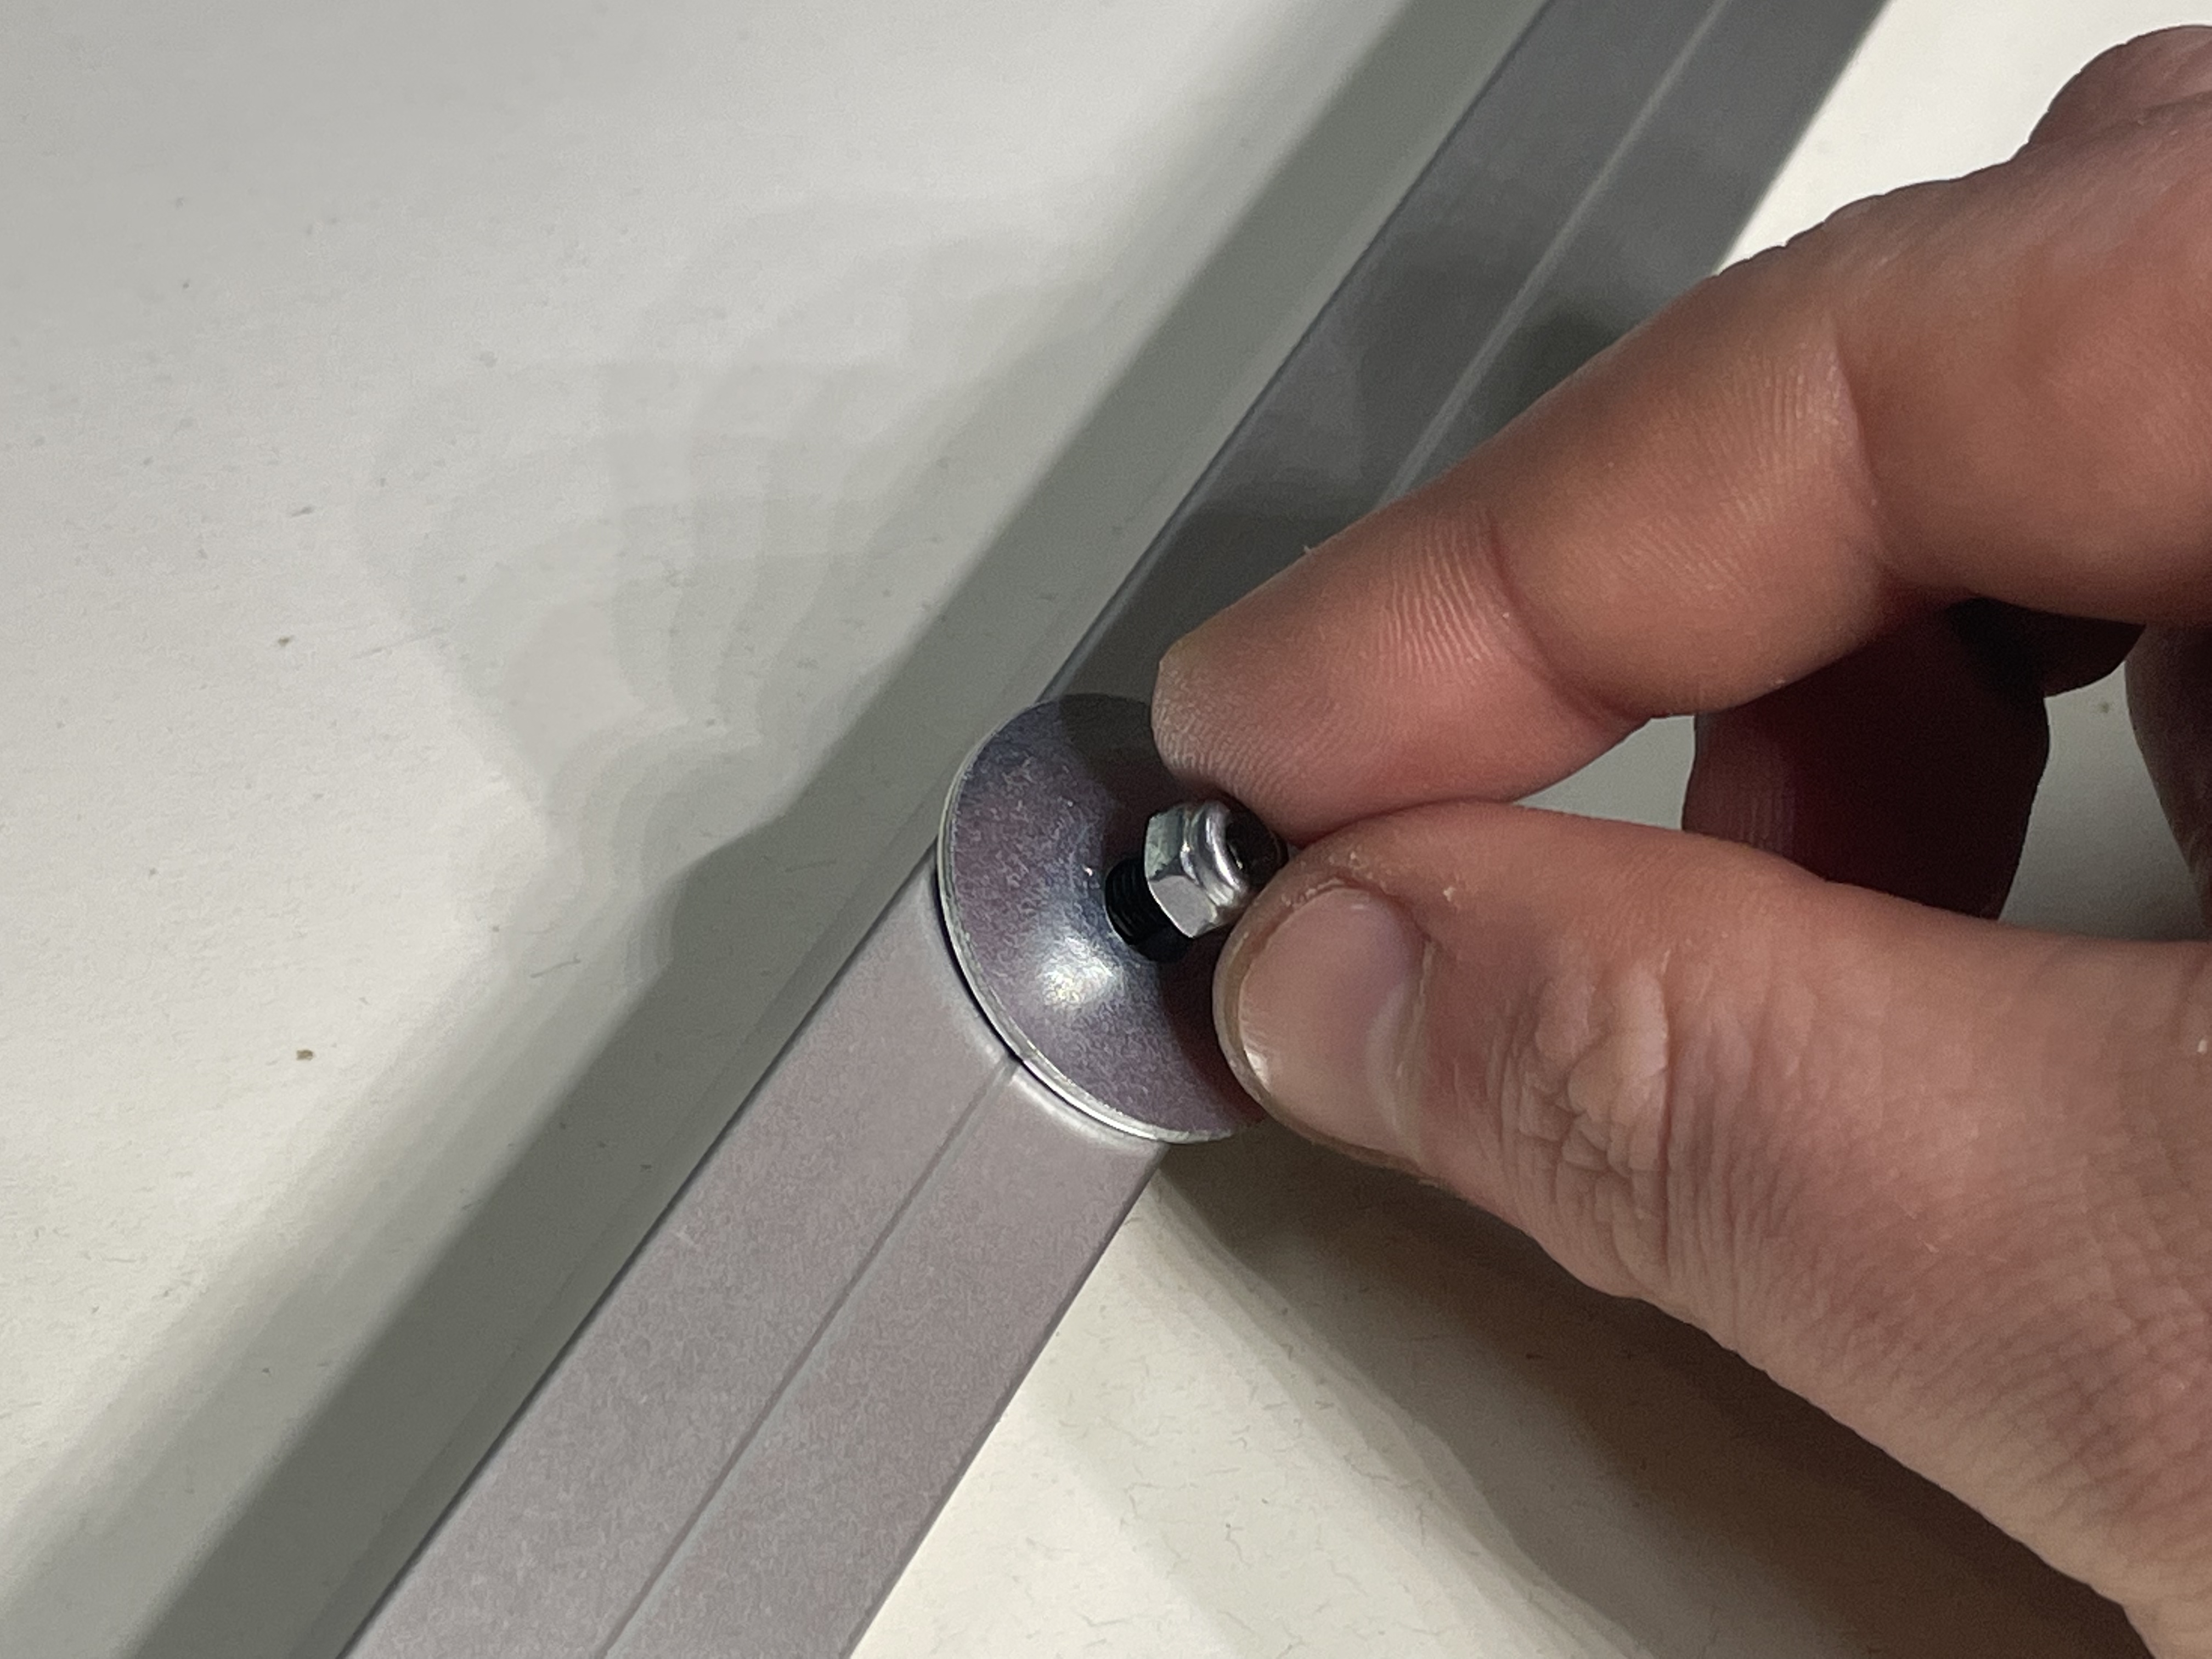
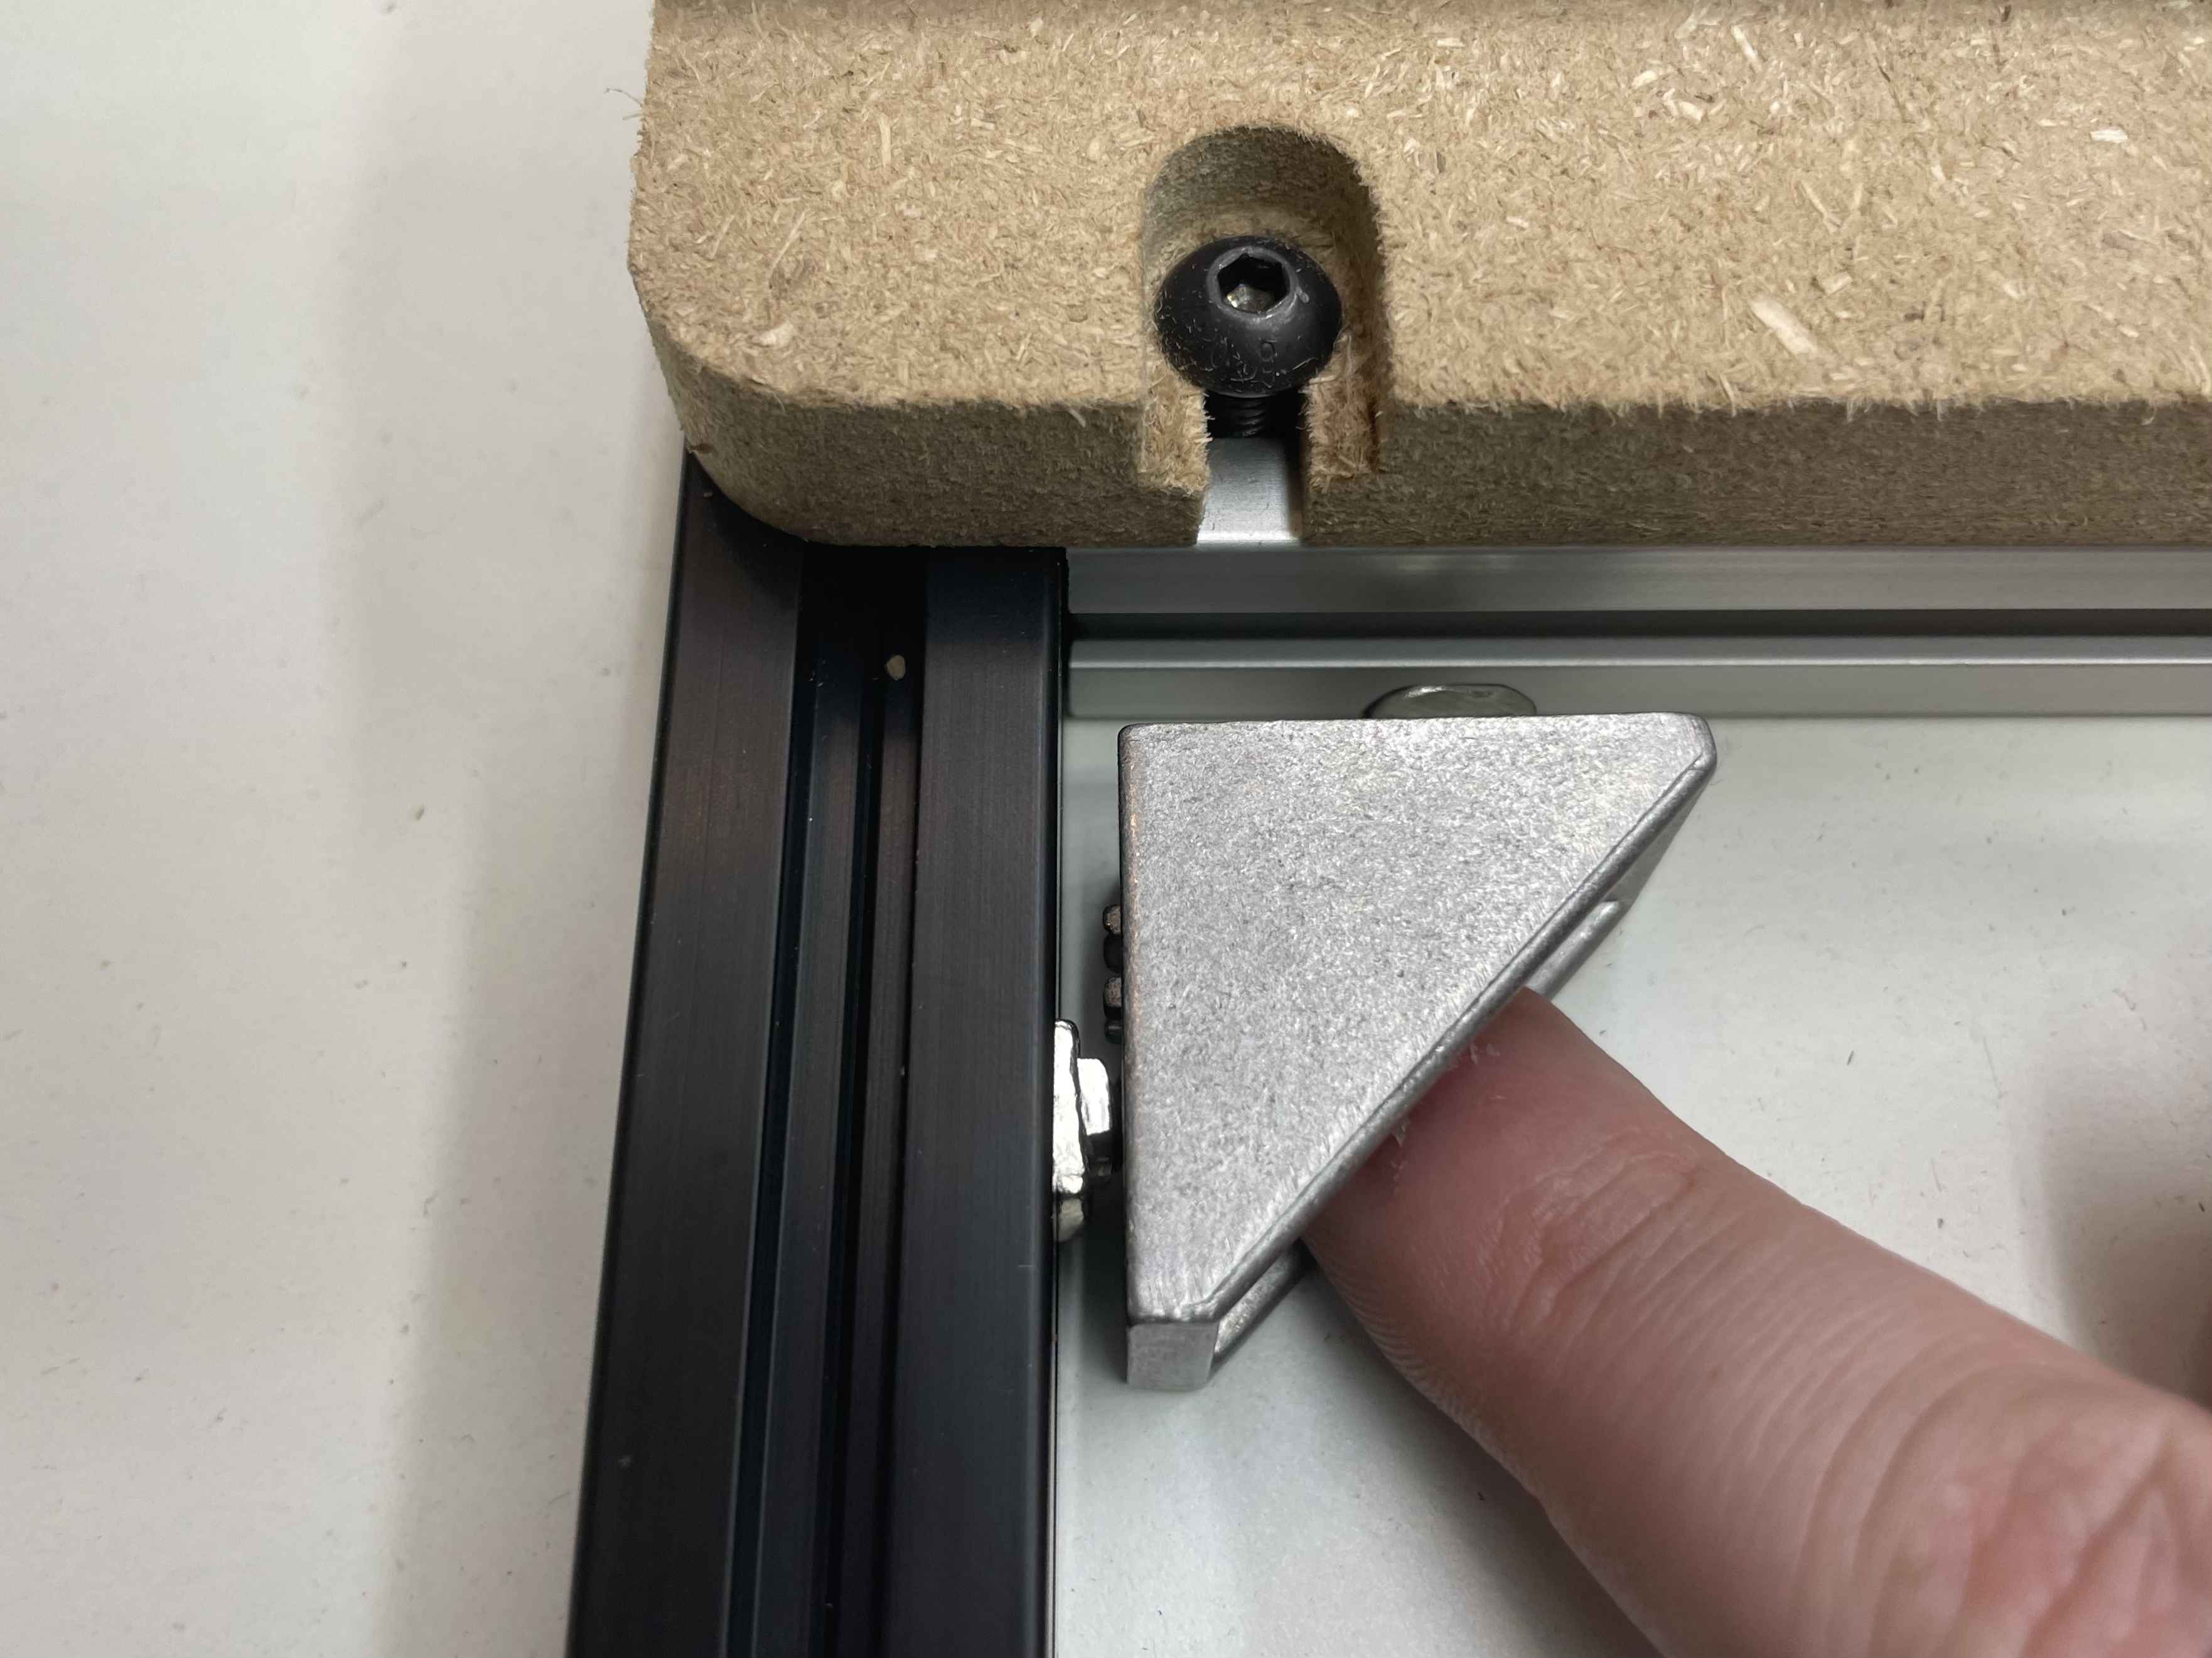
Attach two M5 x 10mm button head cap screws and M5 pre-assembly t-slot nuts to a gusset bracket. Secure a gusset bracket to the lower corner of the 958mm extrusion. Also, slide in an M5 x 12mm button head cap screw with the pre-assembly t-slot nut to the top of the rail.

Align the extrusion with the edge of the MDF slat, and then tighten the middle M5x12mm button head cap screw that secures the MDF slat to the extrusion. You will tightnen the gusset bracket in a later step.
.jpg)
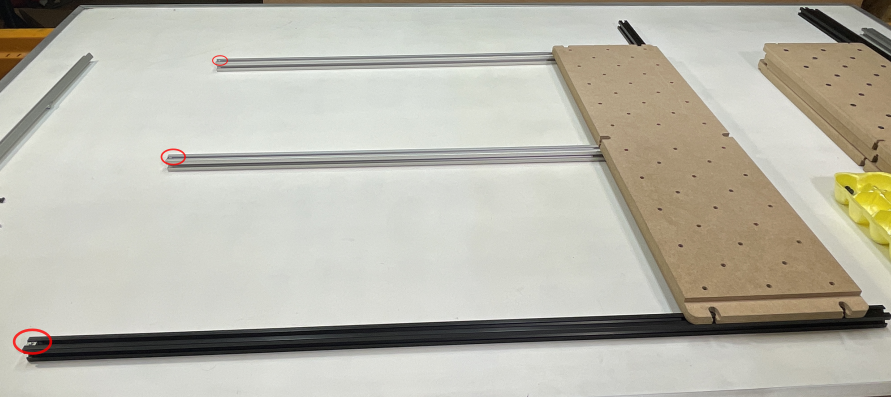
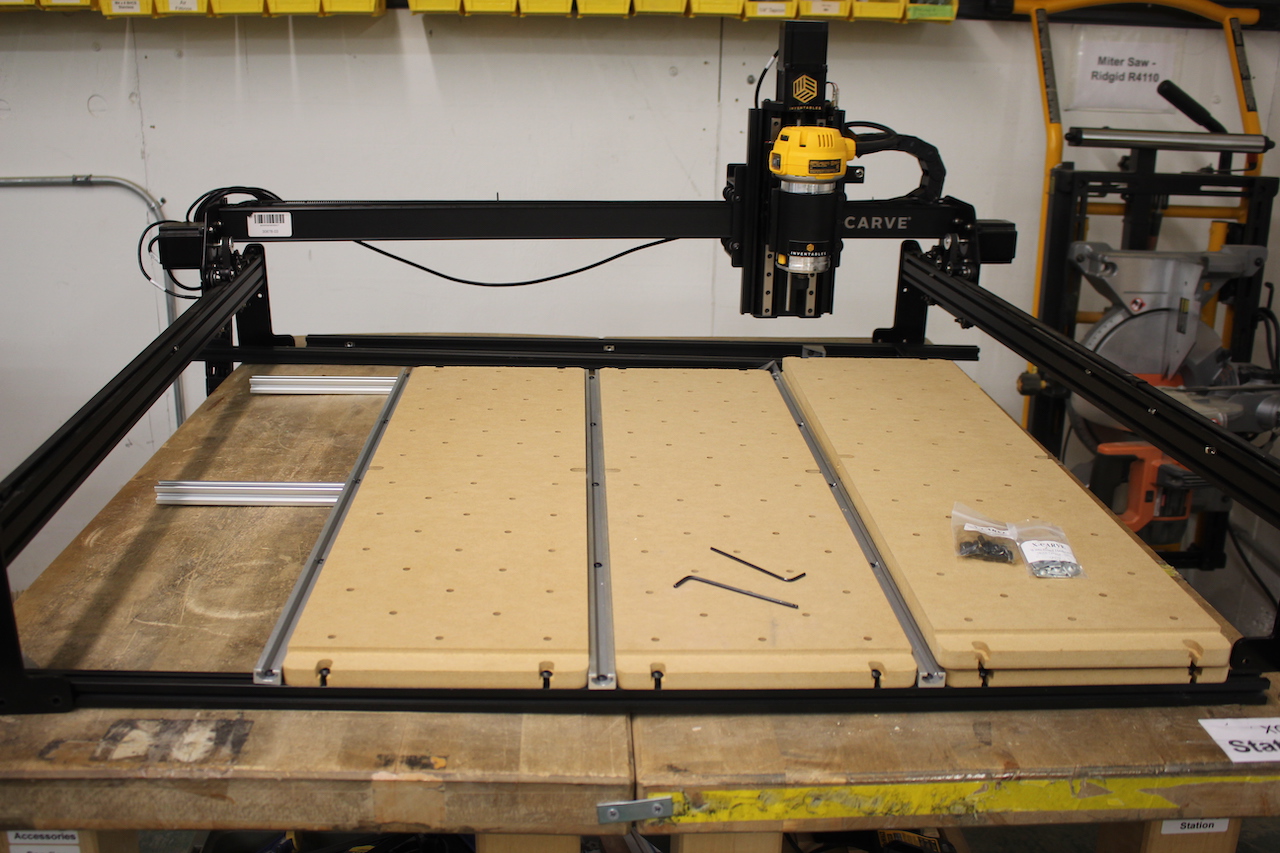
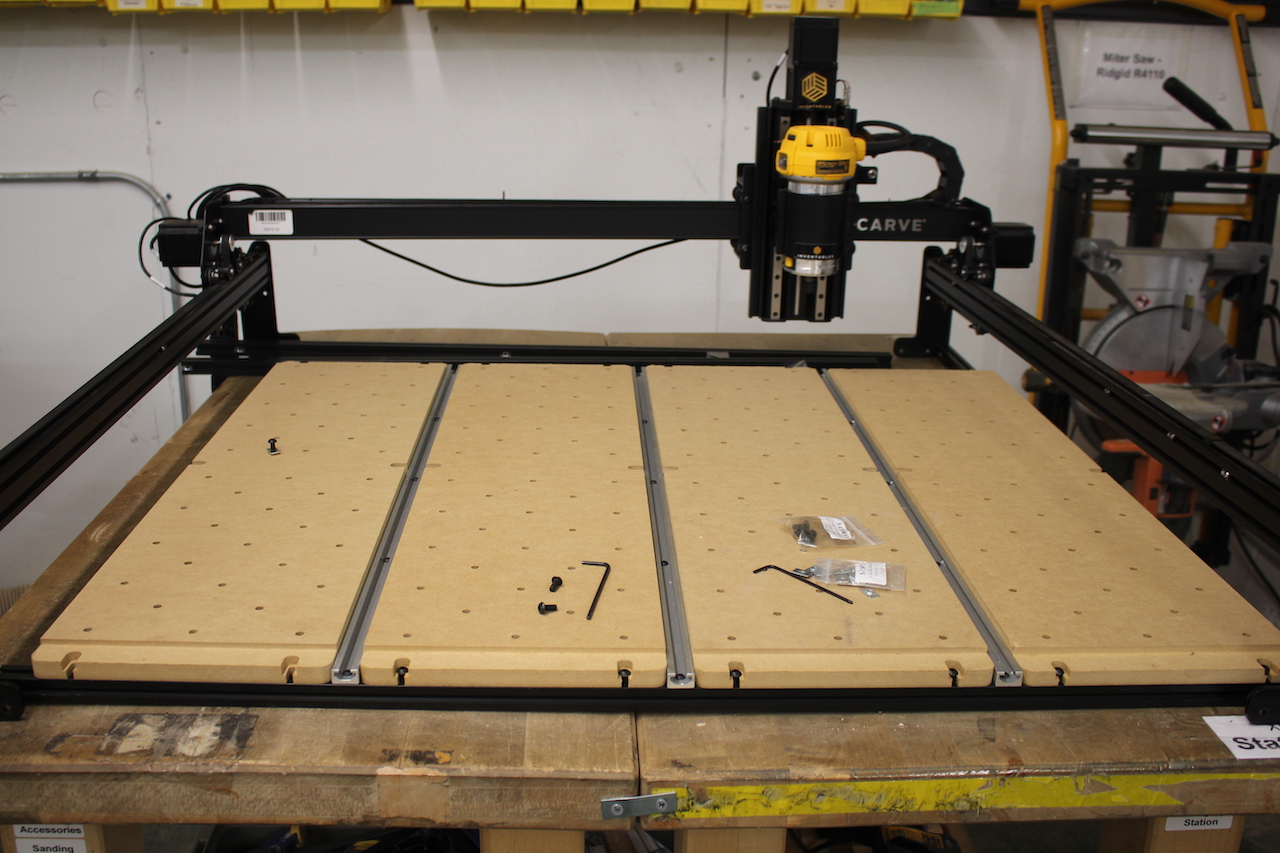
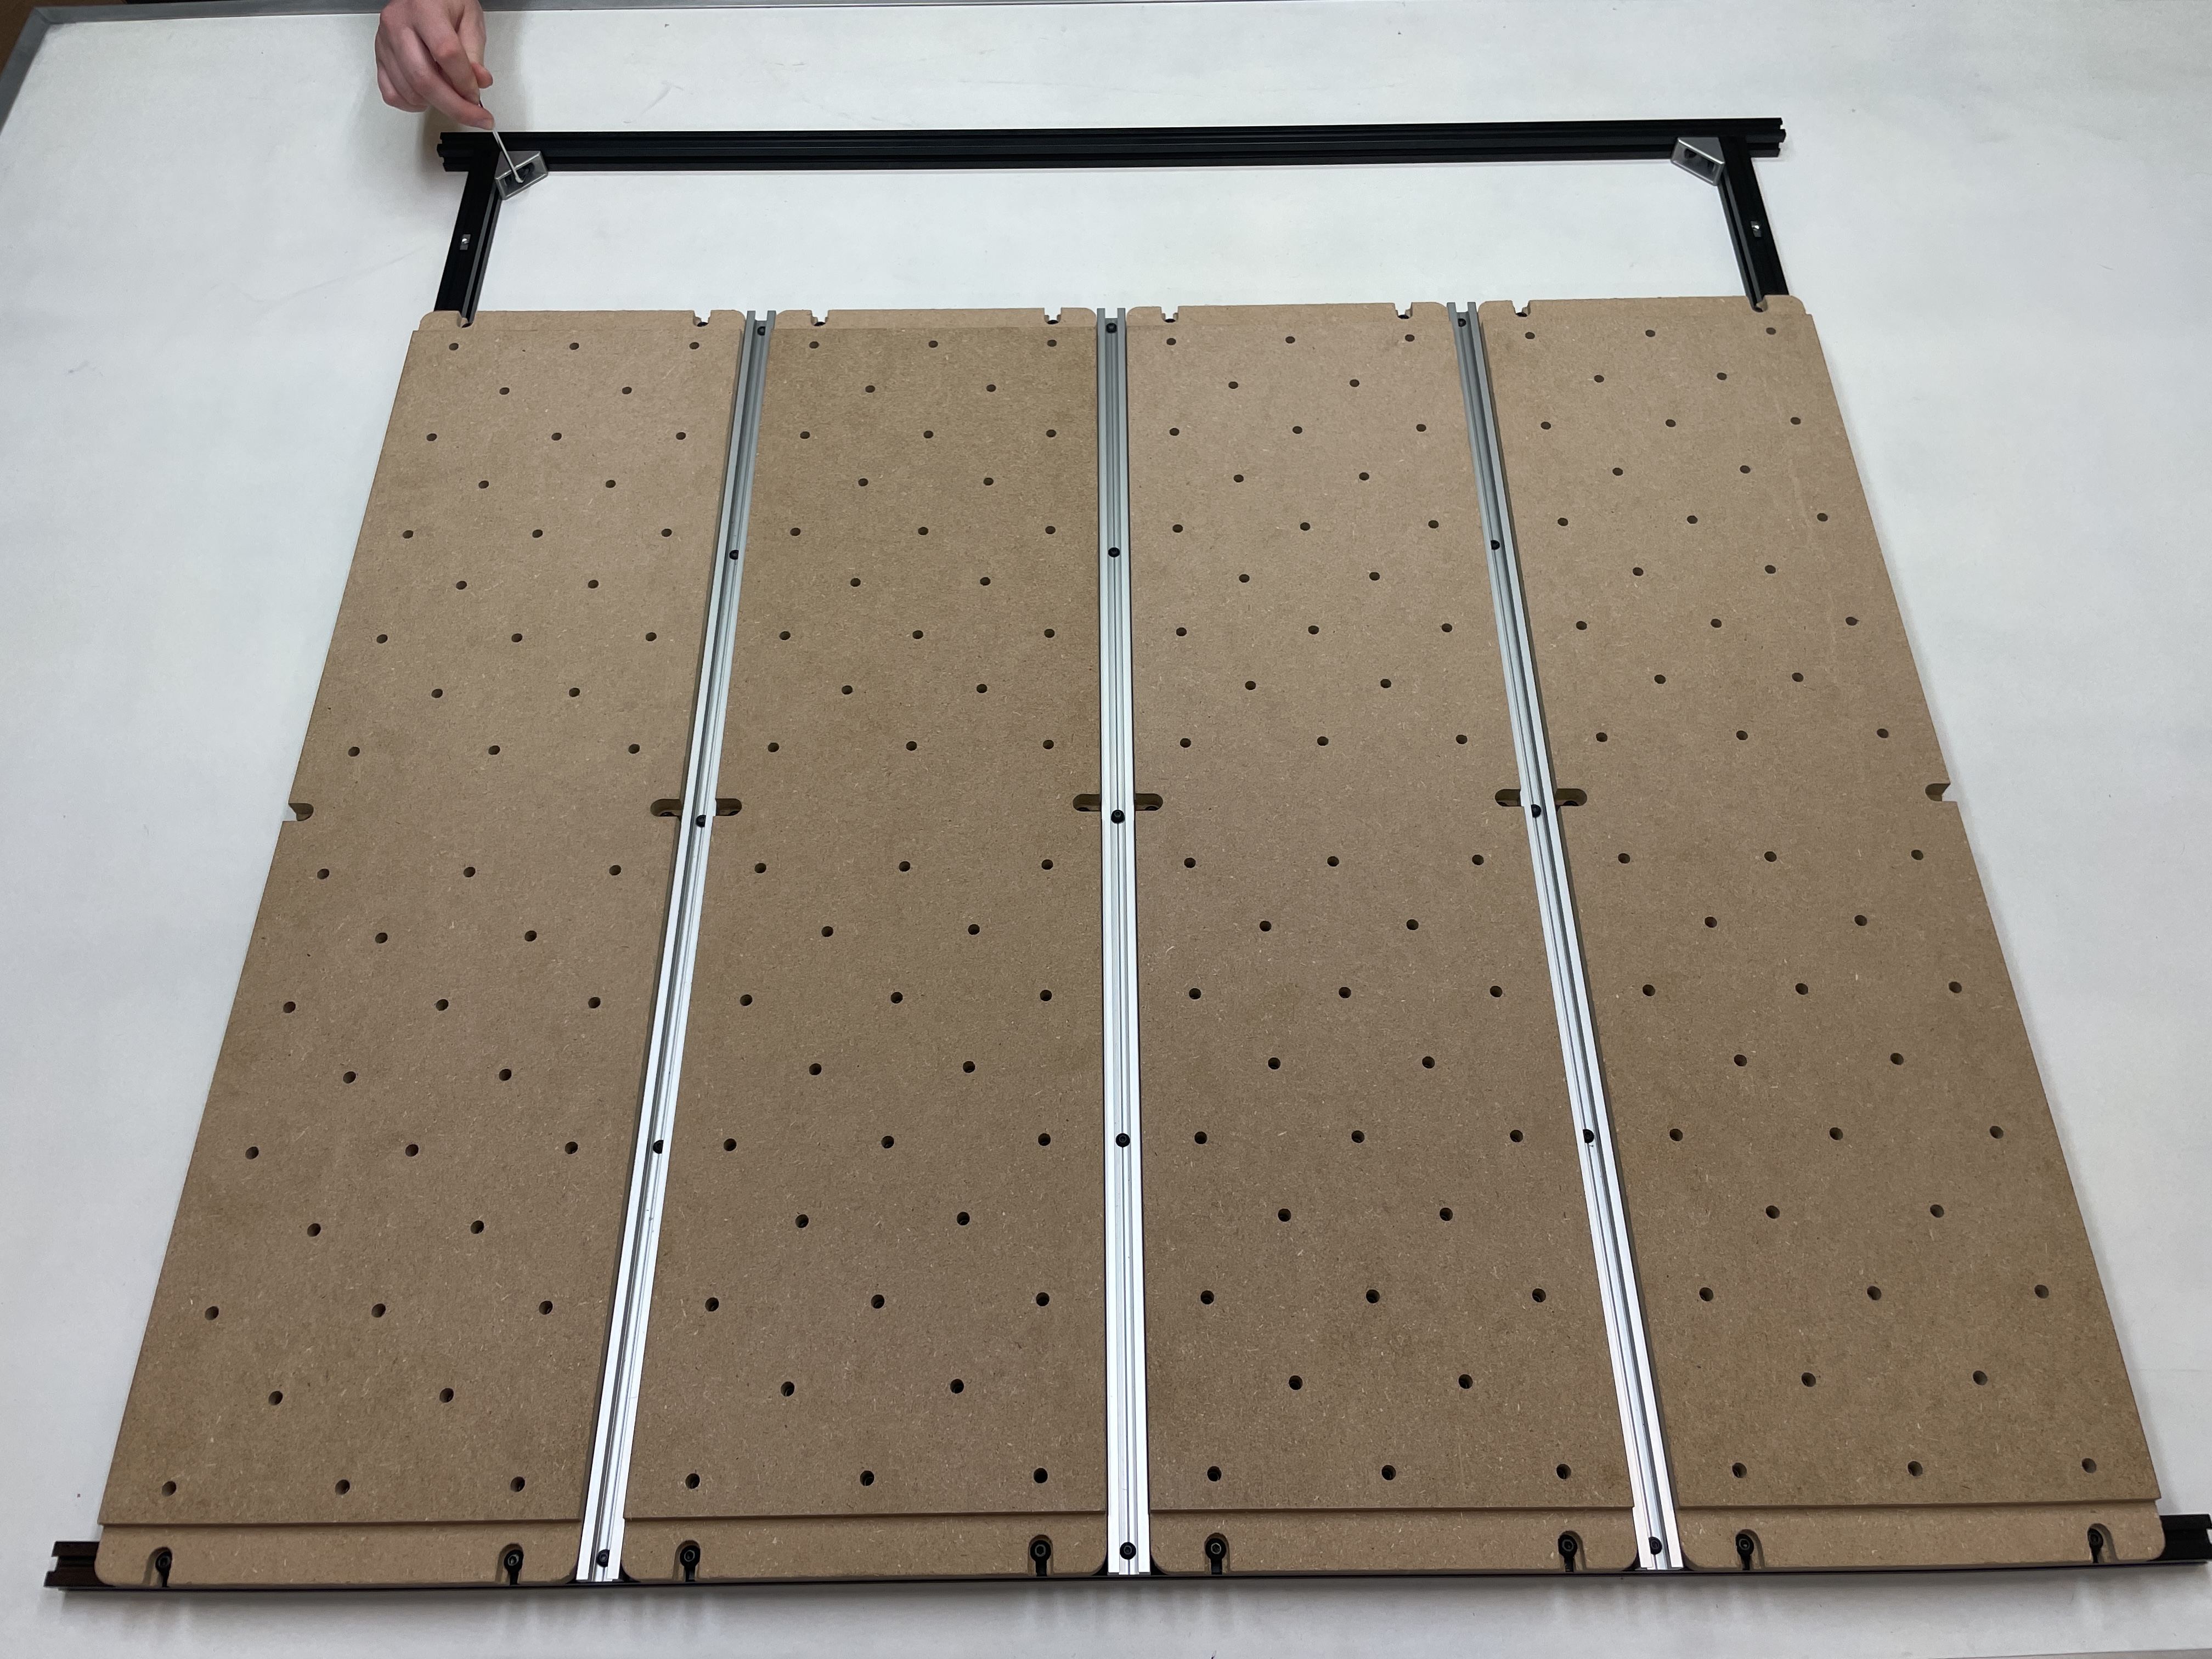
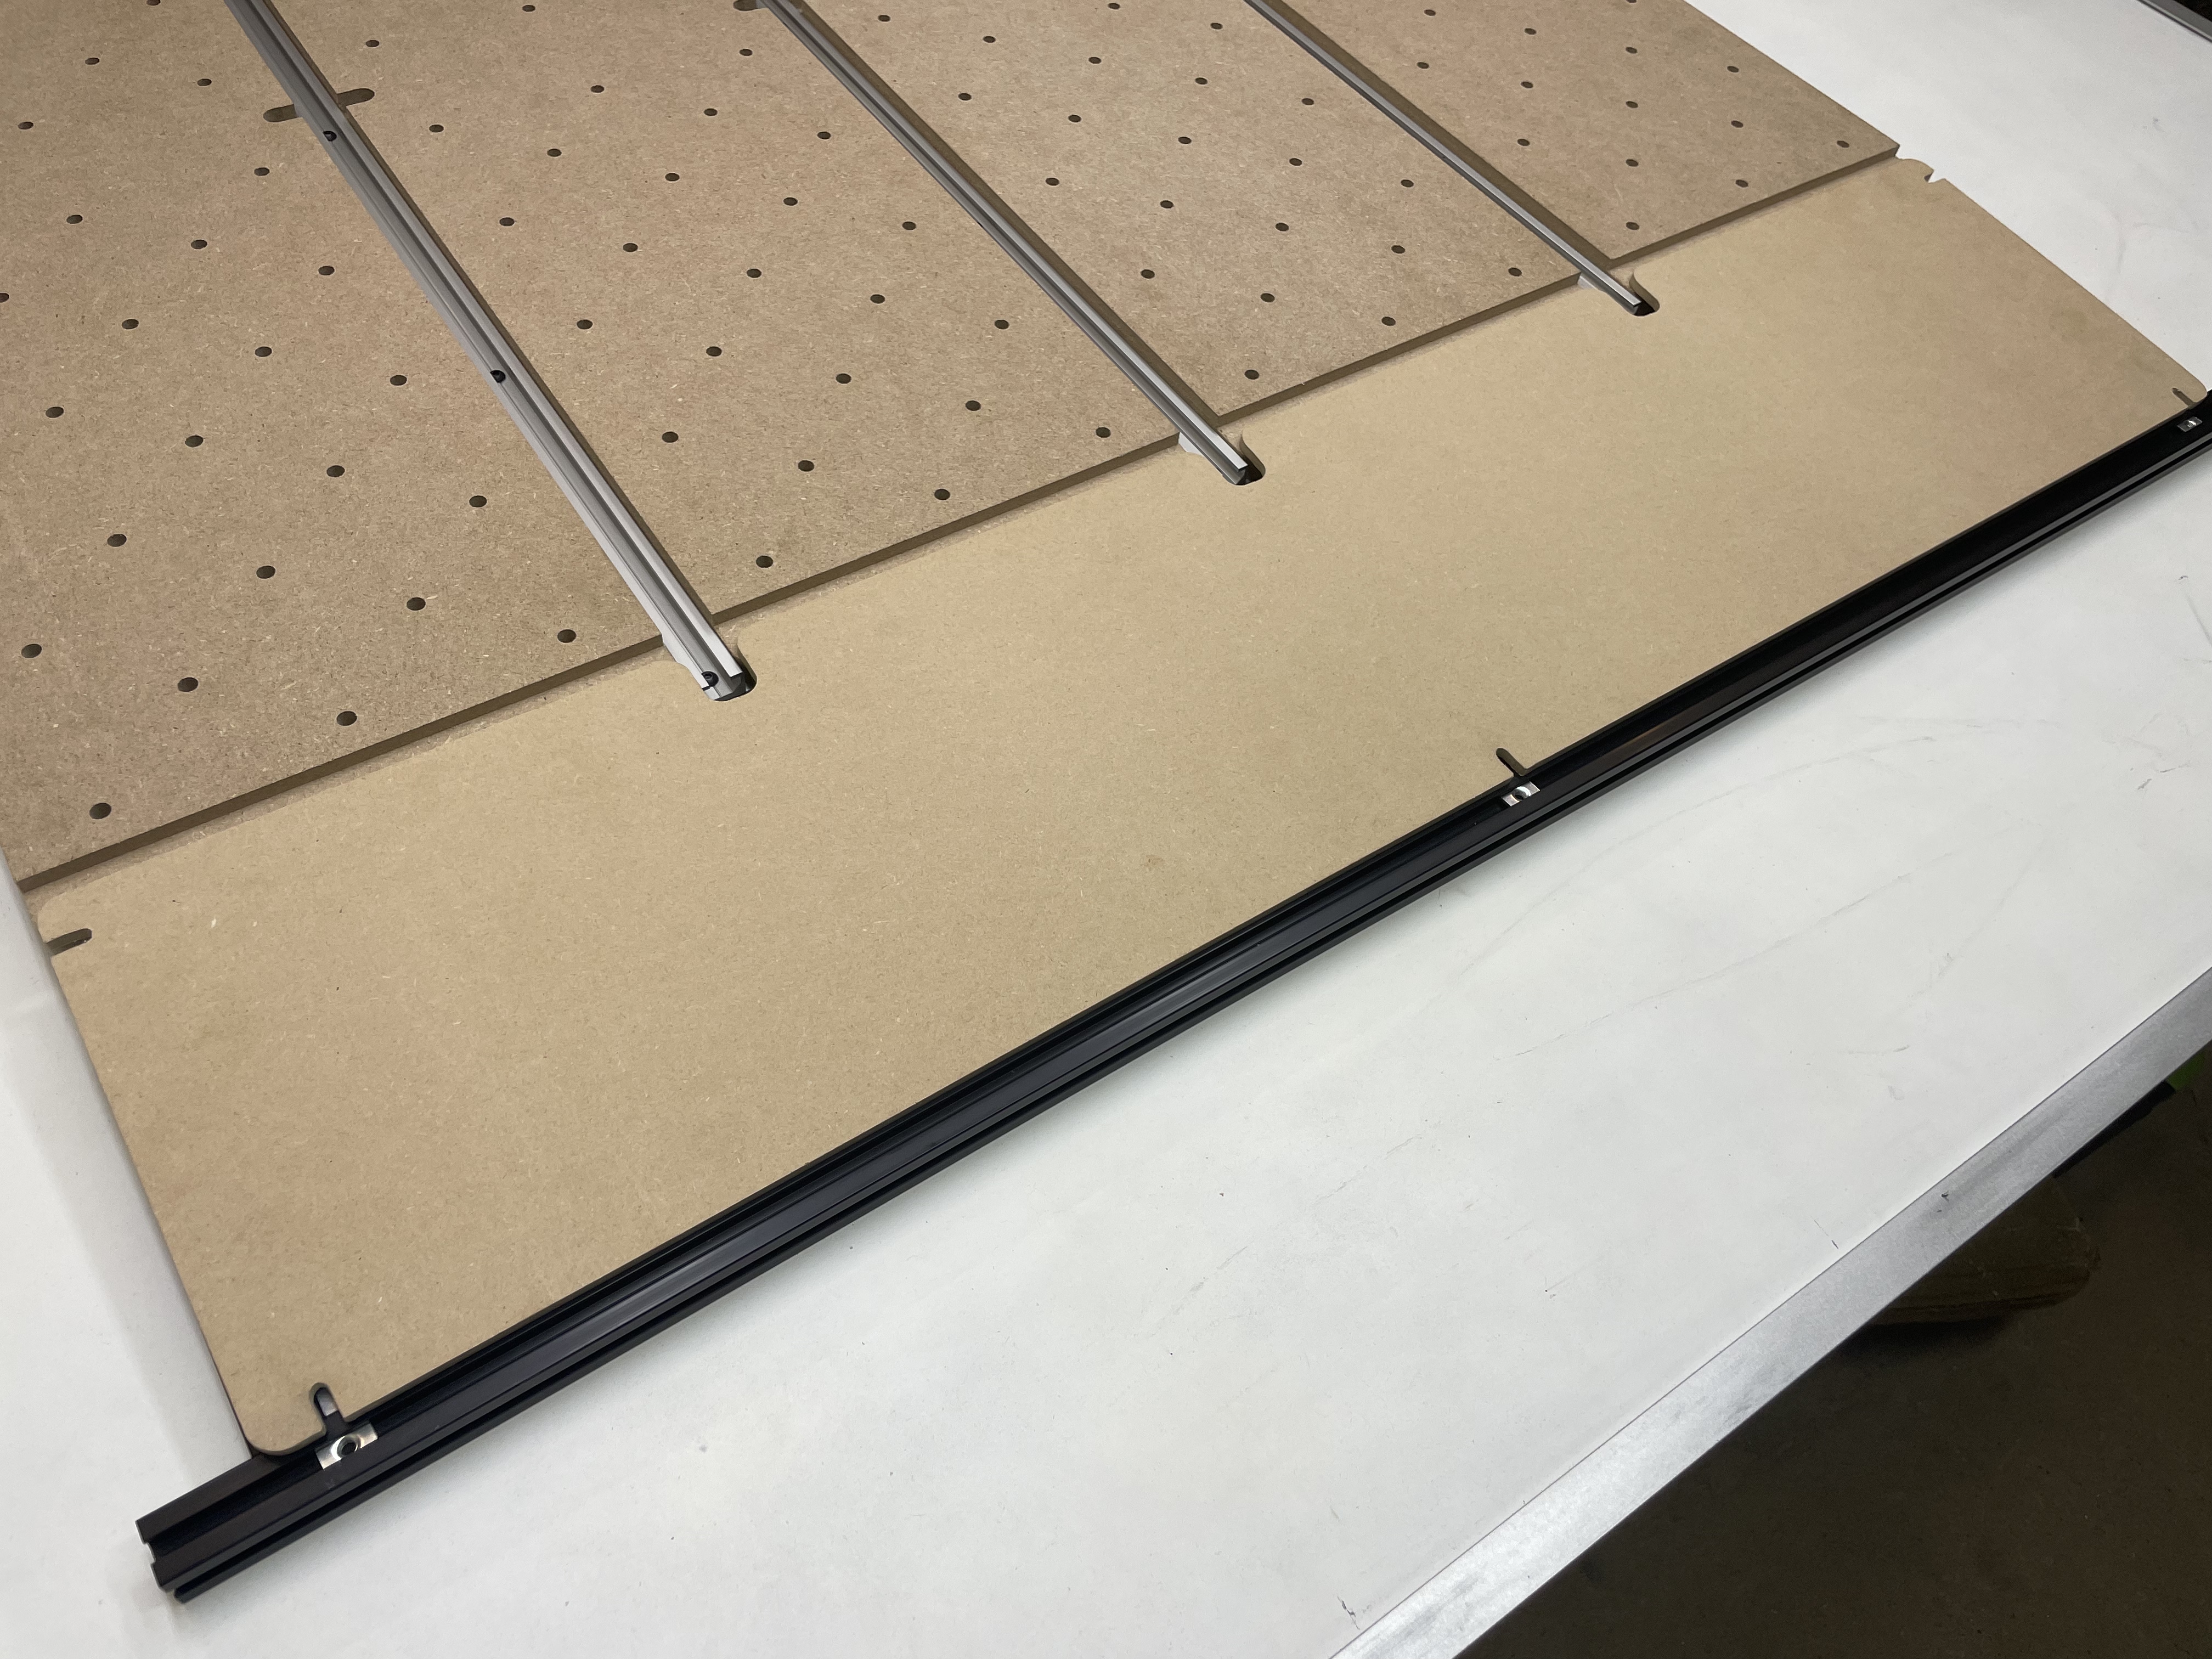
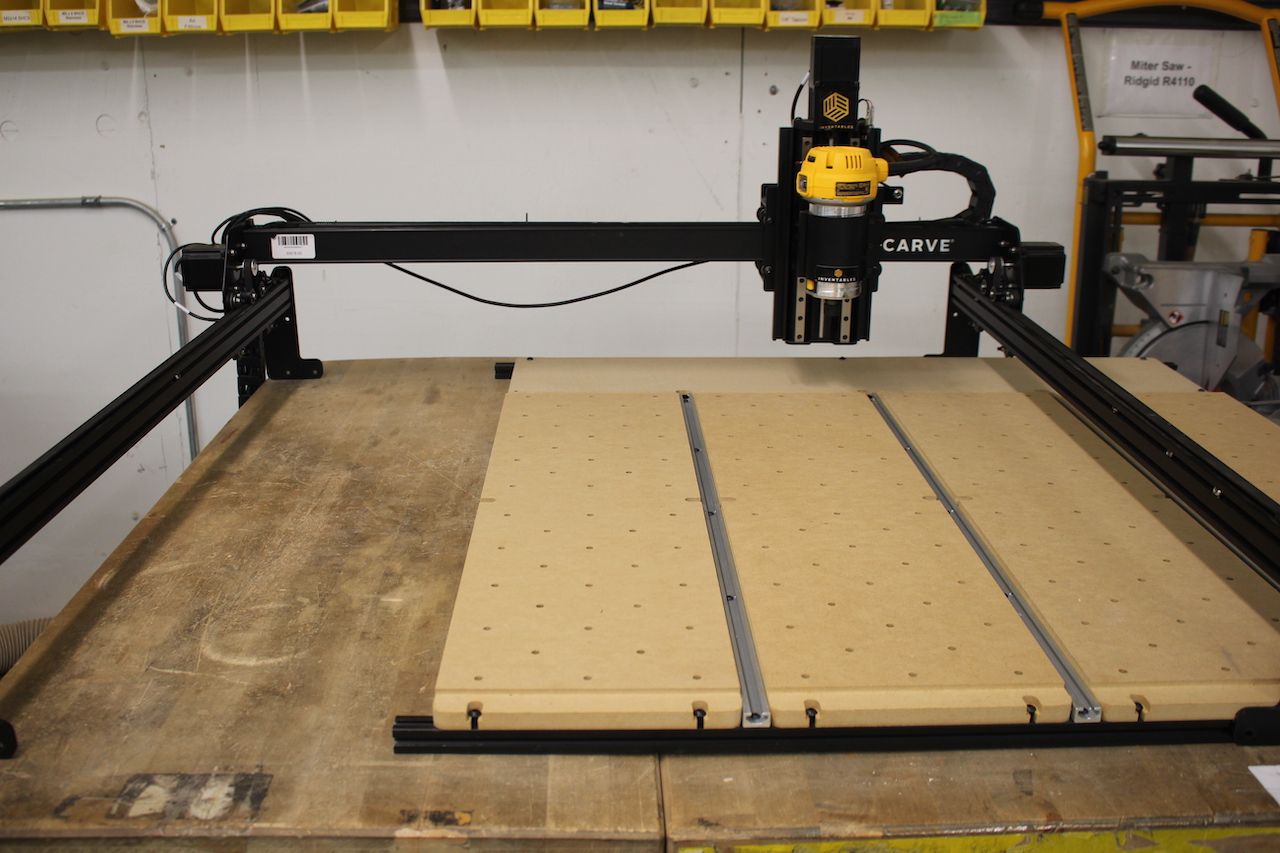
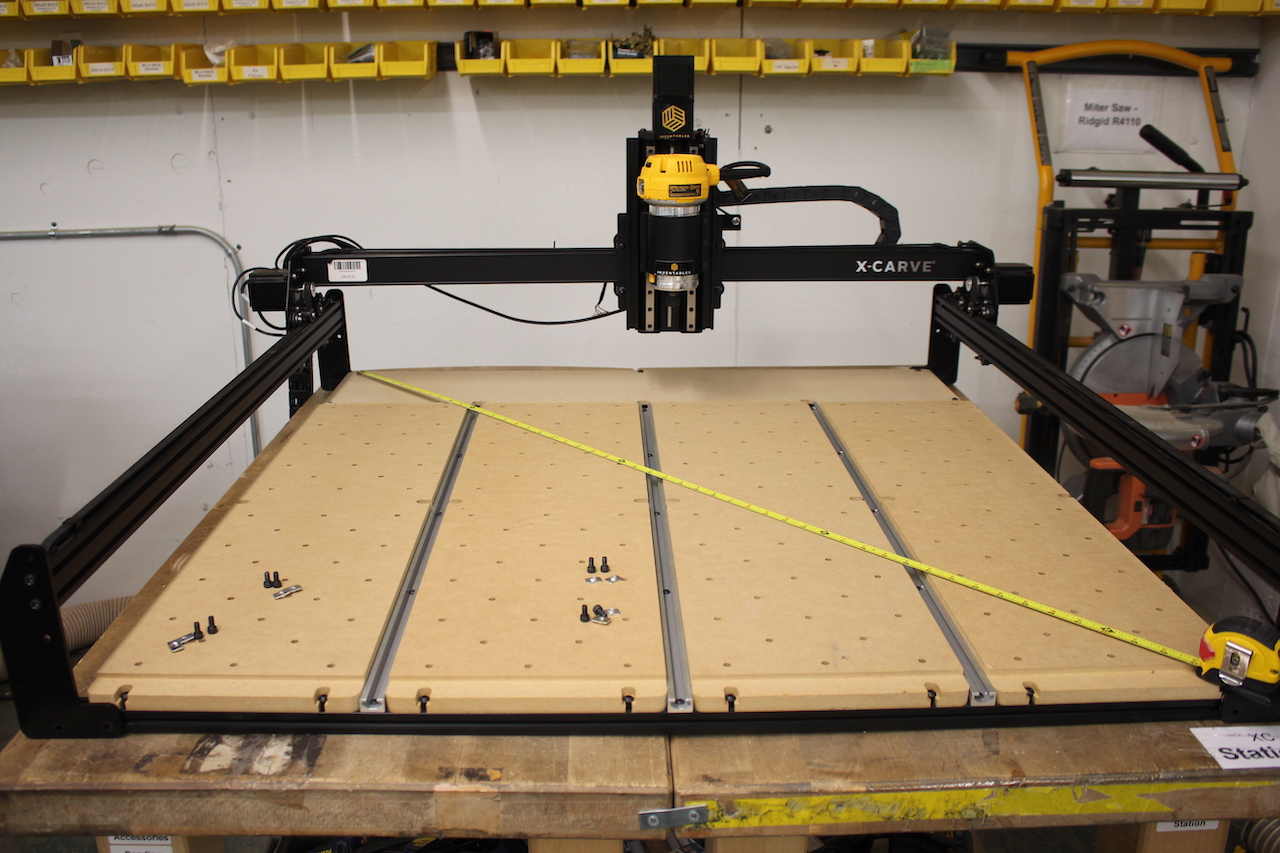
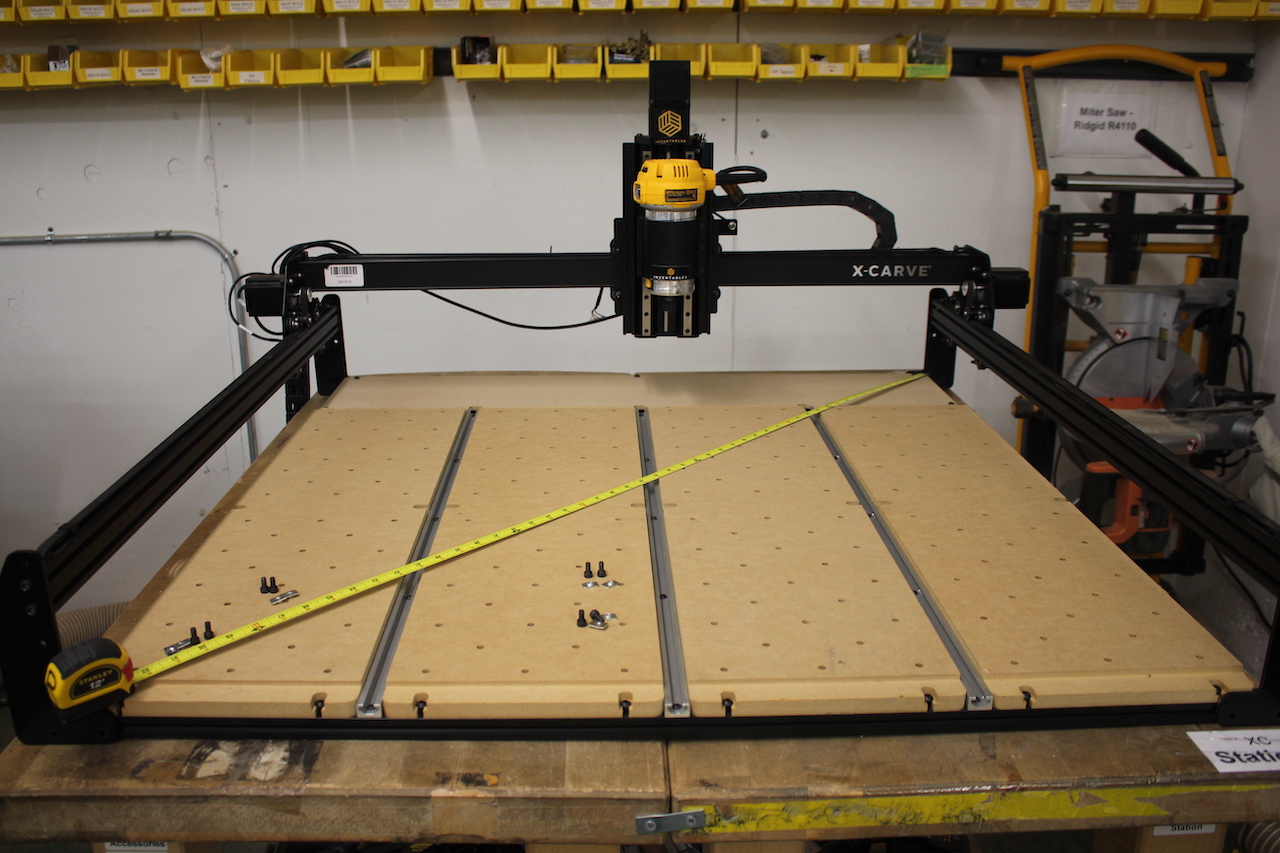
Once all MDF slats and t-tracks are installed, slide all the waste board parts together. Line up the front of each panel with the front edge of the black extrusion. Repeat for all four MDF slats and secure each panel in place.
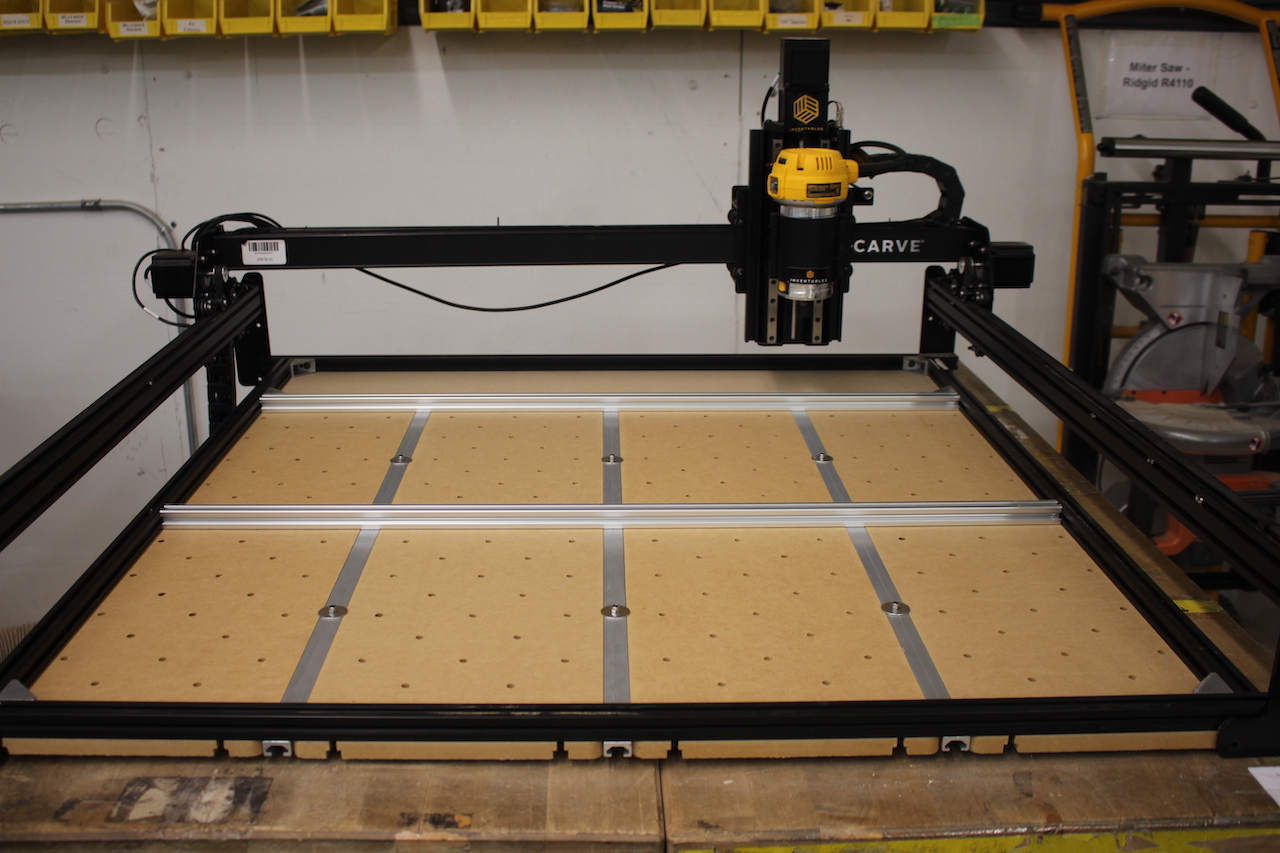
Install rear 1000mm extrusion
Gather 4 gusset brackets, 8 M5 x 10mm socket head cap screws, 6 M5 pre-assembly t-slot nuts, 4 M5 tee nut twist in and the 20mm x 20mm x 1000mm extrusion.
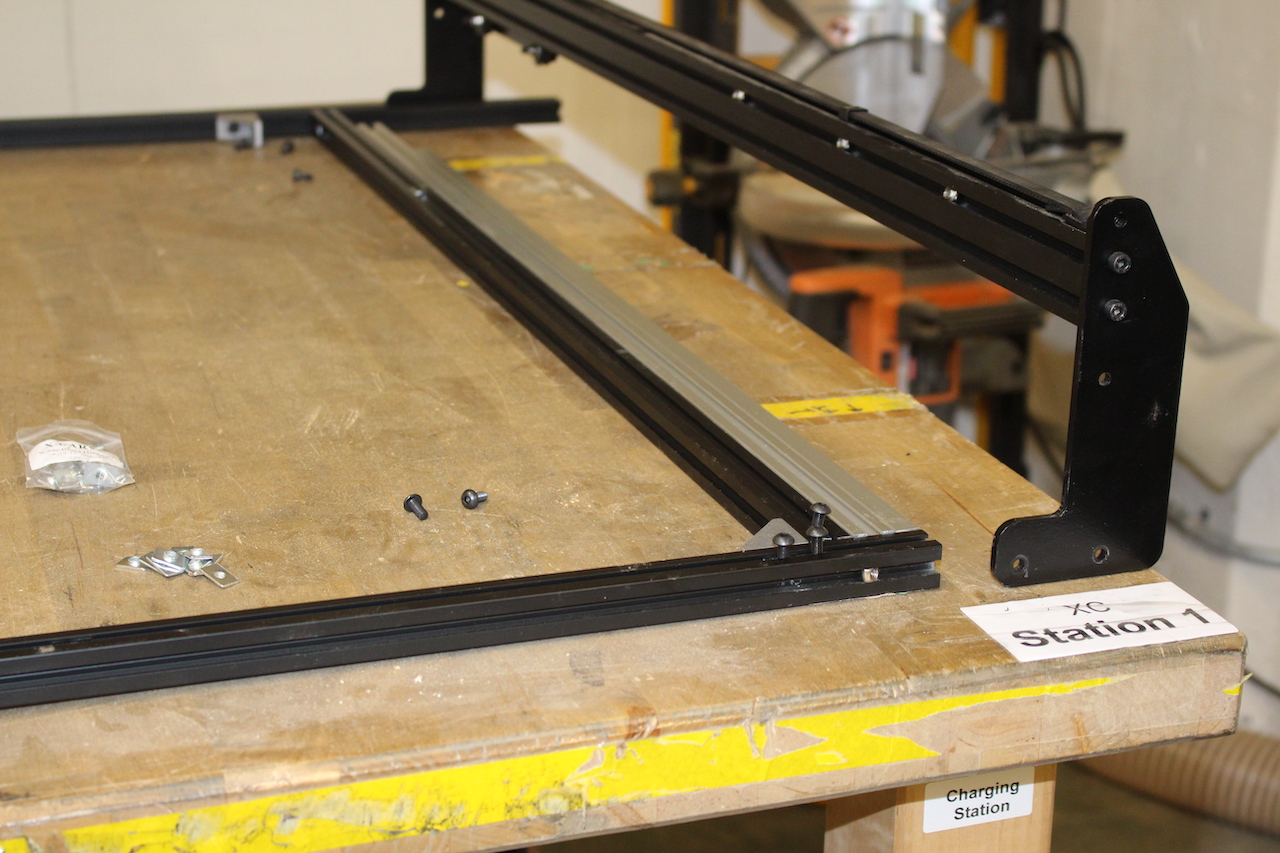
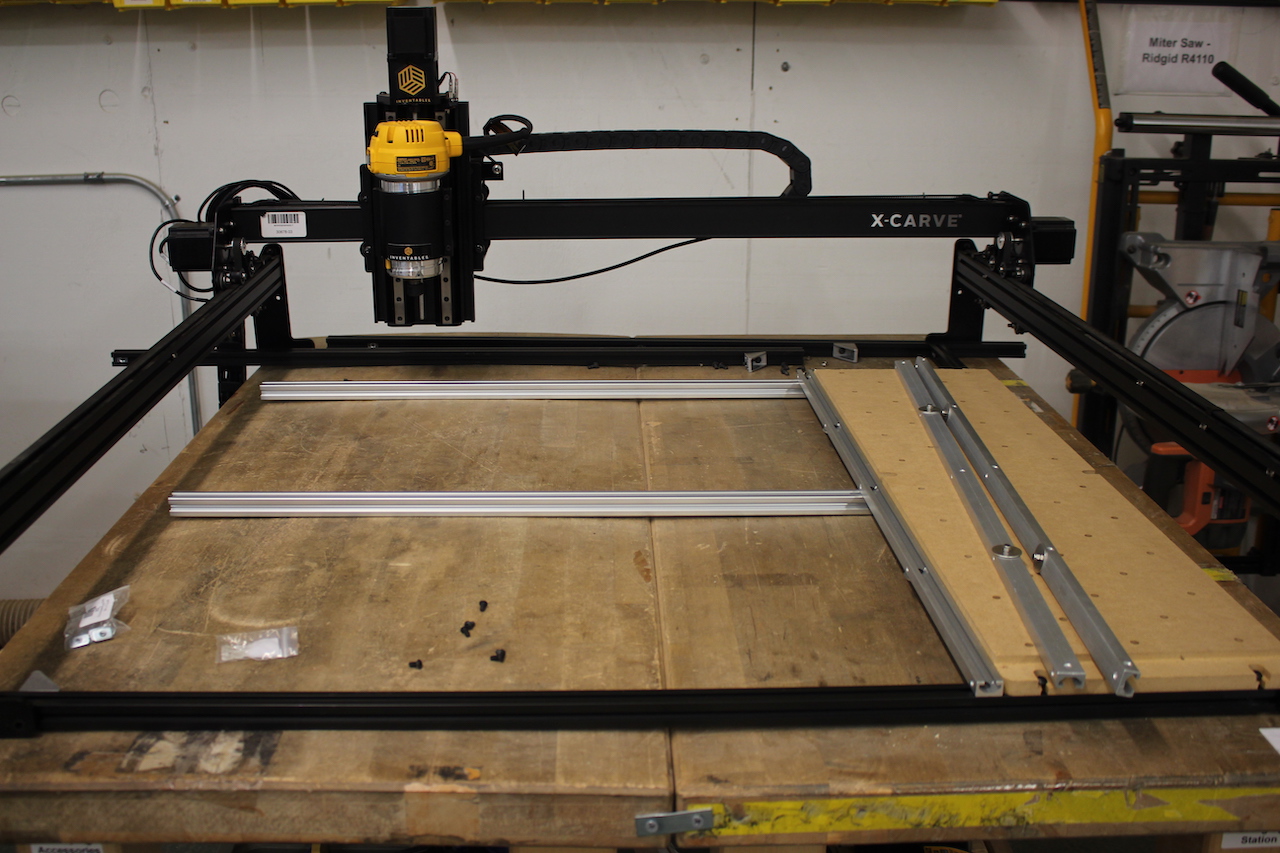
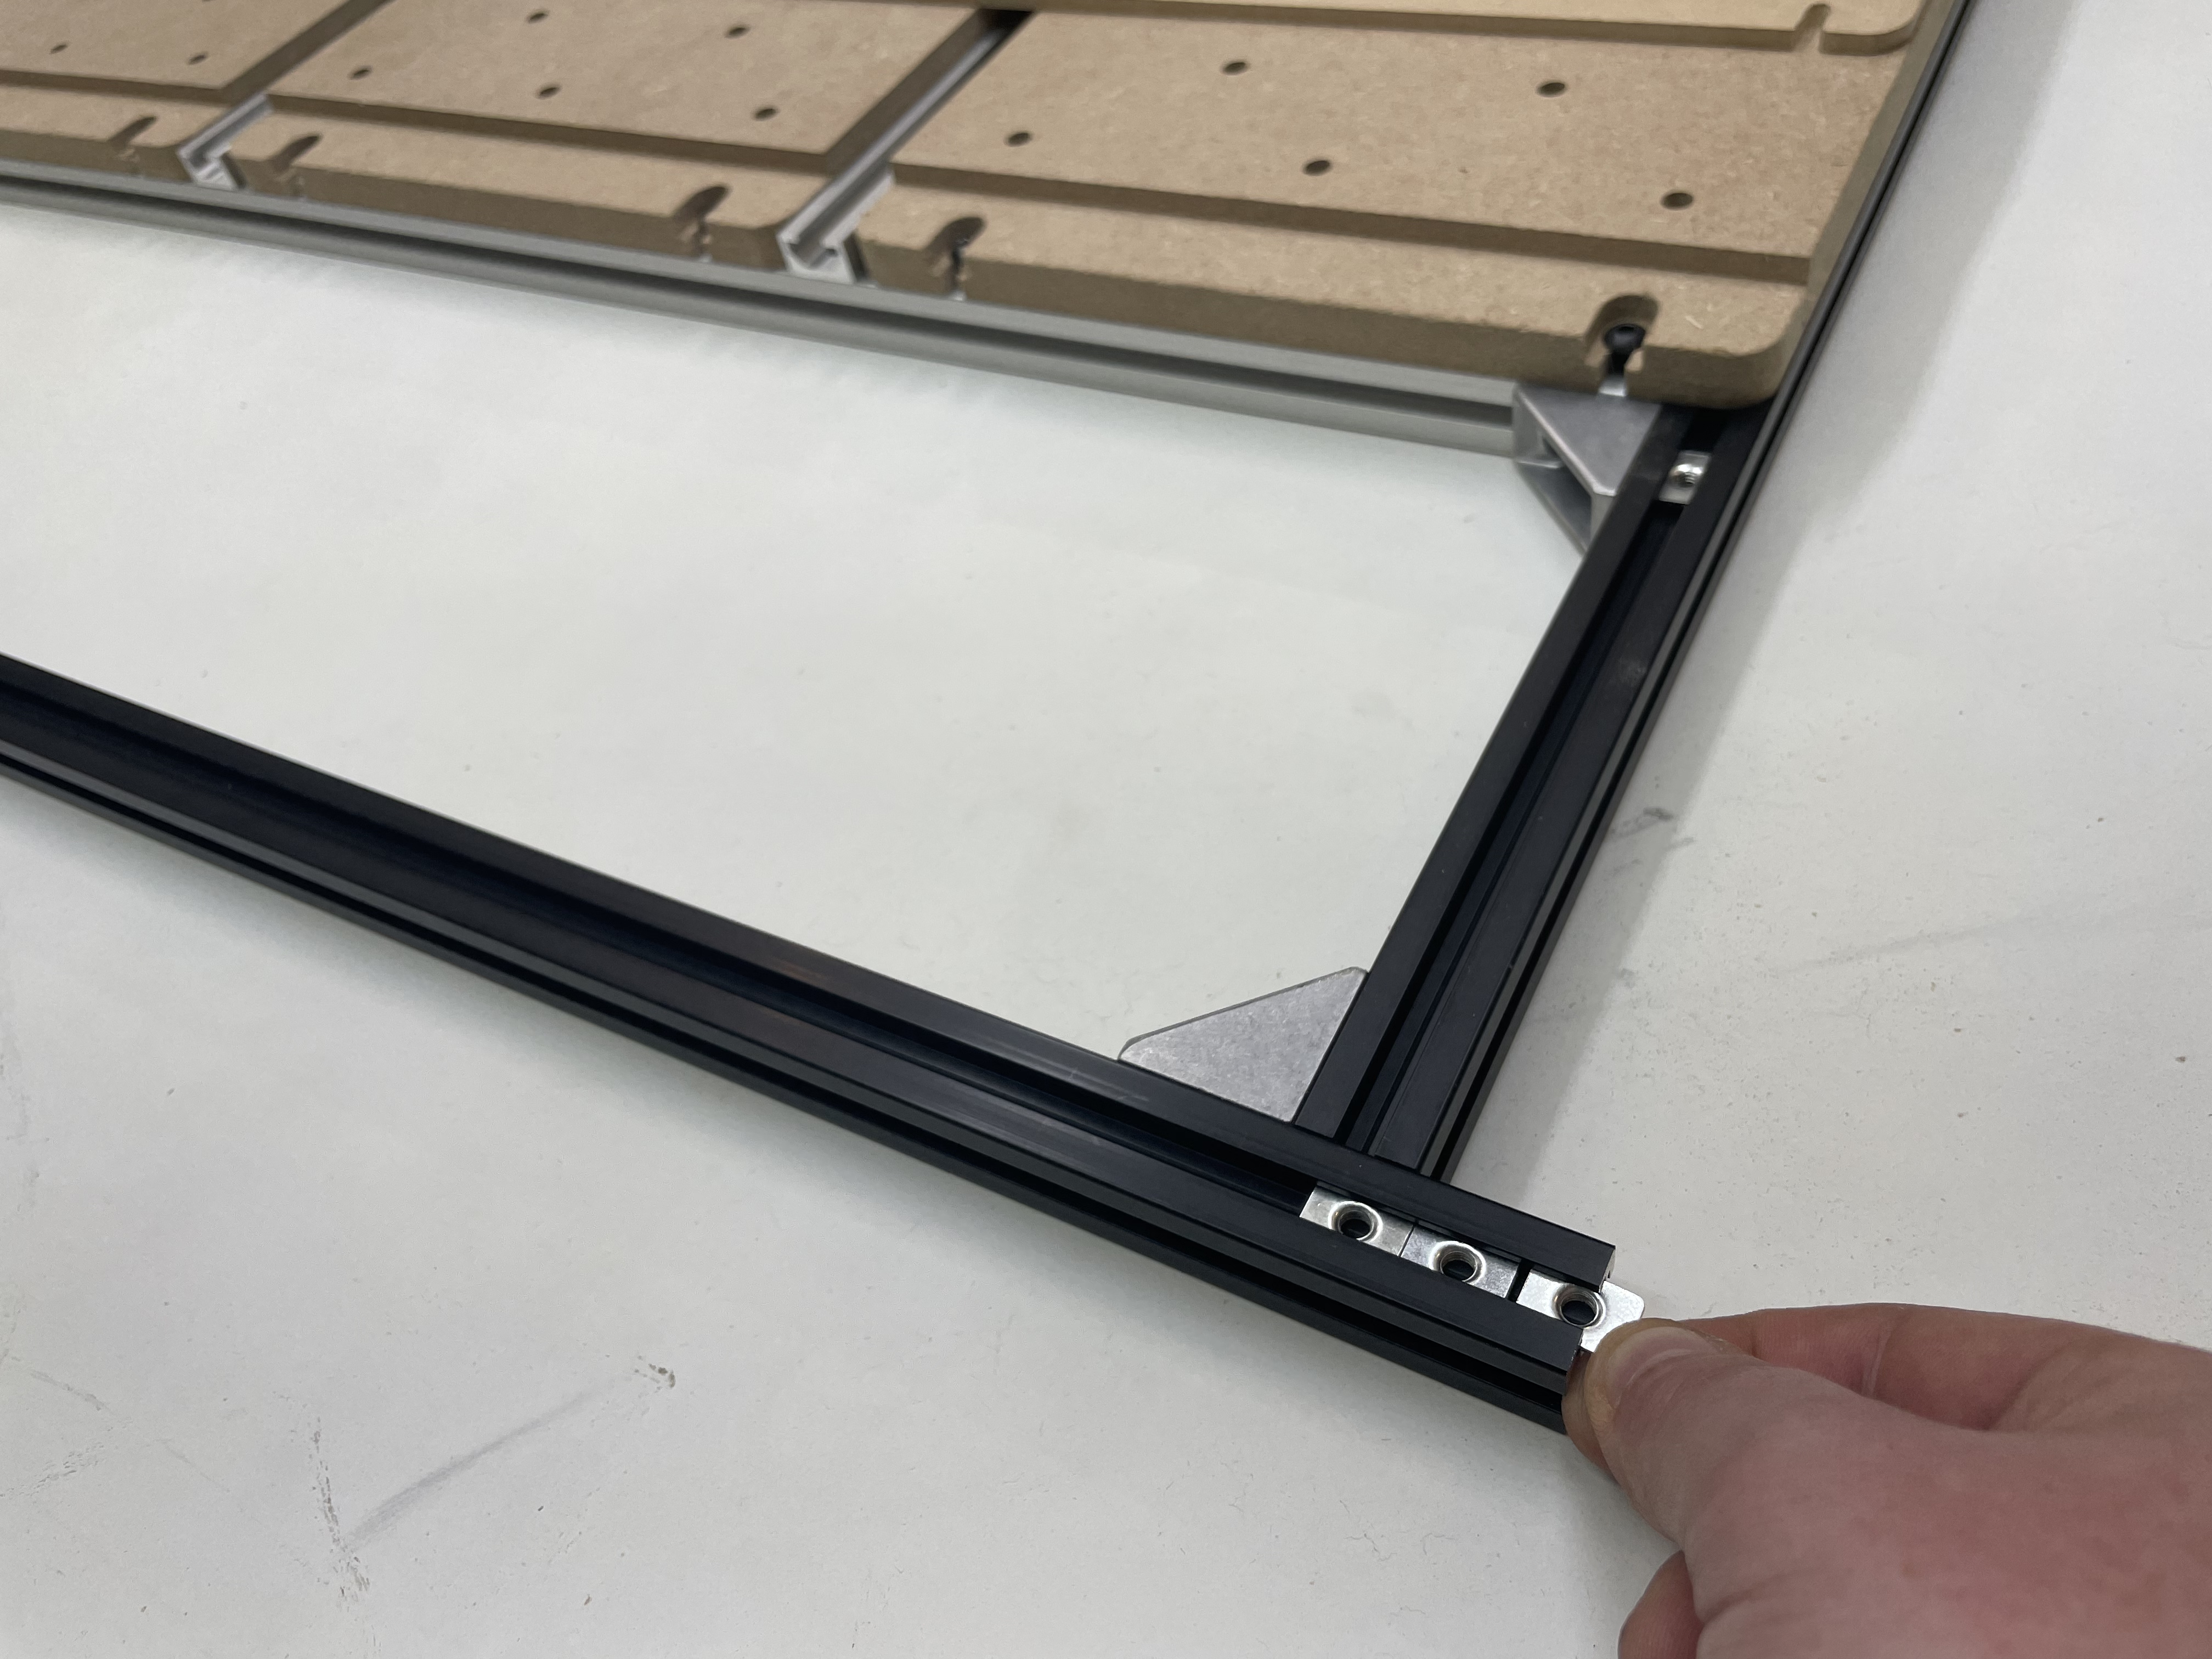
Pull the gantry forward and work on the back of the machine. Attach a gusset bracket to each of the two 958mm extrusions sticking out. Insert 1 pre-assembly t-slot nut into the top channel of each 958mm extrusion.
.jpg)
Secure the rear 1000mm extrusion by tightening the angle brackets.
Attach 2 M5 x 10mm button head cap screws and 2 M5 tee nut twist in to each remaining gusset bracket (image below shows only 1). These will be used to secure the rear silver extrusion to the 958mm extrusions.
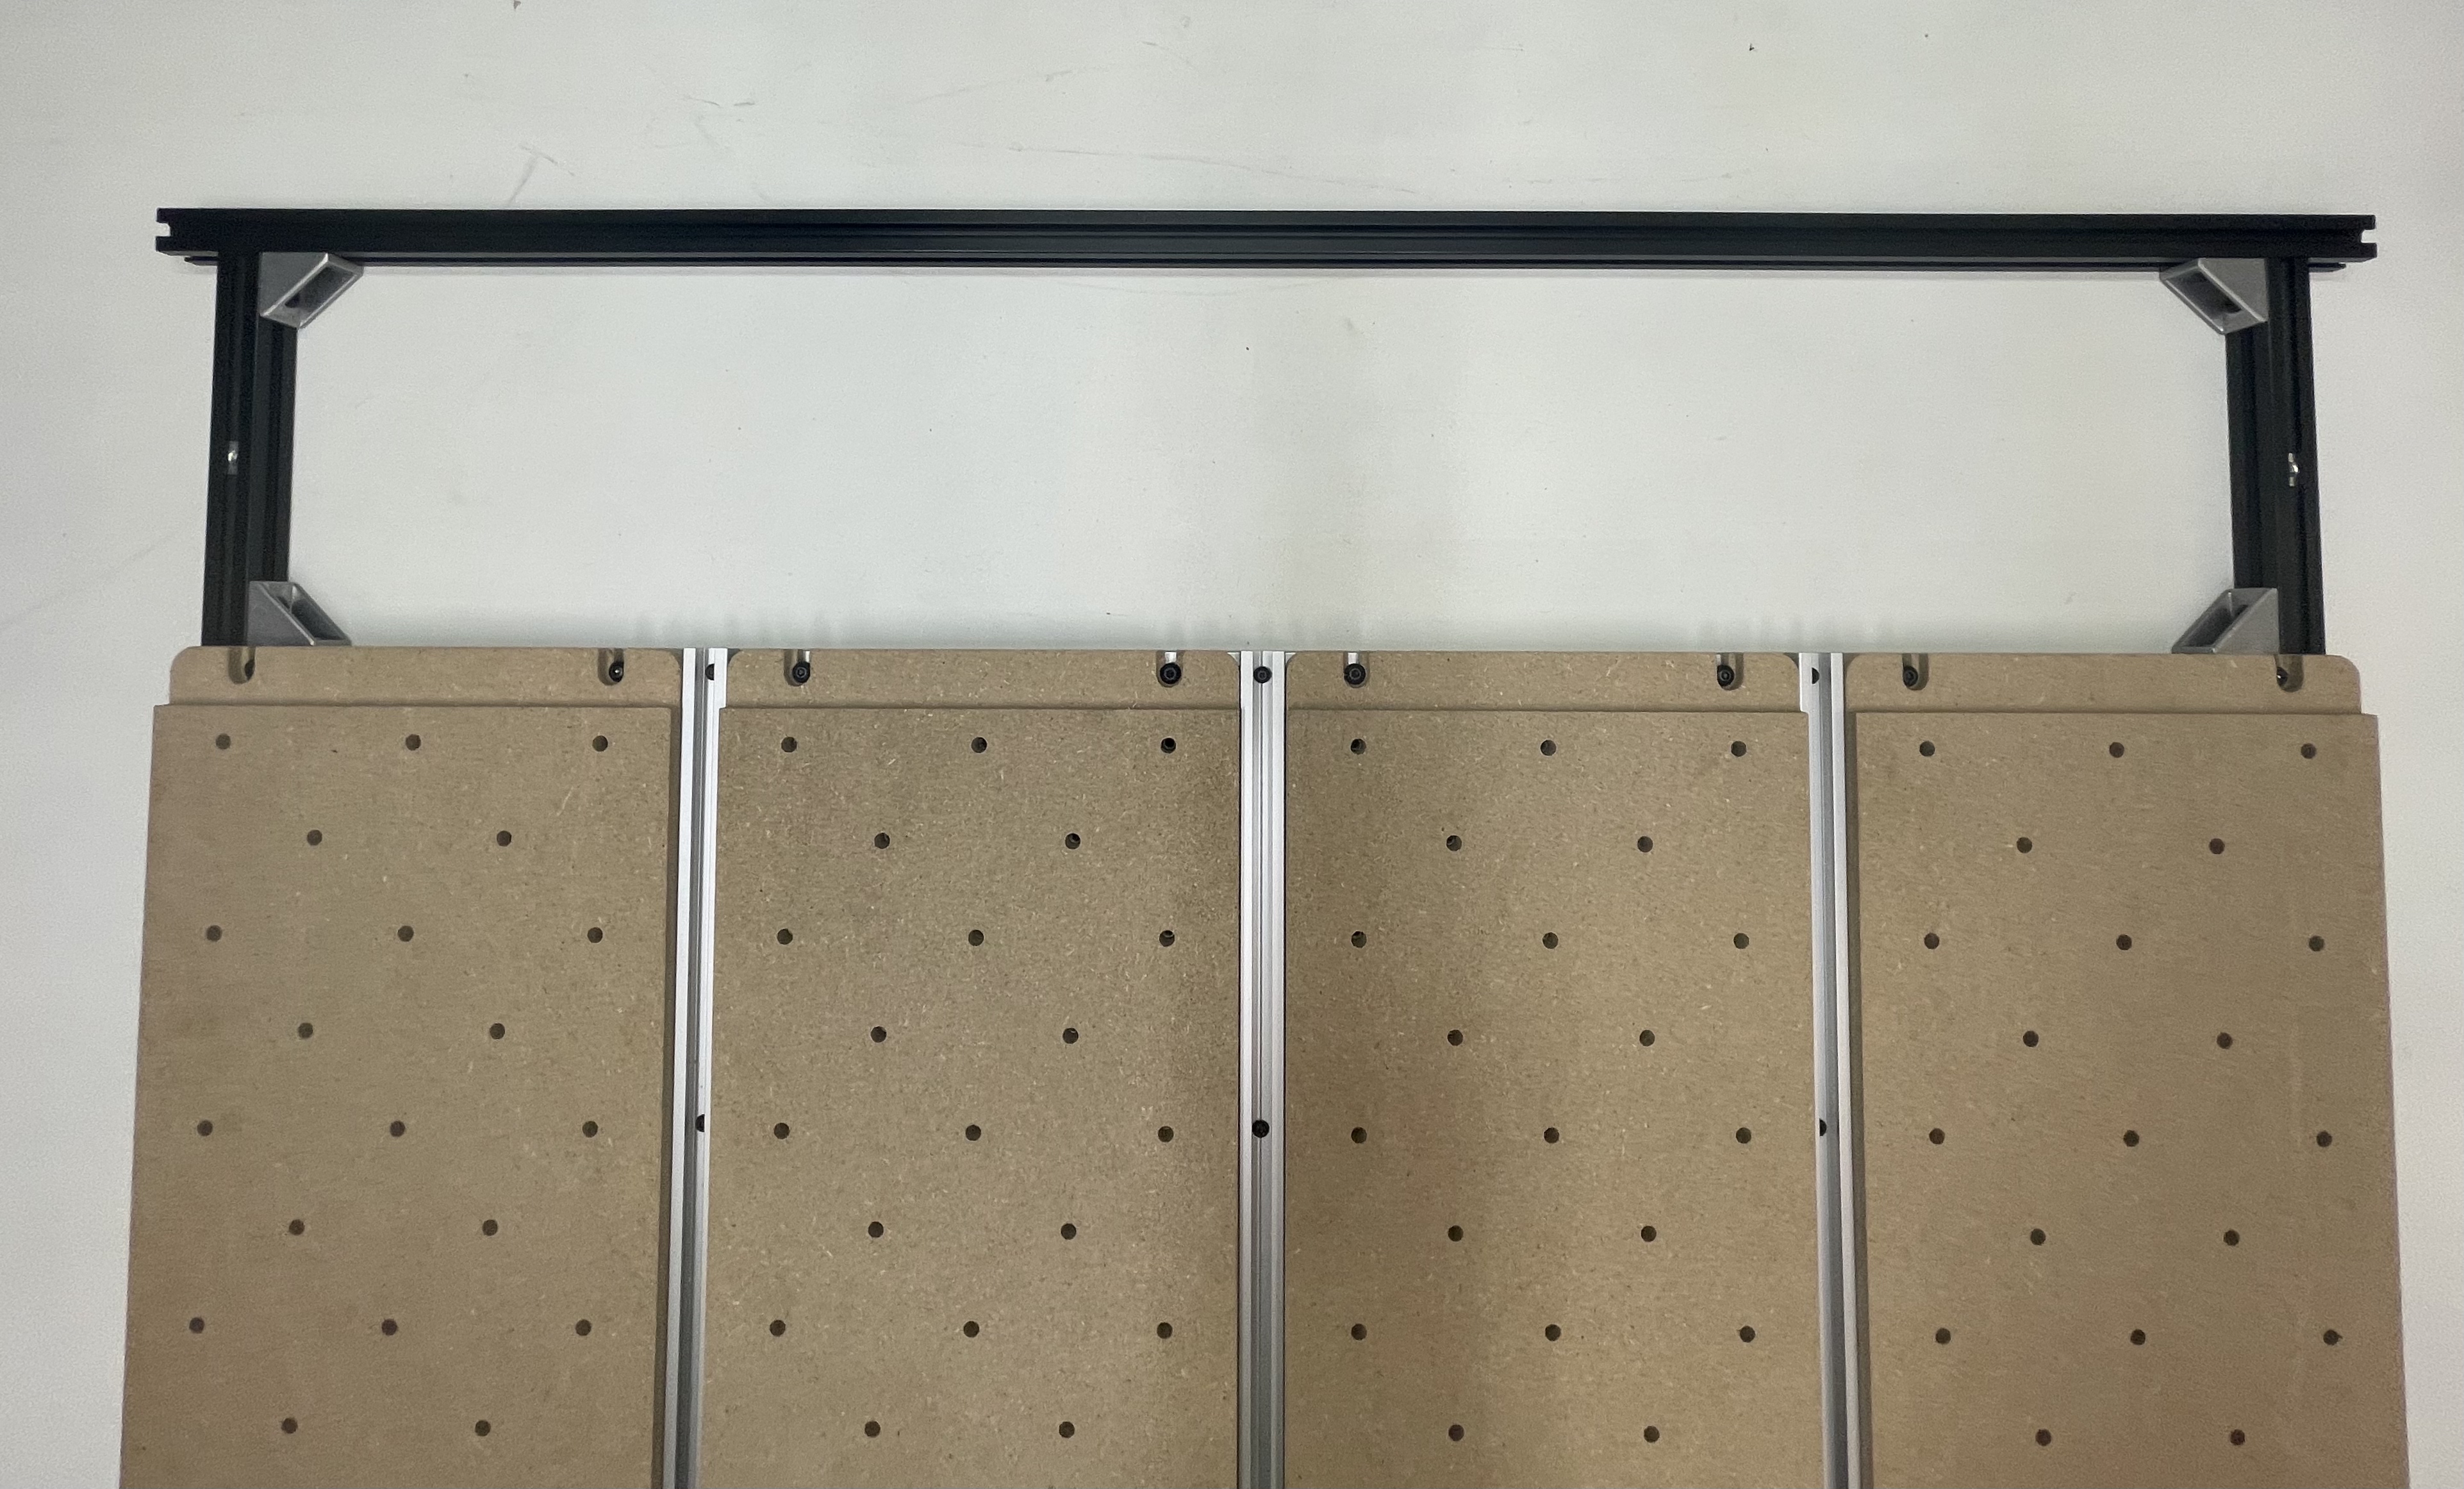
Tighten down screws to lock gusset brackets in place. Your back board frame should look like this.
Prepare to install the MDF backboard by sliding 3 M5 pre-assembly t-slot nuts to the 1000mm extrusion. Space them out to line up with the backboard holes.
Use M5 x 12mm screws and to secure the MDF backboard to the extrusions. You may use washers if the screws are not tigthening down.
Install threaded inserts
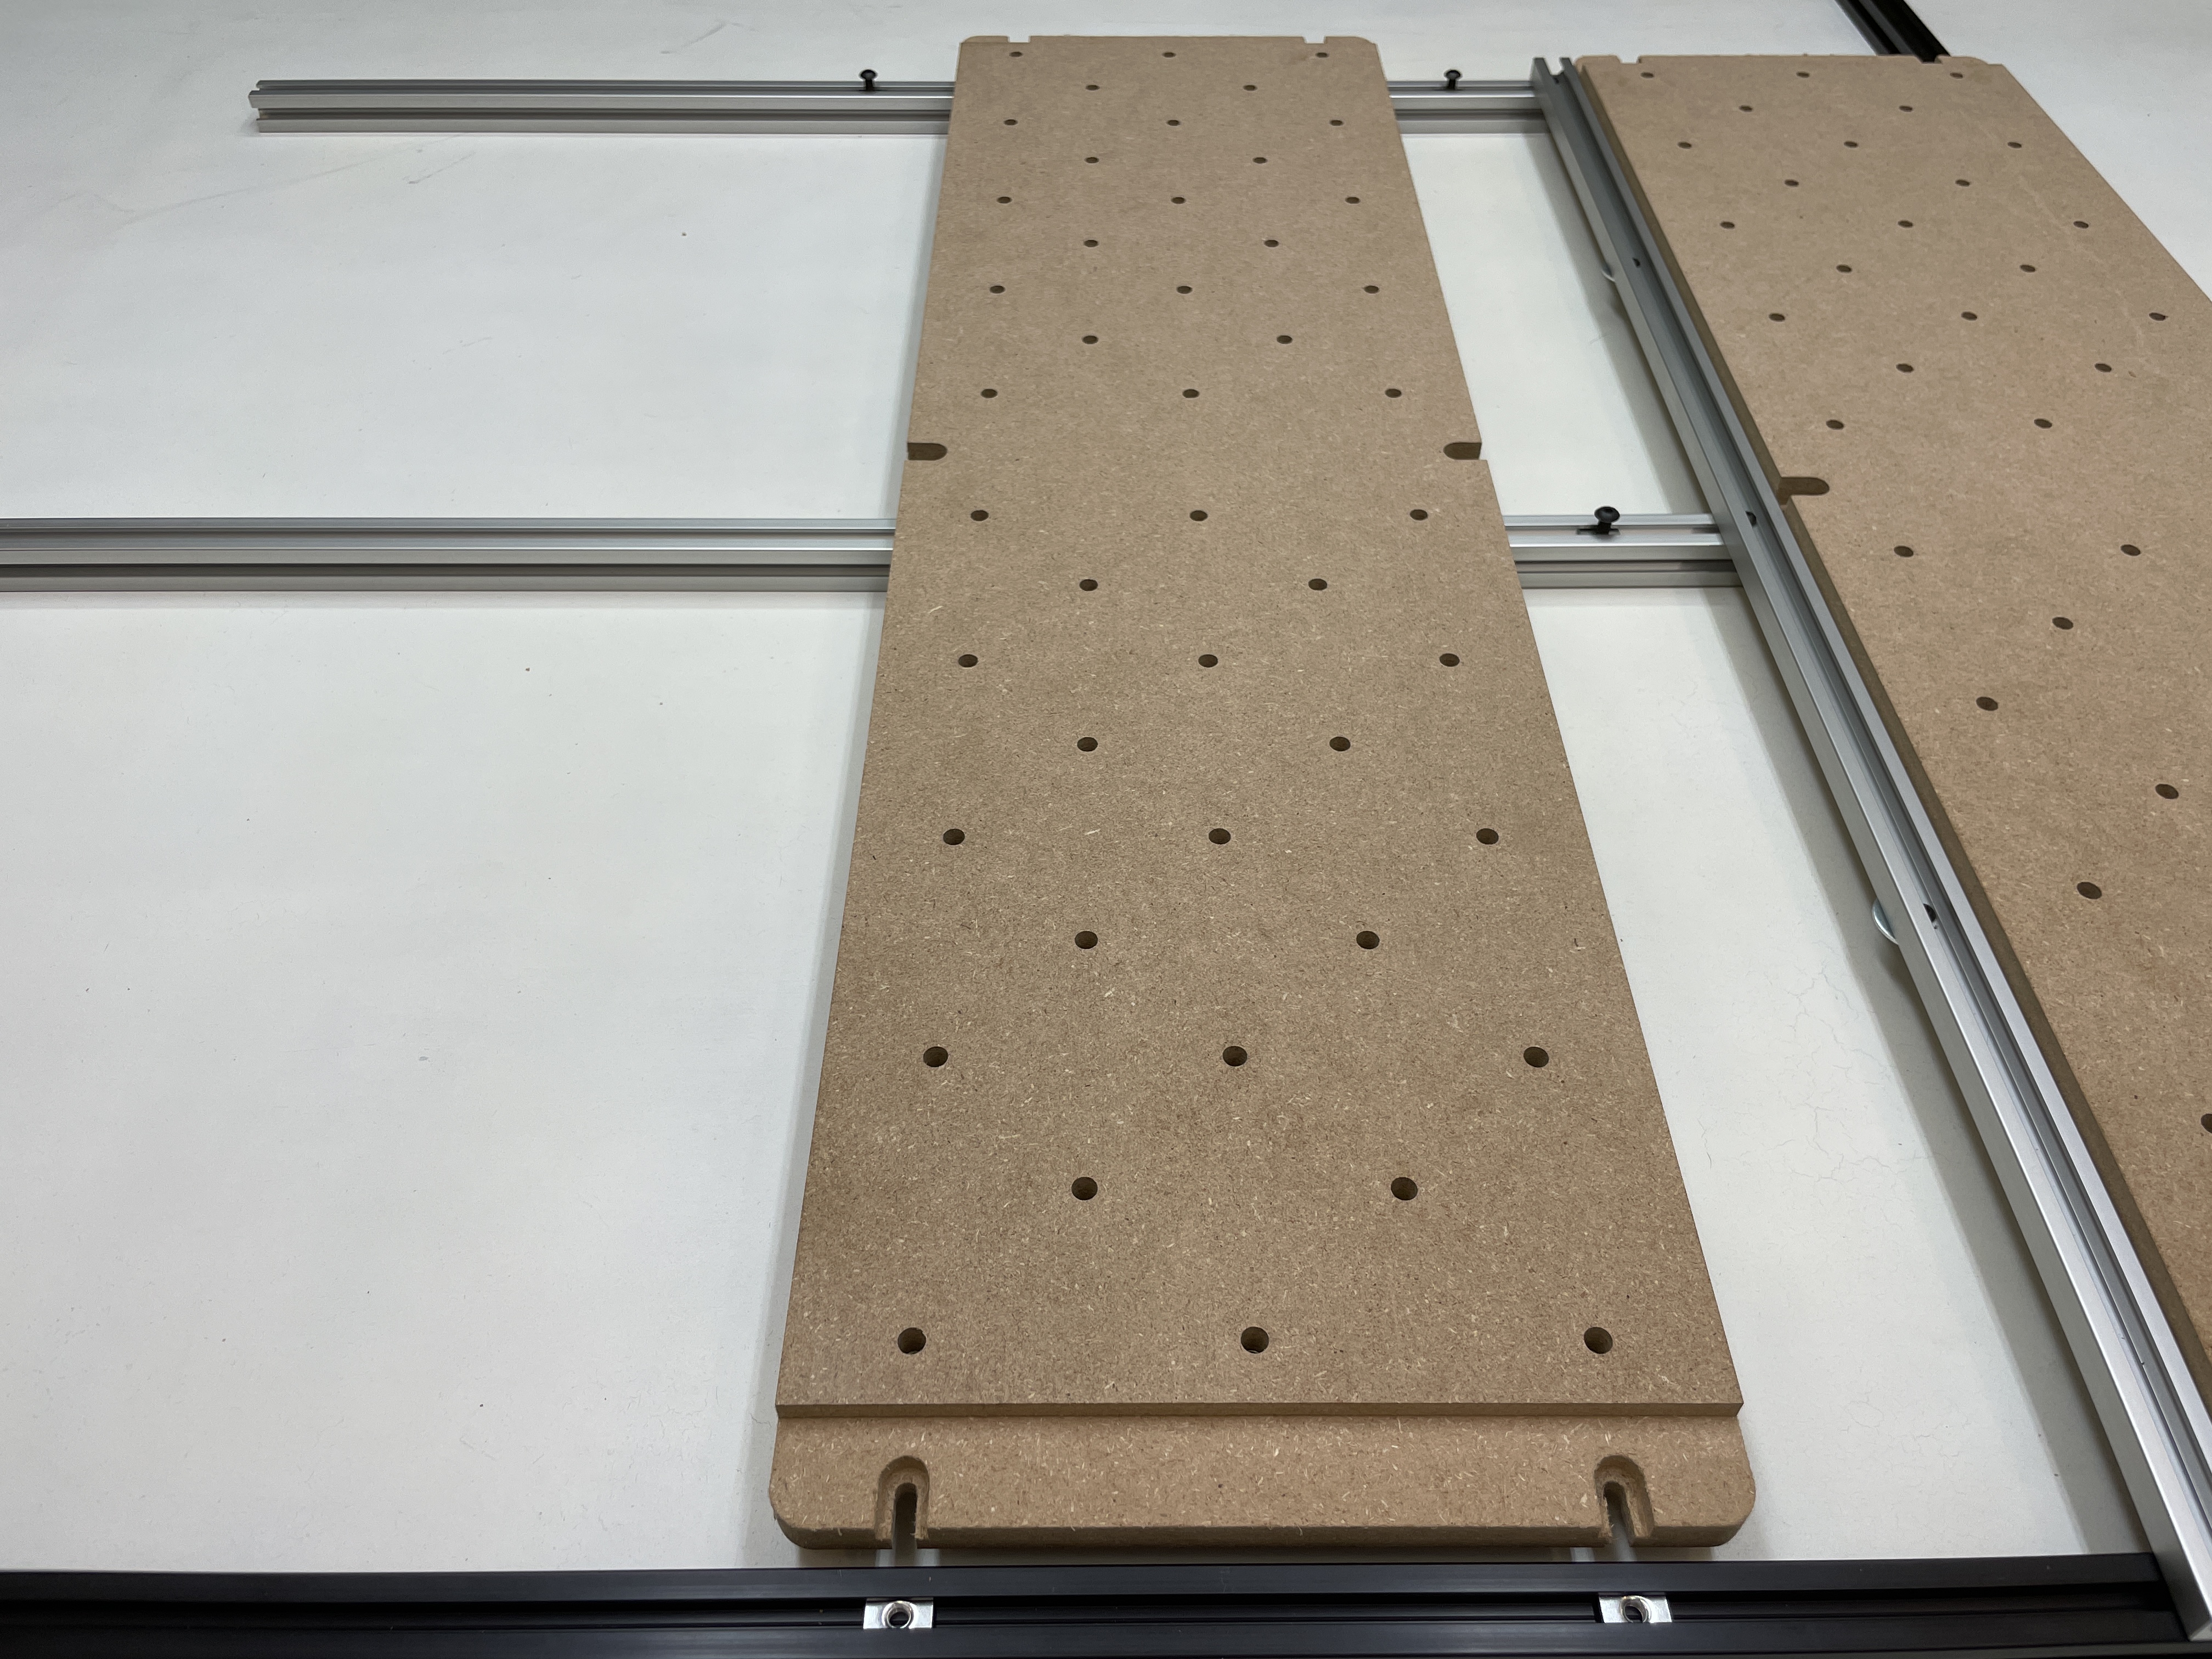
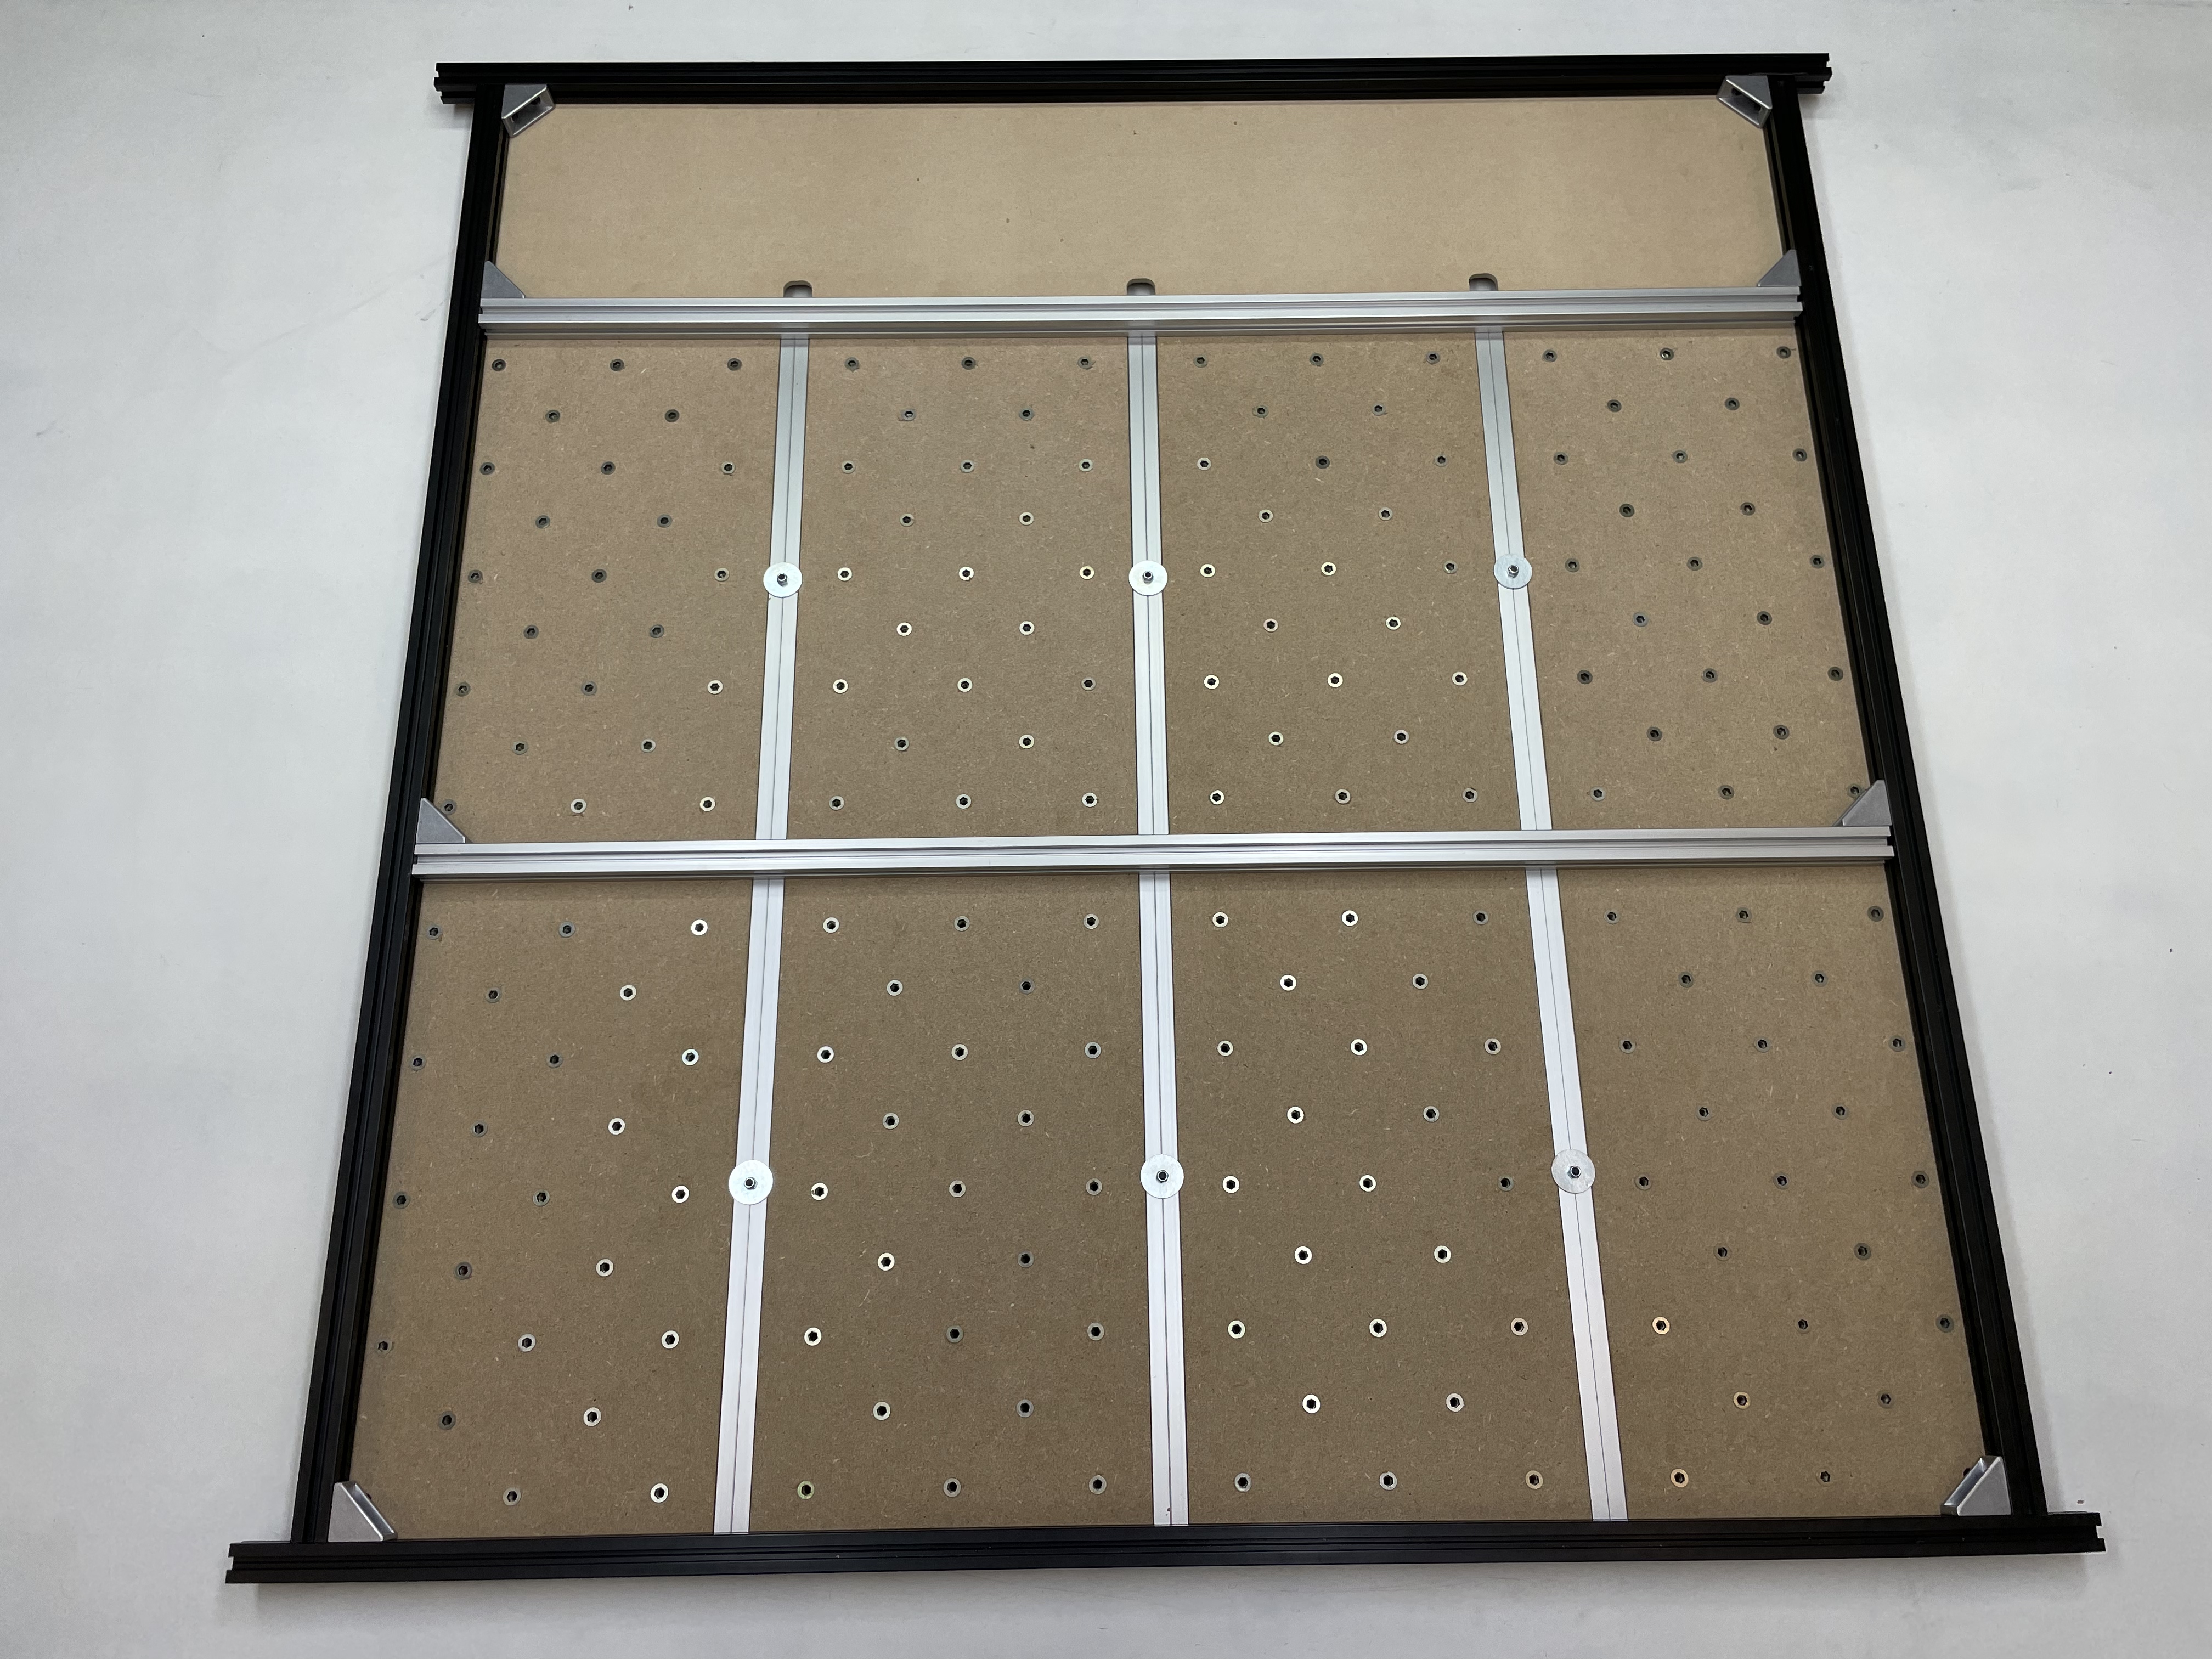
The wasteboard assembly is now completely. Remove any remaining pre-assembly t-slot nuts and carefully slide wasteboard off the table and flip it over. You may need to use a separate table or ask someone to hold the X-Carve in place to avoid knocking it off.
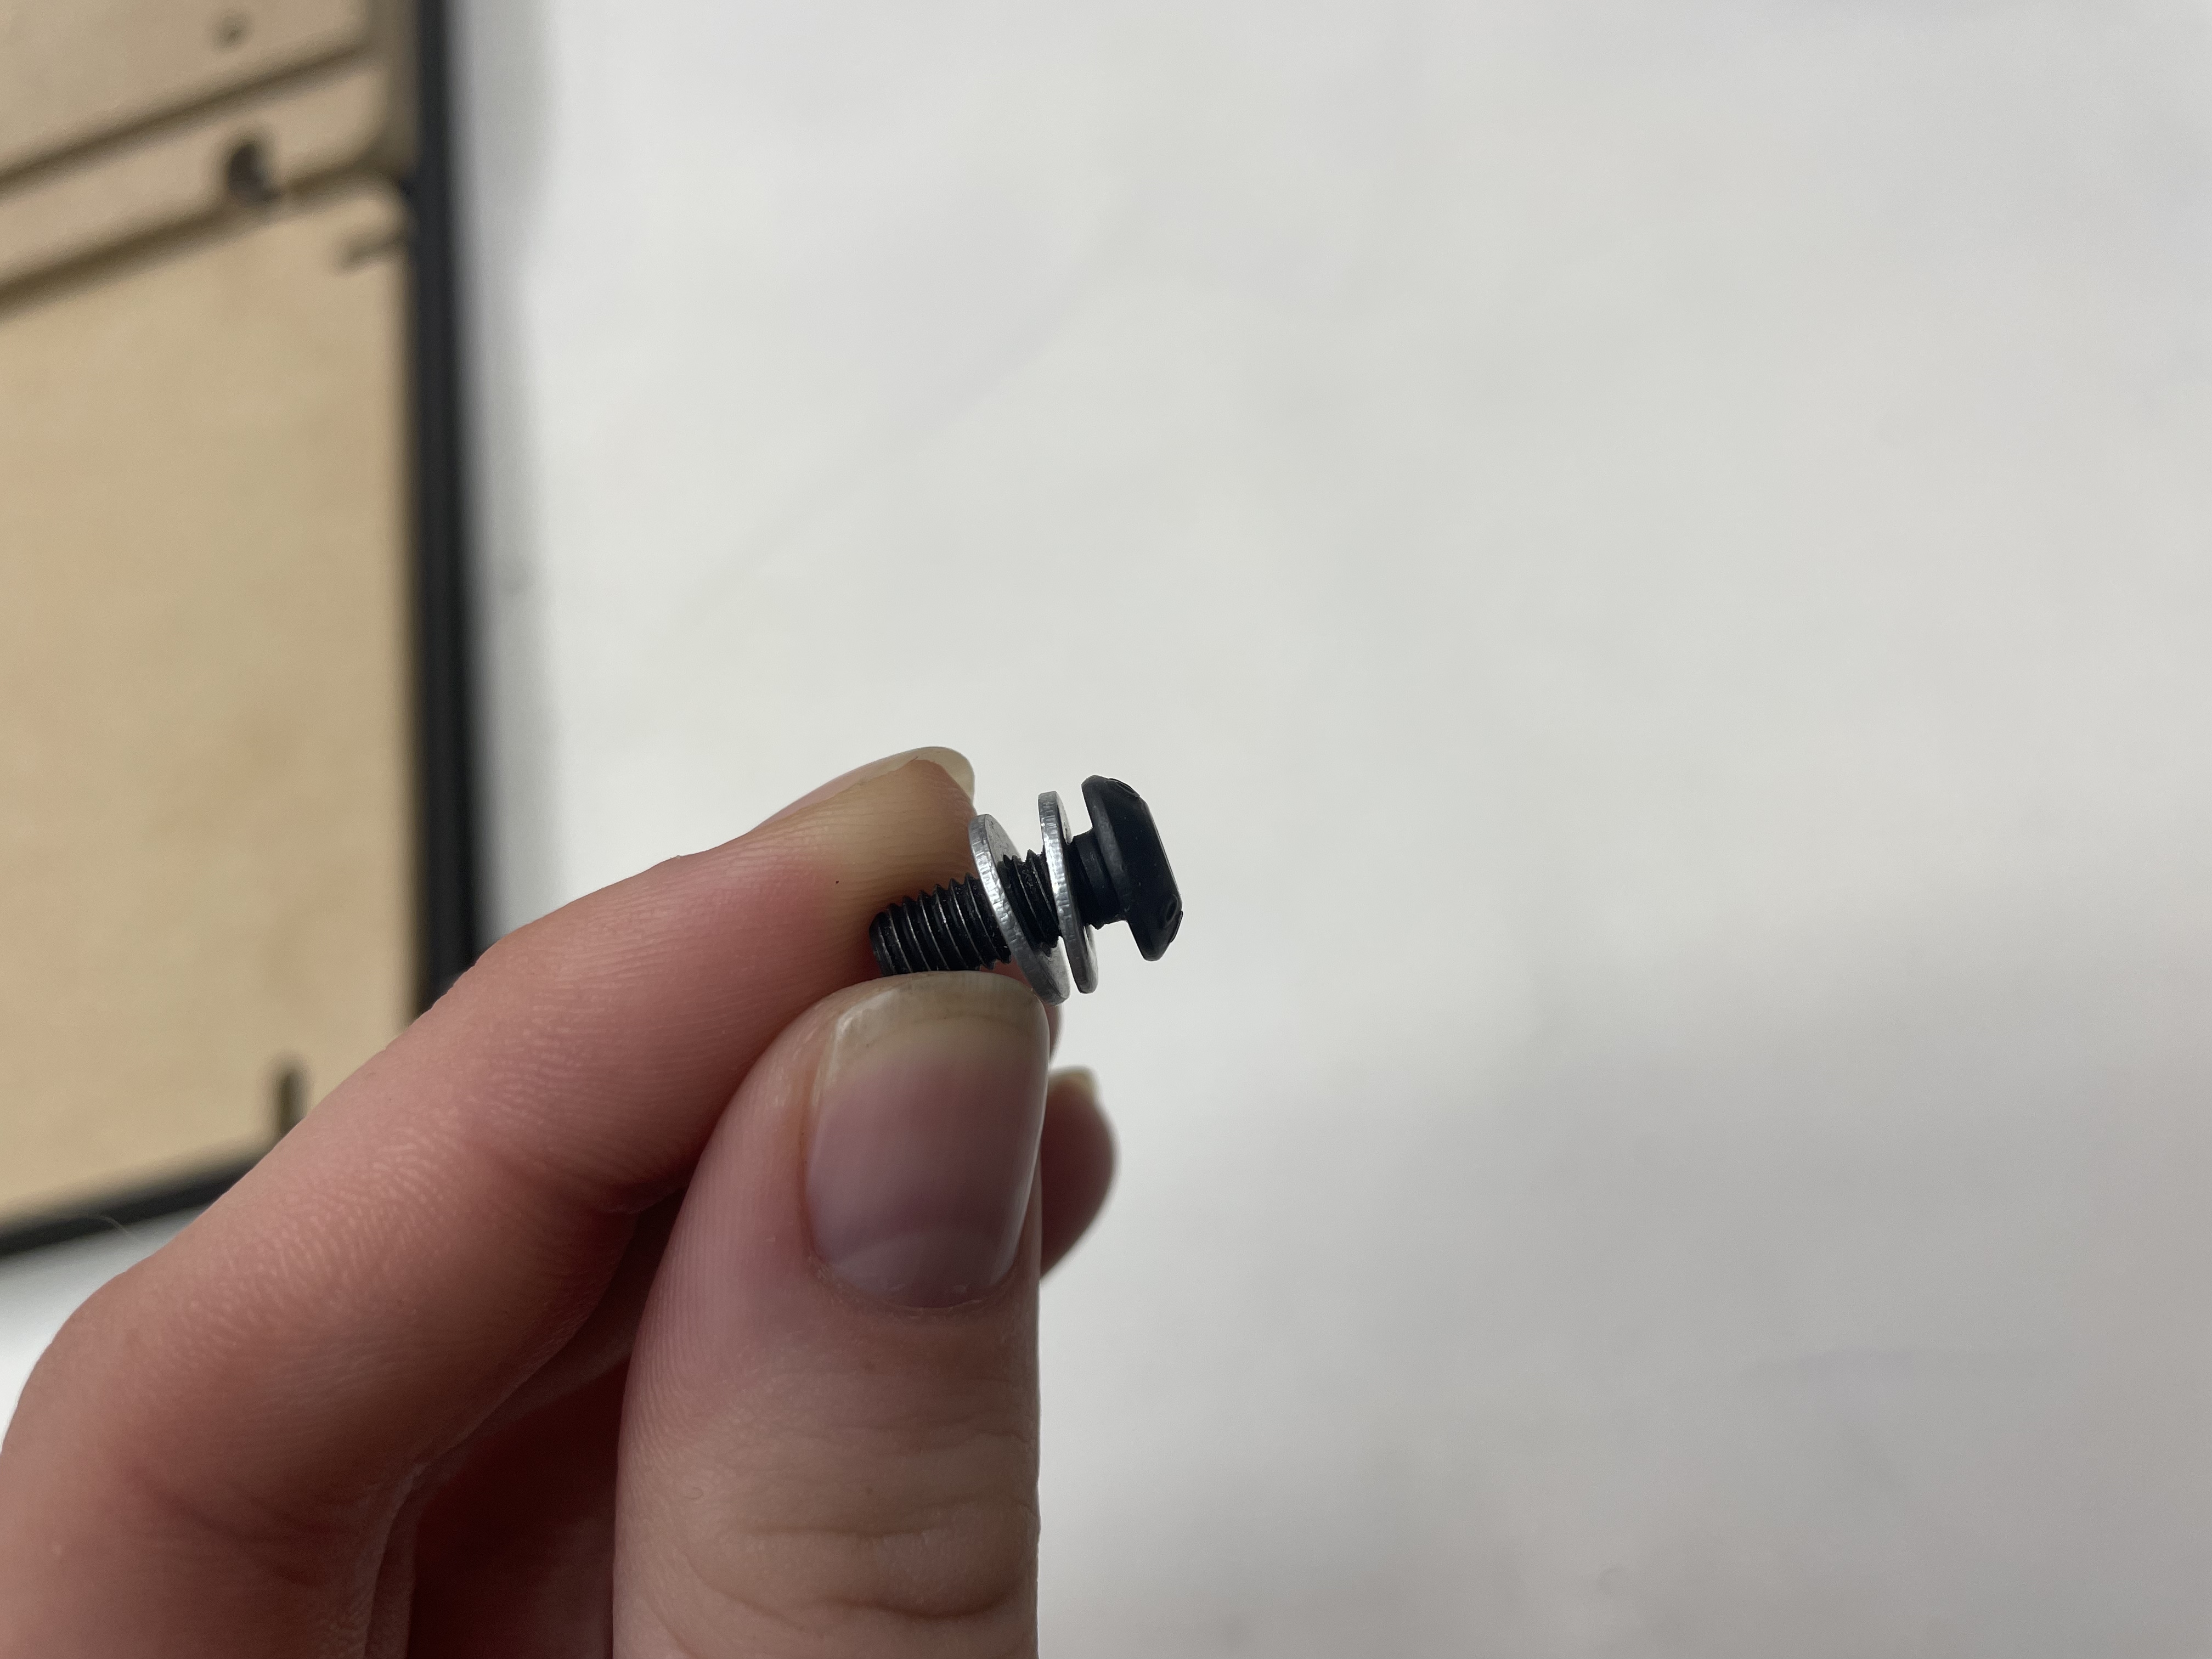
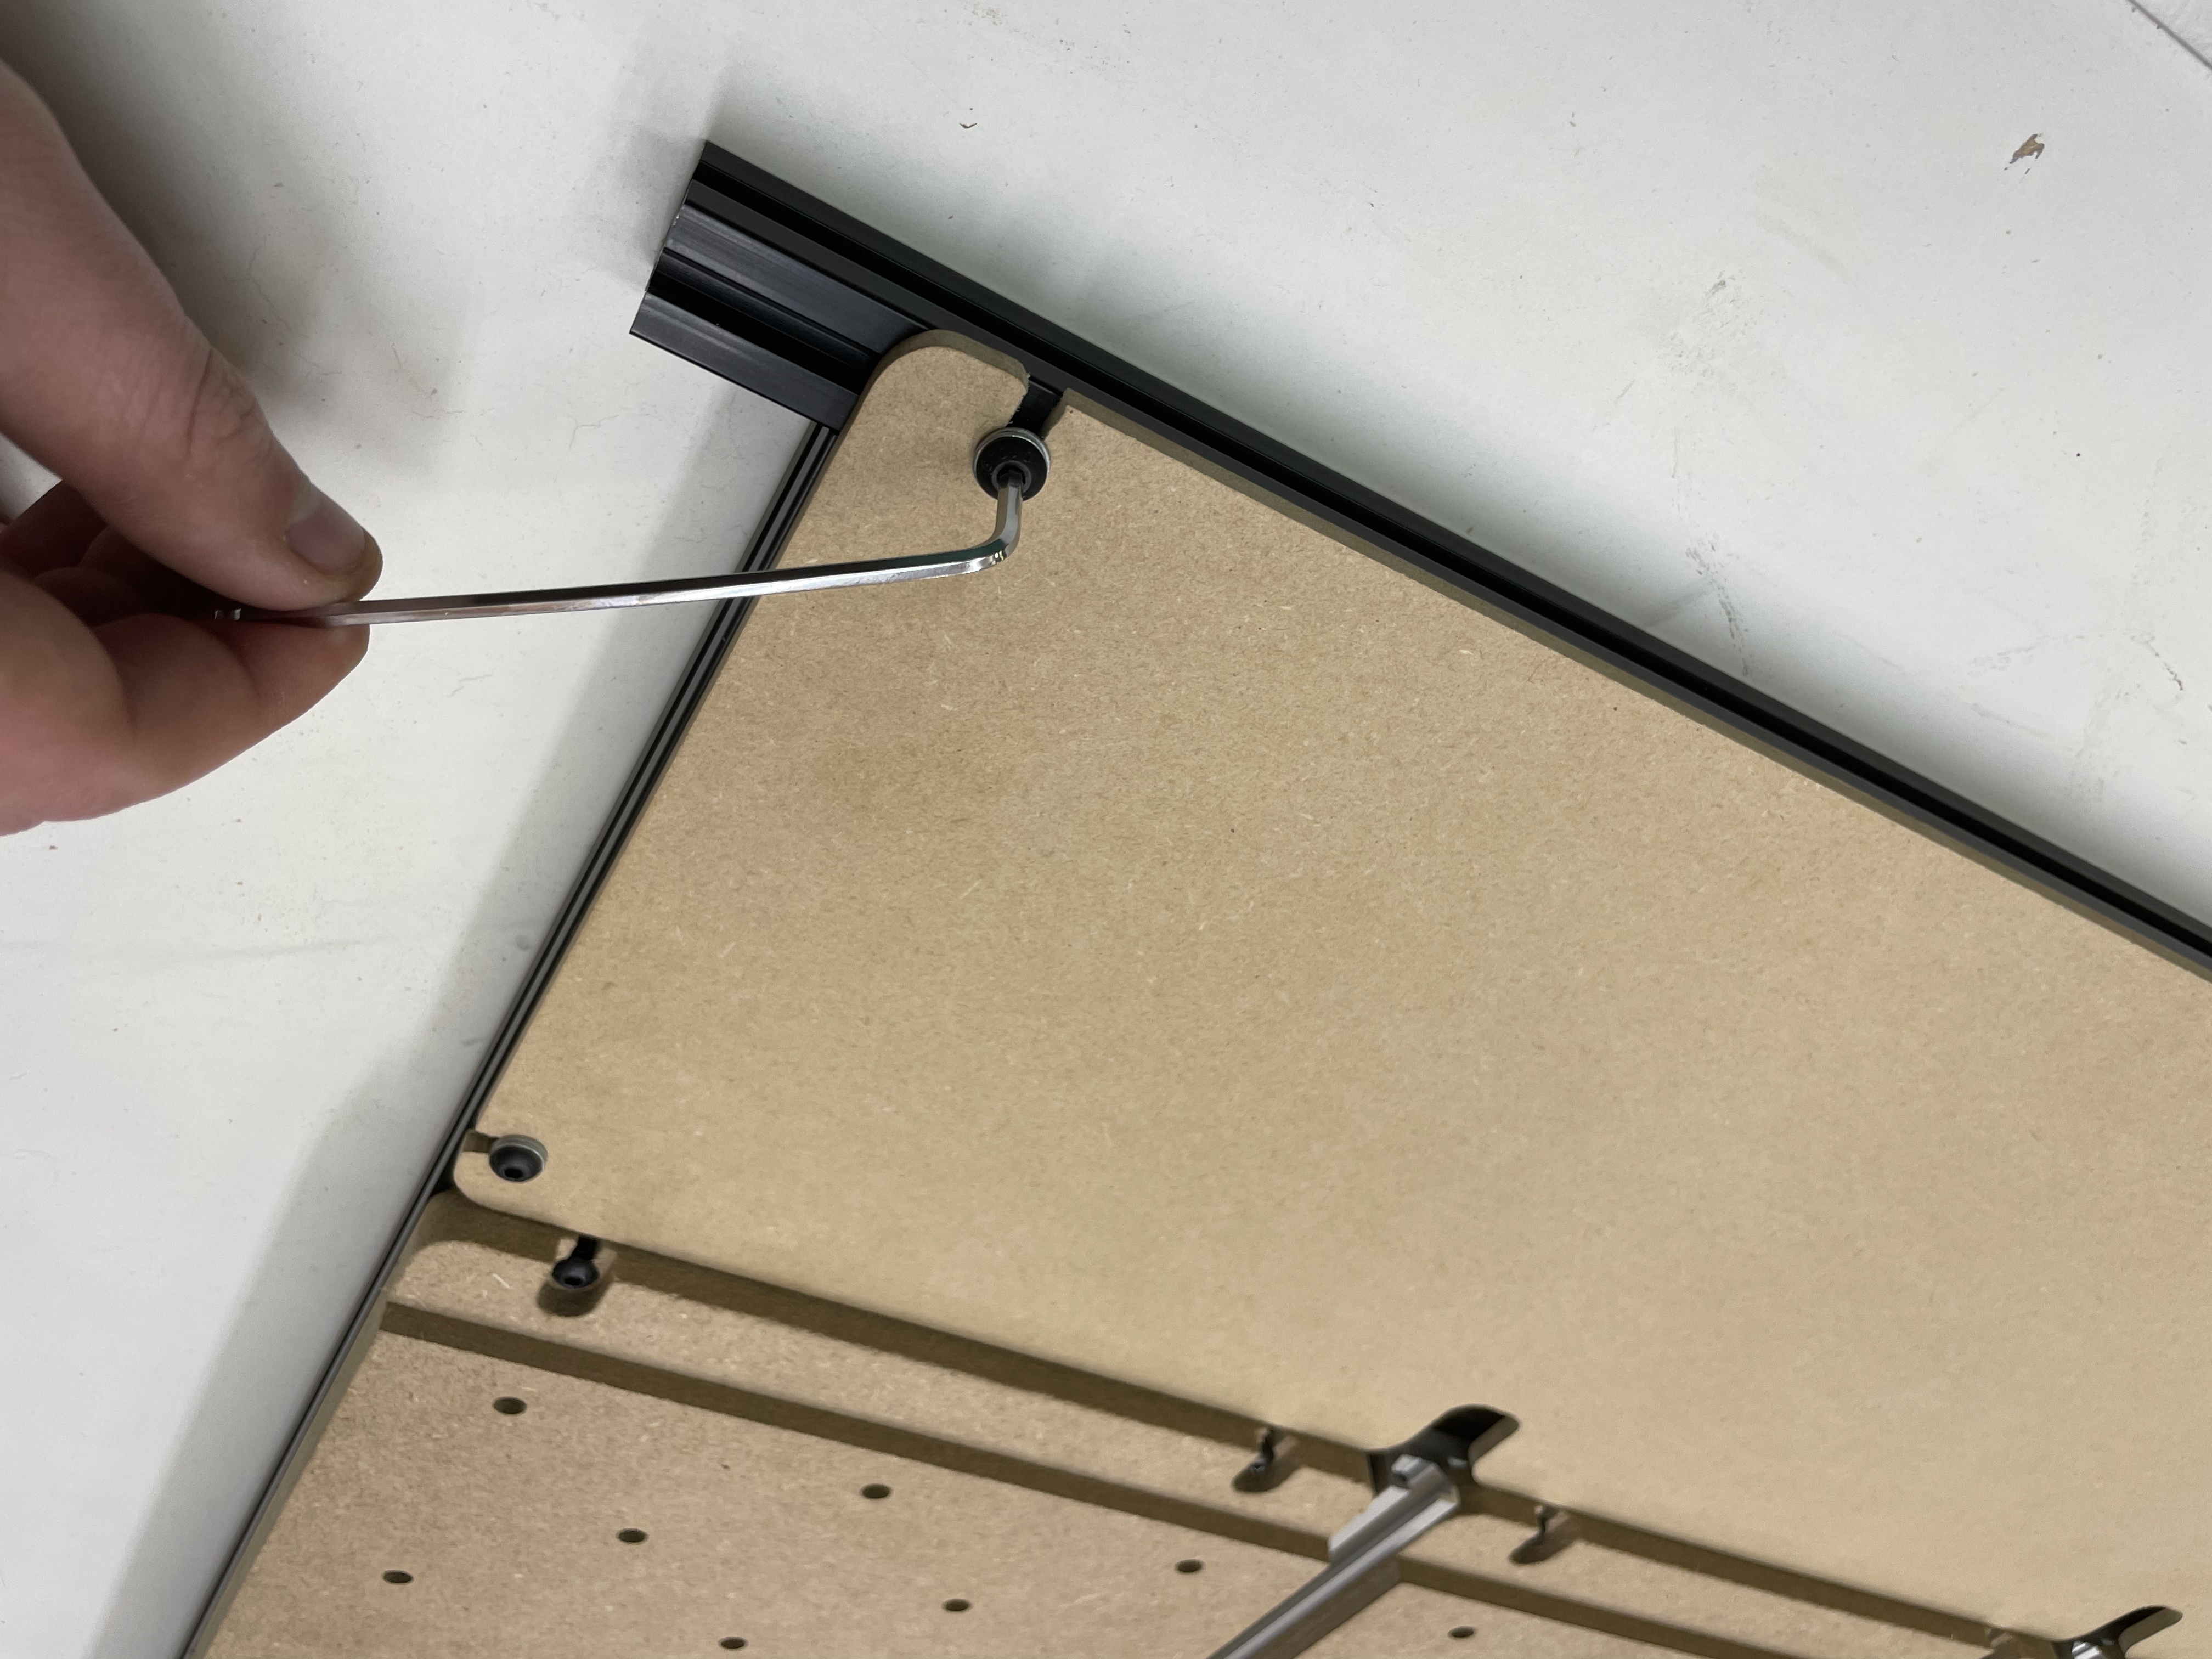
Use the 5mm hex driver bit and a drill to install threaded inserts into the holes.
Using 2 gusset brackets, 4 M5 X 12mm button head cap screws and 4 M5 tee nut twist in, secure the middle extrusion.
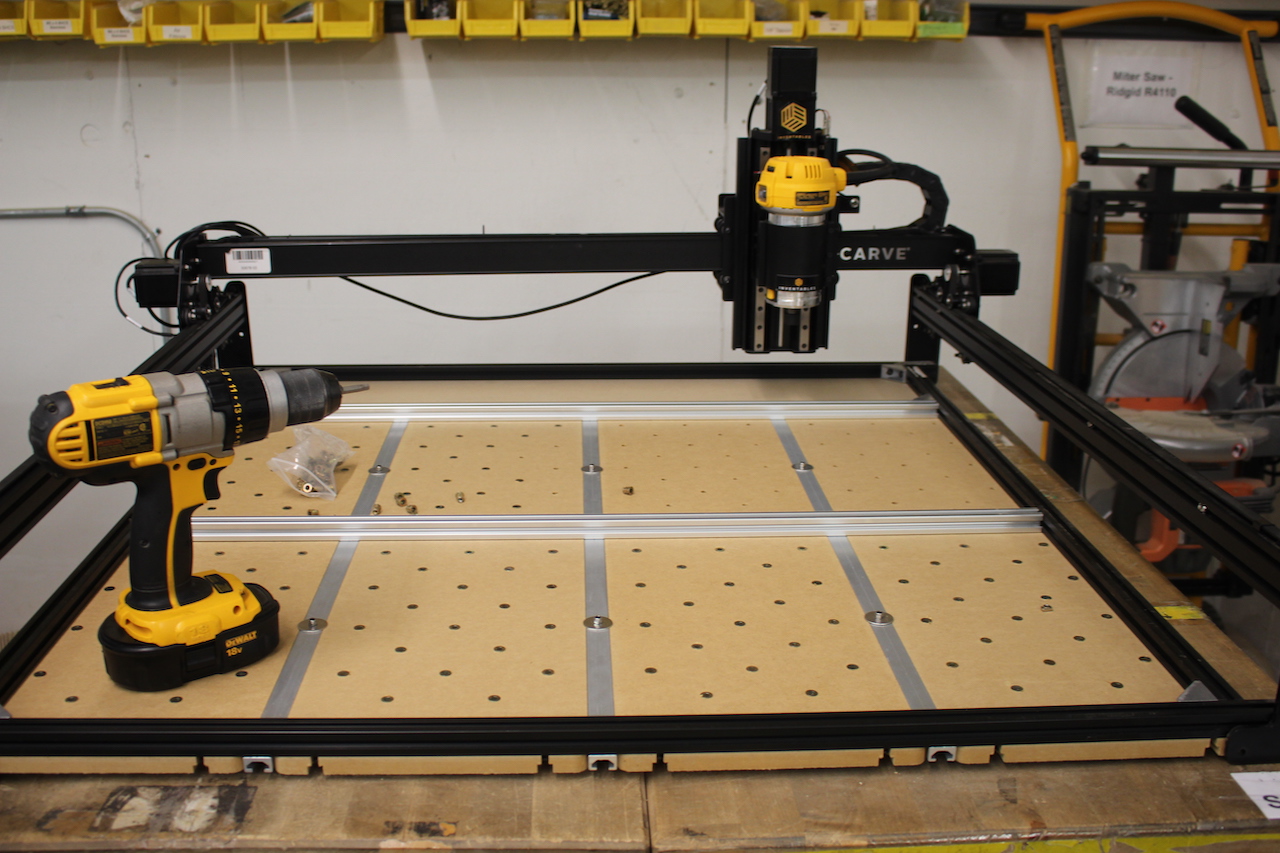
Tighten all of the gusset brackets down. Carefully slide off wasteboard, flip it and slide under the X-Carve. Locate the 8 M5 x 10mm socket head cap screws and M5 pre-assembly t-slot nuts that secure the risers to the extrusions. These were uninstalled at the beginning.
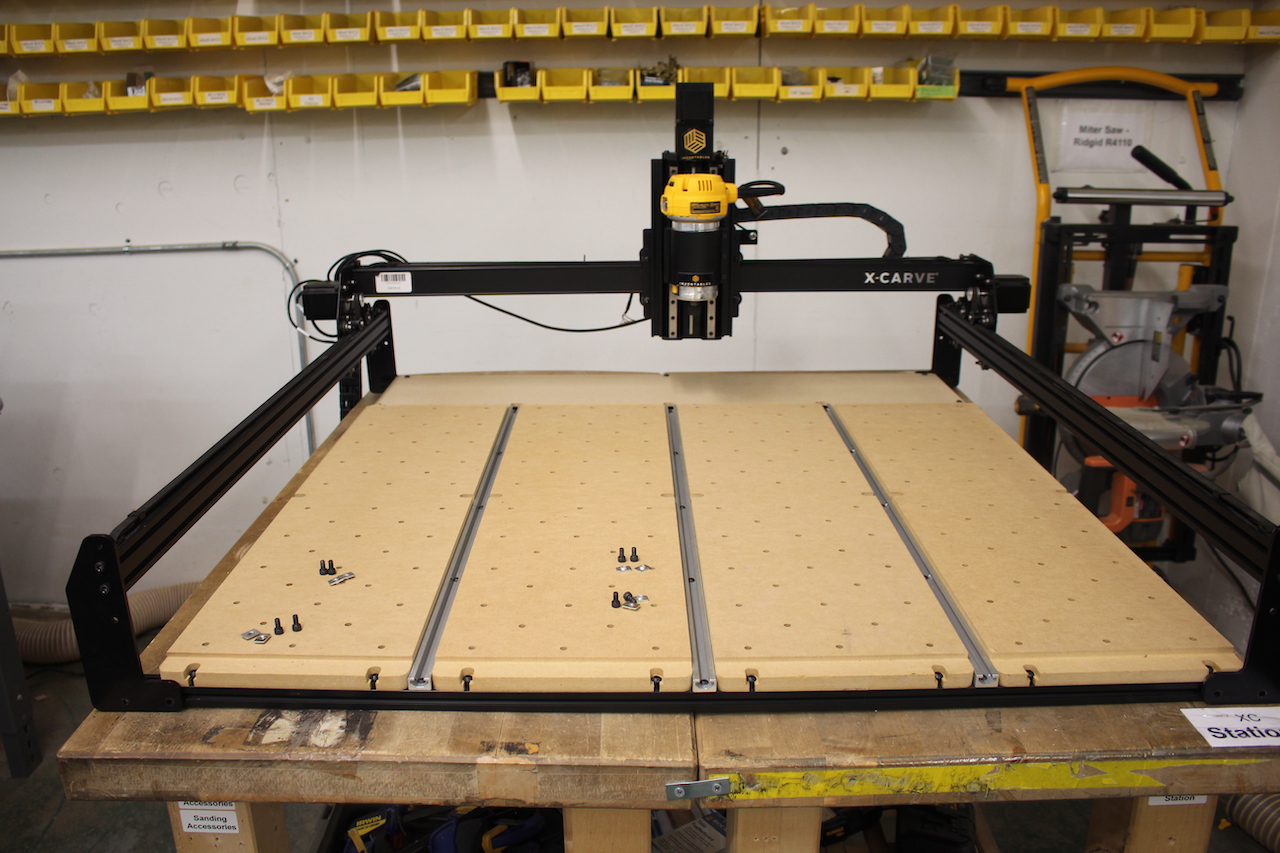
Before tightening down the socket head cap screws, make sure your wasteboard is squared by measuring diagonally.
Slide in pre-assembly t-slot nuts and line them up with the bottom holes on the risers. Tighten the X-Carve down to the wasteboard.
Once the wasteboard is secured, locate the stiffener plates and attach to the sides of the X-Carve extrusion and makerslides.