Y-Axis
| Rail Kit | ||
| SKU | Name | Quantity |
| 25142-10 | MakerSlide Black | 2 |
| Core Components Kit | ||
| SKU | Name | Quantity |
| 30524-01 | MakerSlide End Plate | 4 |
| 25286-18 | Button Head Cap Screw M5 x 10mm | 8 |
| 25281-05 | T-Slot Nut M5 Pre-Assembly (Insertion Nut) | 4 |
| Gantry Assembly | 1 | |
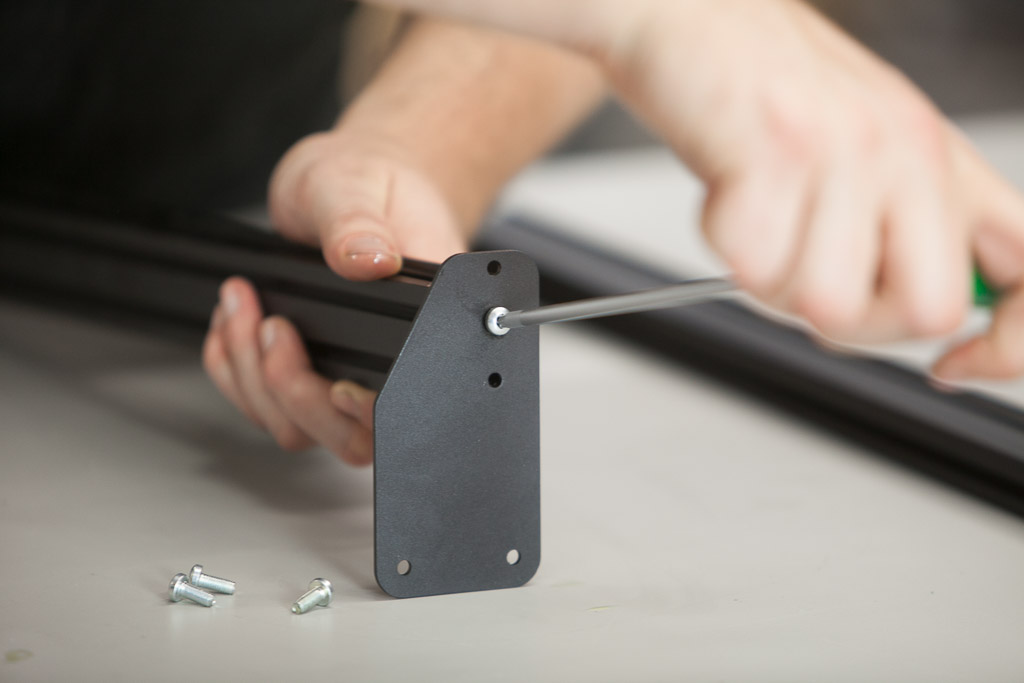
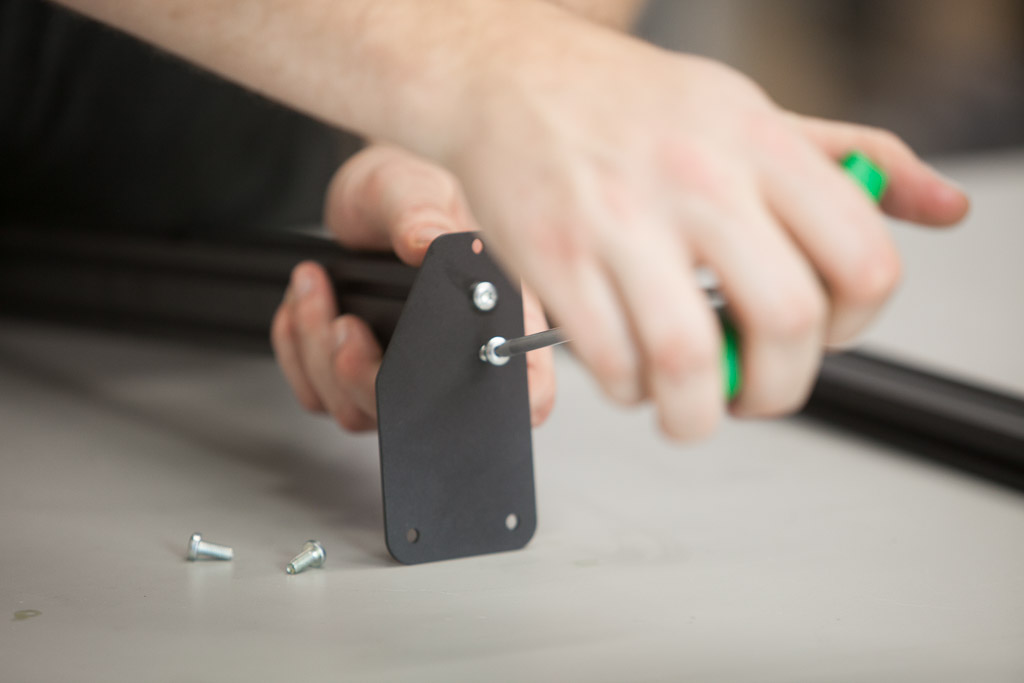
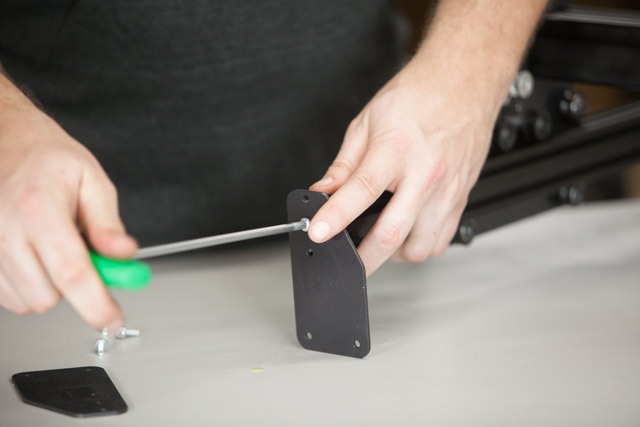
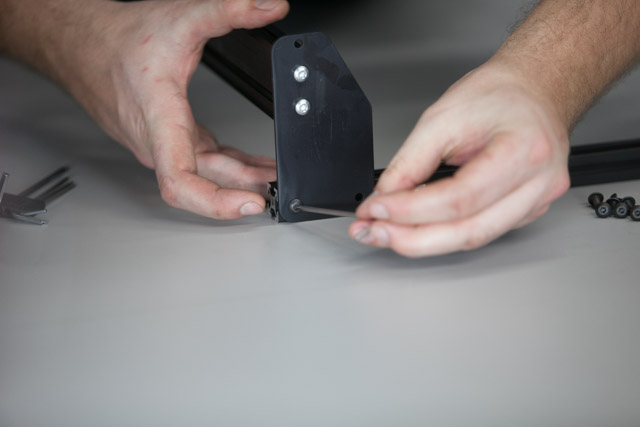
1. Attach End Plates to Makerslide
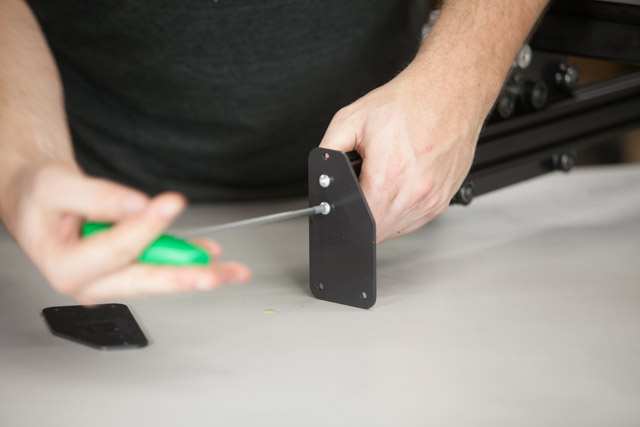
Attach a piece of Makerslide to an end plate using a button head cap screw. Make sure you use the correct holes in the end plate and that you orient the two pieces correctly.
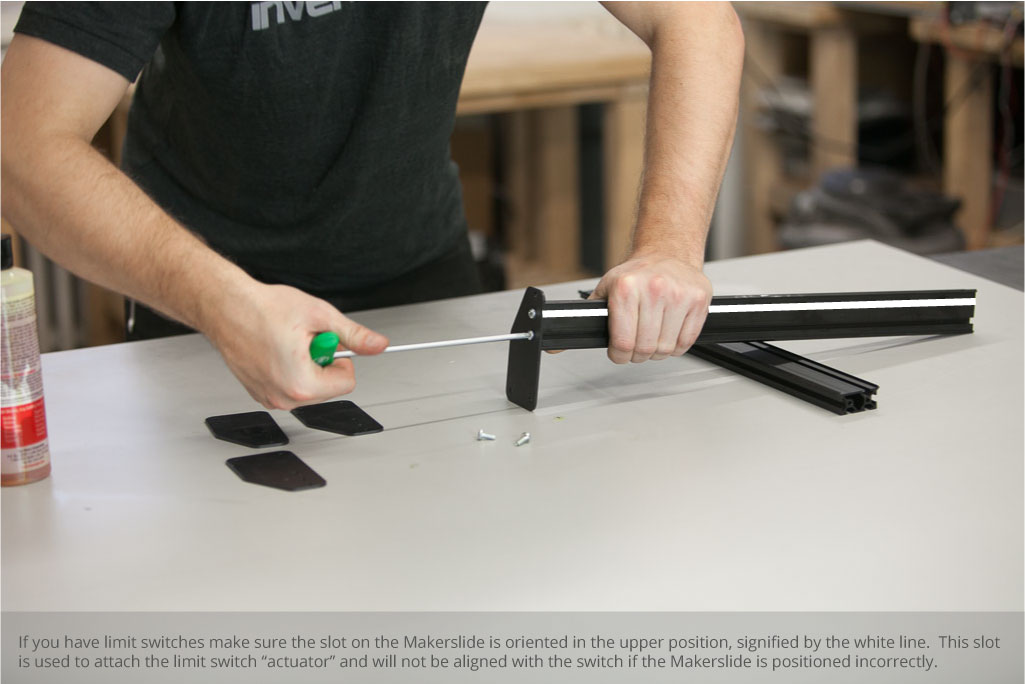
If you have limit switches, make sure the slot on the Makerslide is oriented in the upper position. This slot is used to attach the limit switch “actuator” and will not be aligned with the switch if the Makerslide is positioned incorrectly.
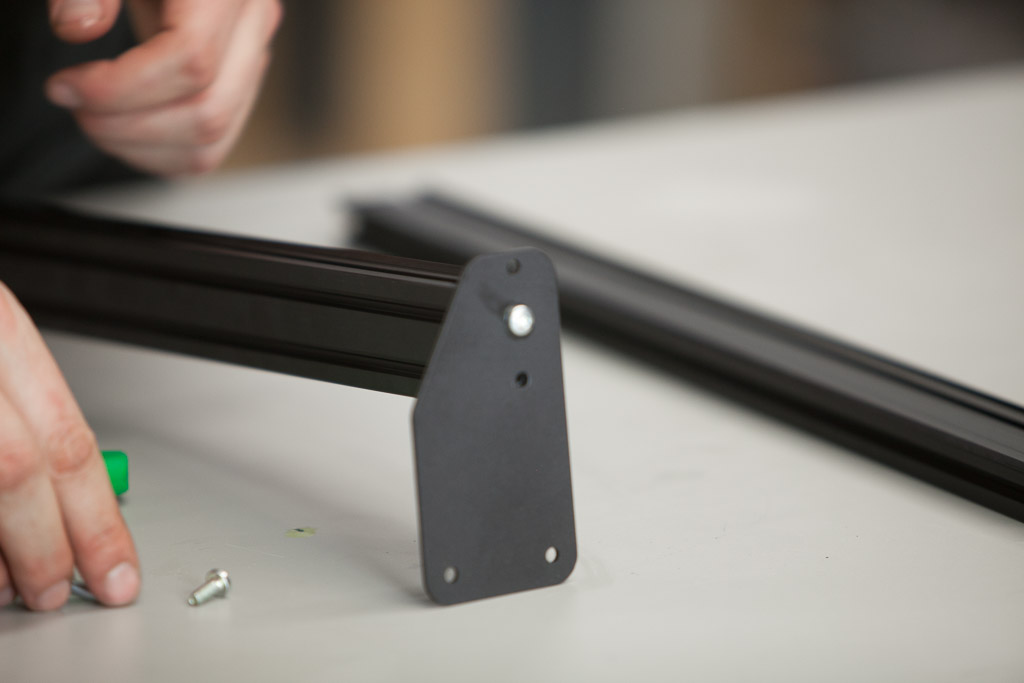
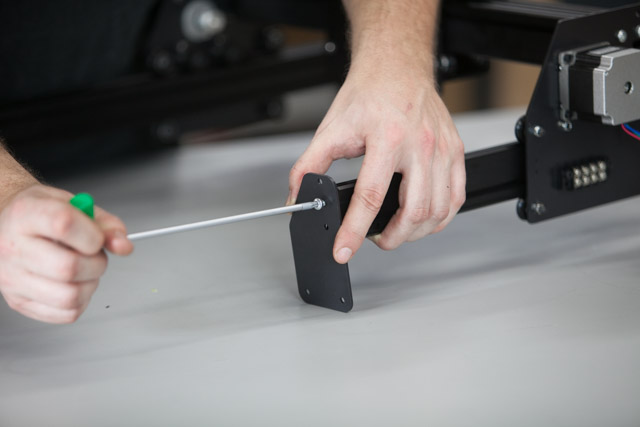
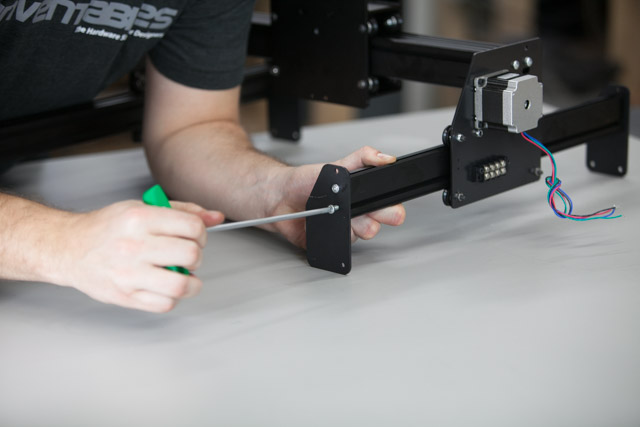
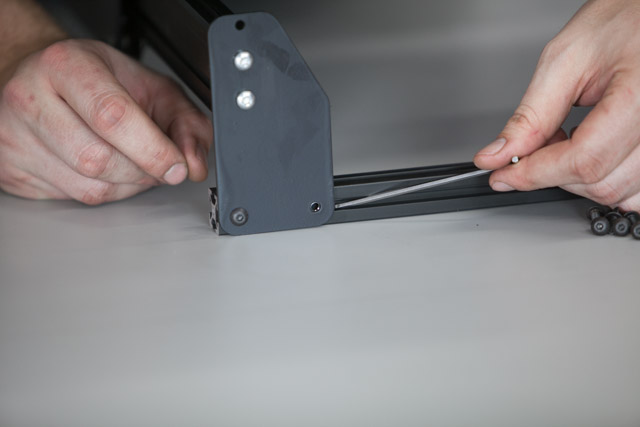
Repeat this process with another piece of Makerslide and another end plate, but mirror the piece you made in the previous step. You should have two pieces like this:

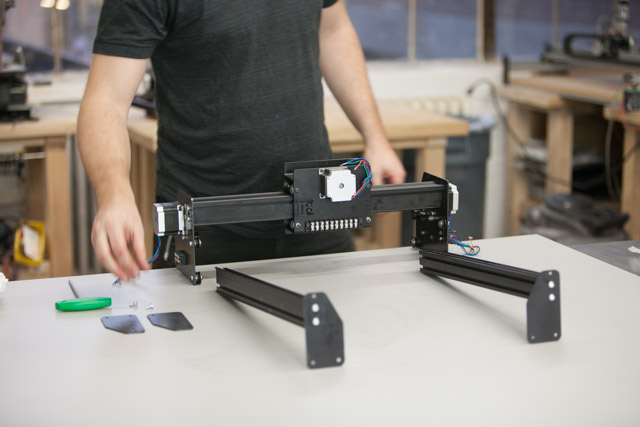
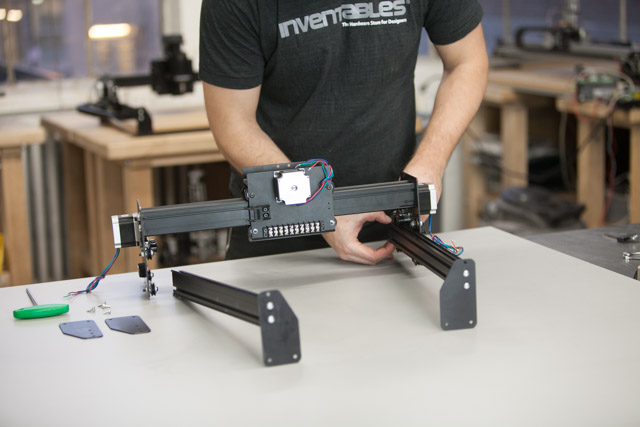
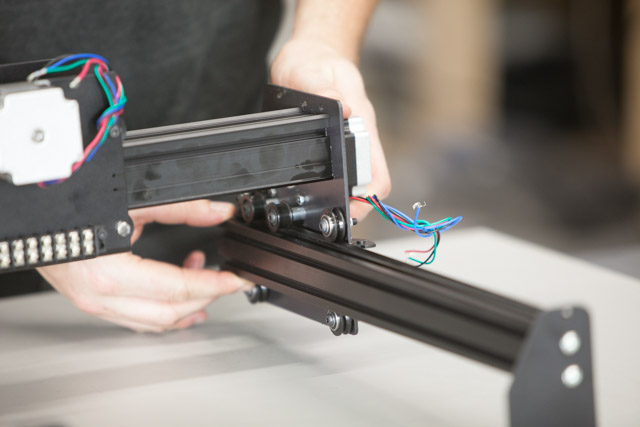
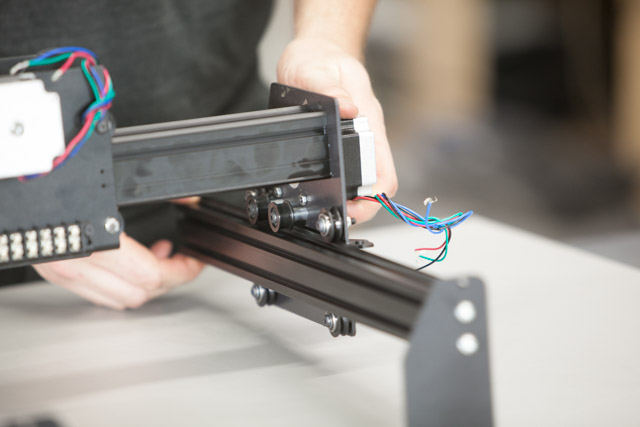
2. Slide on Gantry
Now you’ll slide the gantry onto each of the Y-axes. This step is just like when you put the X Carriage onto the x-axis. Go slow and check the orientation of the eccentric nuts on the Y-Plates if you are encountering resistance.
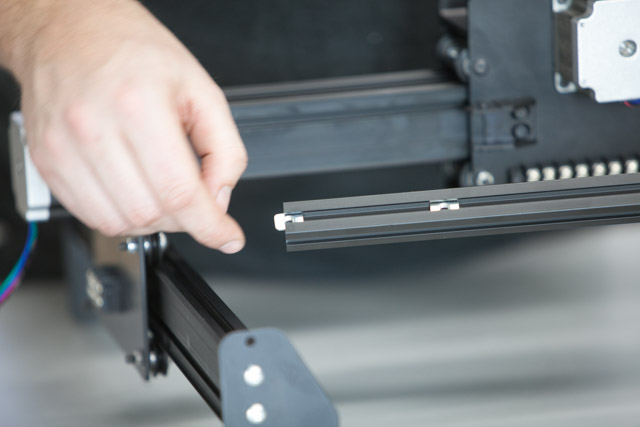
3. Add Insertion Nuts for Belt Clips
Put two insertion nuts into each piece of y-axis Makerslide (four in total).

4. Attach Front End Plates
Now put the last two end plates on the y-axis Makerslide with button head cap screws. The flat sides of the end plates should face out:
Your X-Carve should look like this:

5. Connect End Plates with Extrusions
| Rail Kit | ||
| SKU | Name | Quantity |
| 26049-01 | Aluminum Extrusion 20 × 20mm | 2 |
| Core Components Kit | ||
| SKU | Name | Quantity |
| 25281-05 | T-Slot Nut M5 Pre-Assembly (Insertion Nut) | 8 |
| 25286-17 | Button Head Cap Screw M5 x 8mm | 8 |
You’ll connect the two y-axes with extrusions in the front and back of the machine.

Slide the insertion nuts into the extrusions and fasten the end plates to them with 8mm screws:

Your X-Carve should look like this now:
