Computer Setup
If you purchased a new kit from us, you’ll be setting up your machine with the X-Controller. You’ve already wired the X-Controller to your machine in the X-Controller step. Now it’s time to connect the controller to your computer and complete your first carve. For simplicity’s sake, this guide will show you how to connect your X-Controller using Easel. It is possible to use programs like Universal GCode Sender and grbl Controller to control your machine. Easel is the easiest tool for the initial setup of your machine.
Log Into Easel
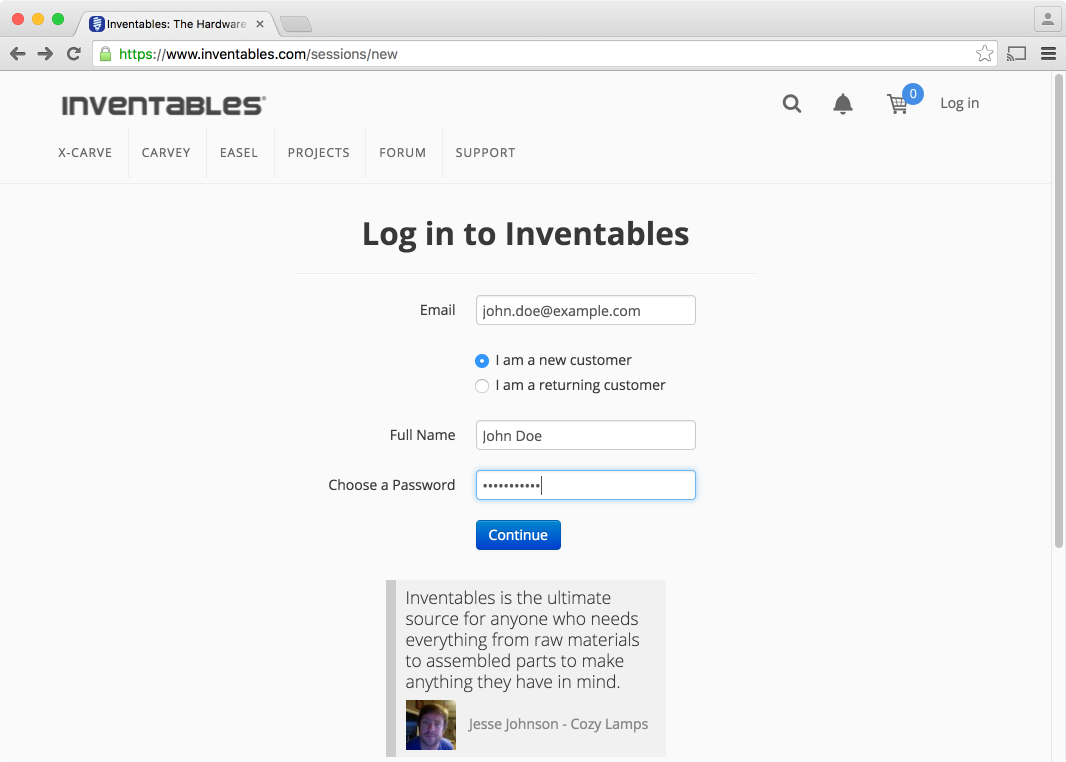
We’ll begin by opening Easel. Go to the Machine Setup Walkthrough. You will be prompted to log into Easel. If you already have an account with us, you can log into your account. Otherwise you can enter your email address and create a password for a new account.

Download Easel Driver
Easel is a web application and needs a small piece of software to allow it to talk to the USB port on your computer. Whether you’re on a Mac or a Windows Machine, you will be automatically prompted to download and install this software. The Easel Driver behaves like a printer driver in that you never have to open it to use Easel. You may have to update the Easel Driver from time to time, but you can generally install it and forget that it’s there. If it doesn’t open you can access all the drivers here.
Run Machine Setup through Easel
Before running the machine setup make sure to release the e-stop button if it is pushed down. The X-Controller will not connect if the e-stop is pushed in. Before you run your first carve, you will have to go to http://easel.inventables.com/setup to make sure you have the correct firmware settings for your machine. Choose the correct settings for your Machine here. You’ll want to make sure that you have the ACME screw selected for the leadscrew unless you’re upgrading from a machine with an M8 threaded rod. If you bought your machine you will have an 3/8” x 12TPI leadscrew by default.
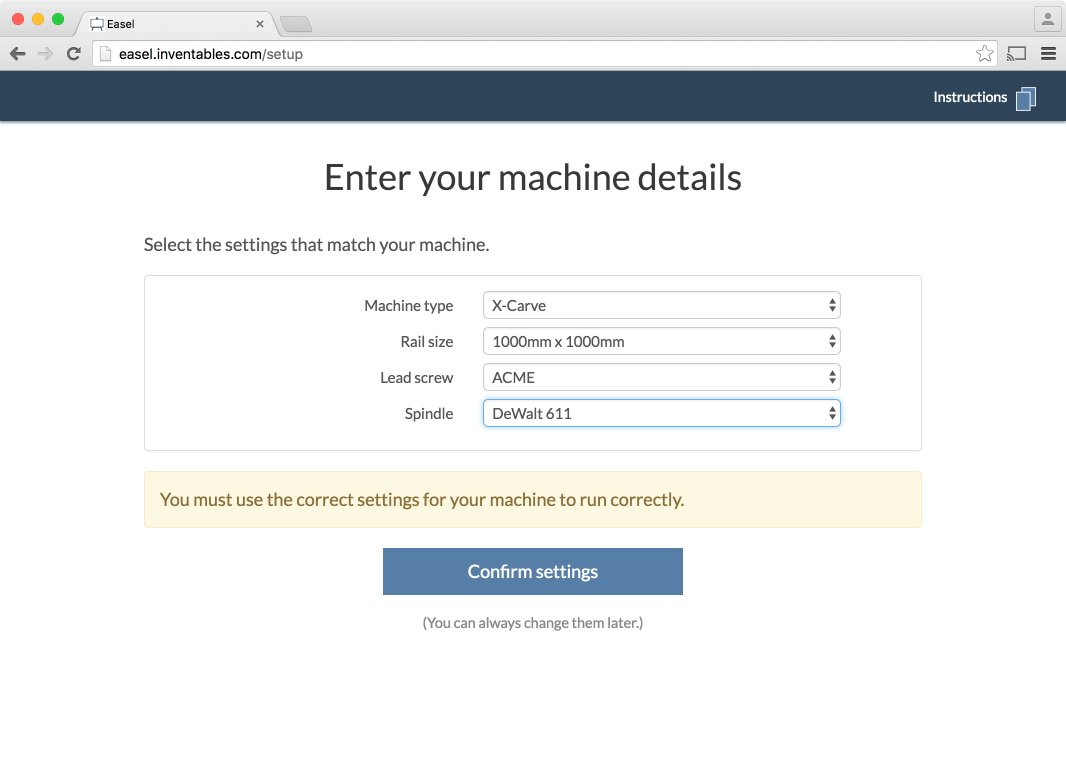
Once you’ve configured your machine using the dropdown menus click ‘Confirm Settings’.

If the machine successfully connects, you’ll be presented with a set of controls for jogging your machine. At this point the motors should be locked.
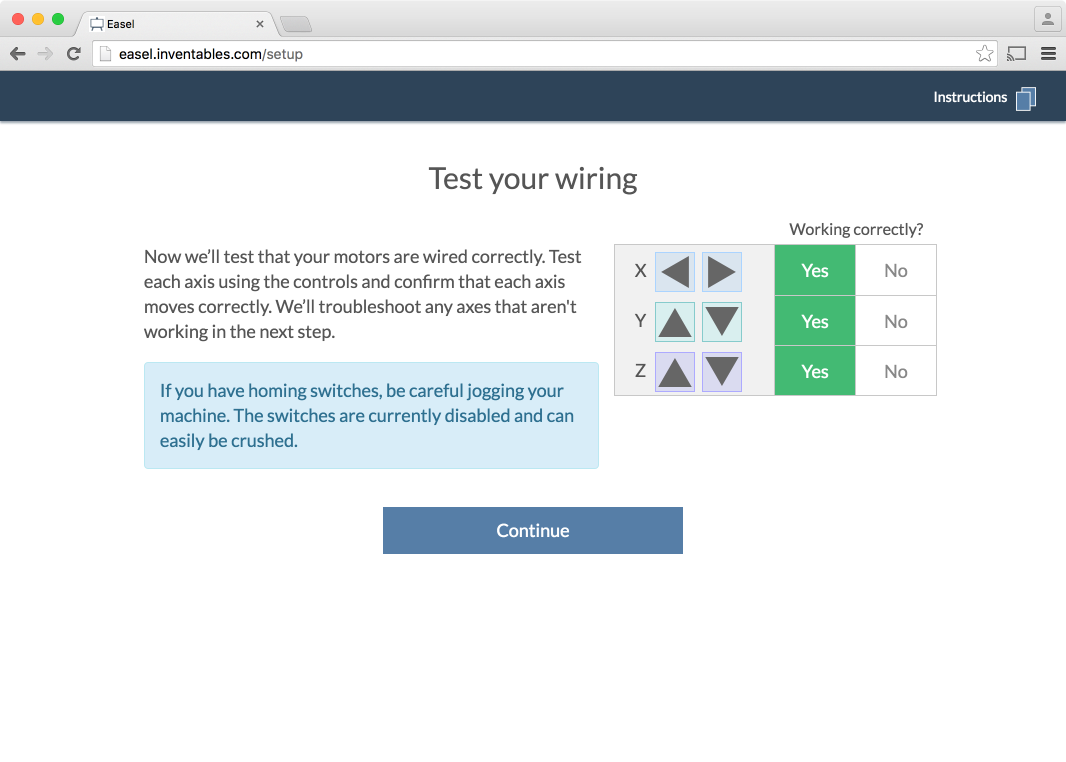
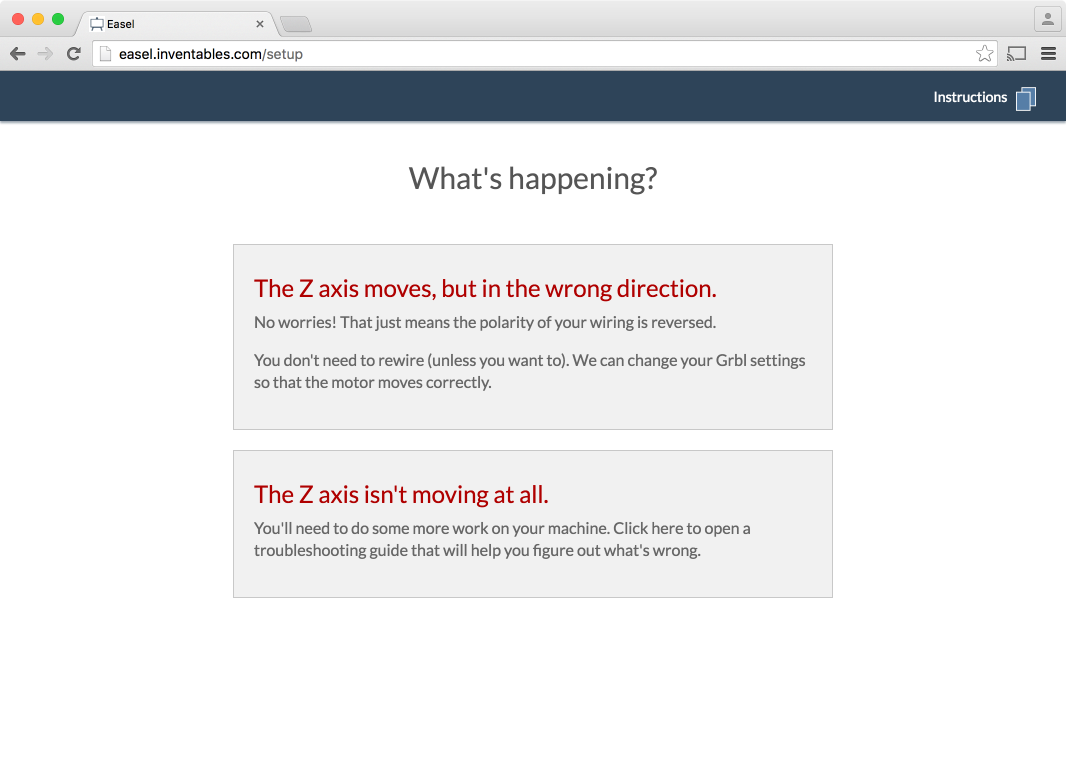
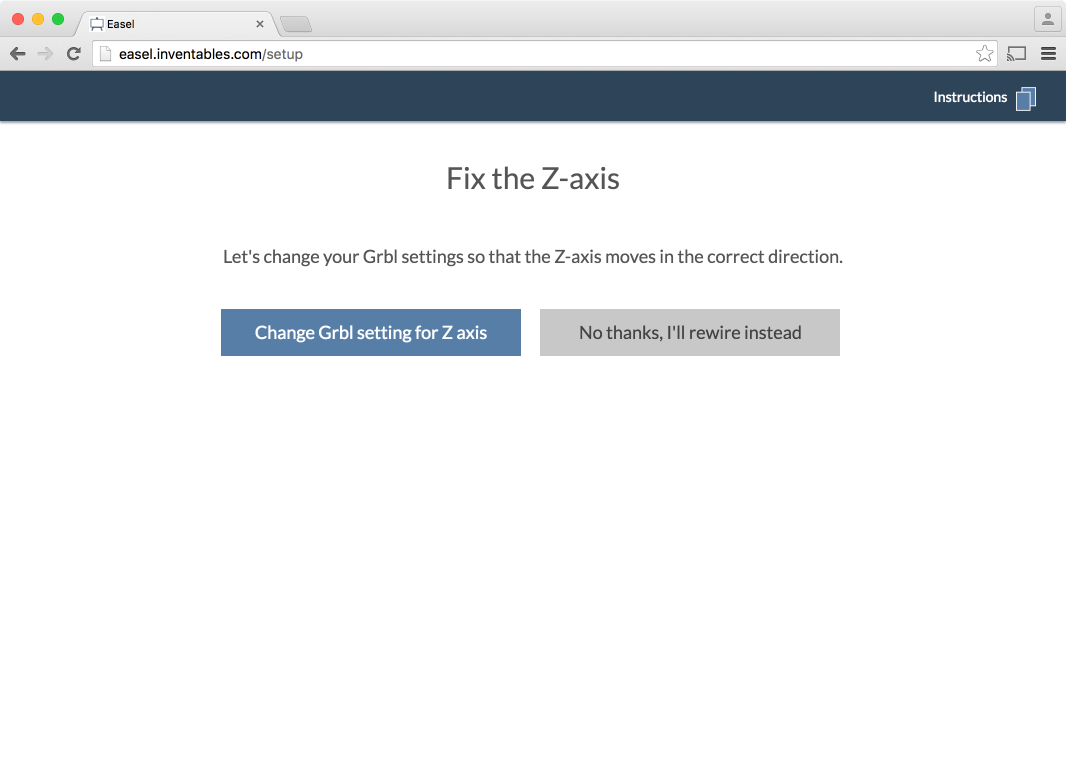
Try jogging the machine using the directional arrows. If everything is wired correctly you should get proper motion on each axis, though if one is reversed you can either go back and re-wire your motors or change the direction in the firmware settings using the Arrow menu.
If your Y axis is struggling to move, make sure that each motor is wired correctly. The Y motors should be wired to move in the opposite direction from one another since they are mirrored on the machine. You Can refer to the diagrams in the wiring step if necessary. Confirm the settings in the dialog box.
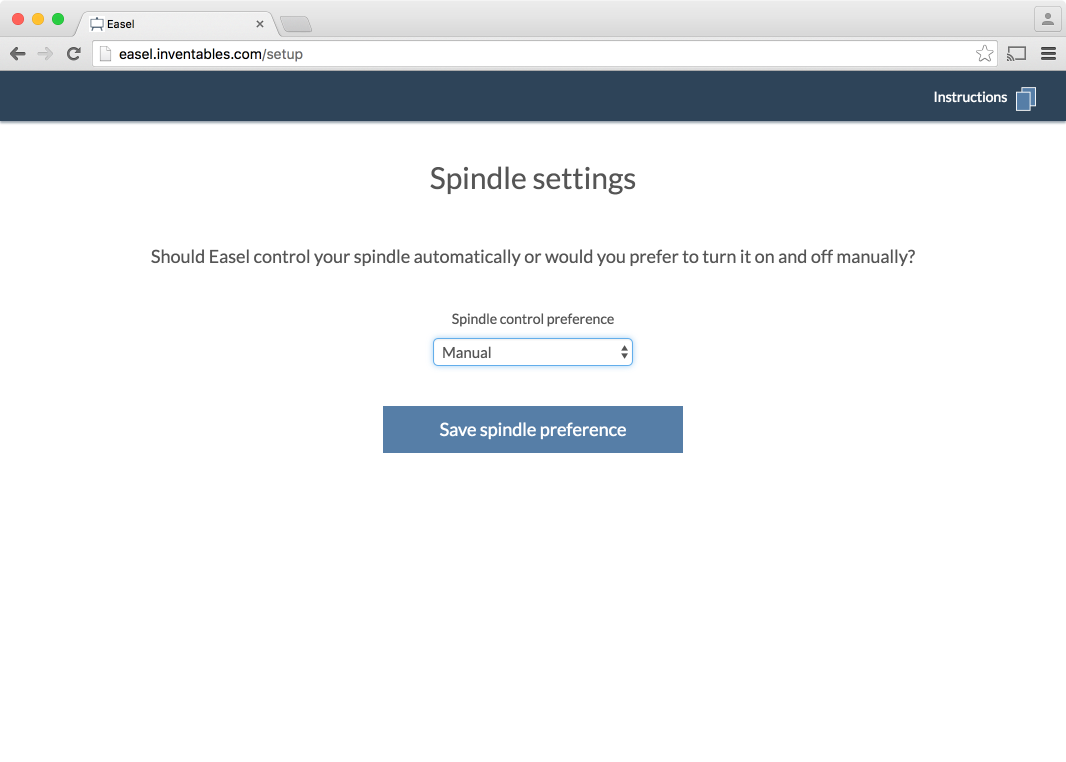
You’ll now be prompted to set your spindle settings. You’ll want to select ‘Manual’ For your spindle control preference in most case since the DeWalt 611 spindle is controlled via a simple rocker switch on the side of the router body. Only select ‘Automatic’ if you have customized your spindle to be controlled via a relay or other method.
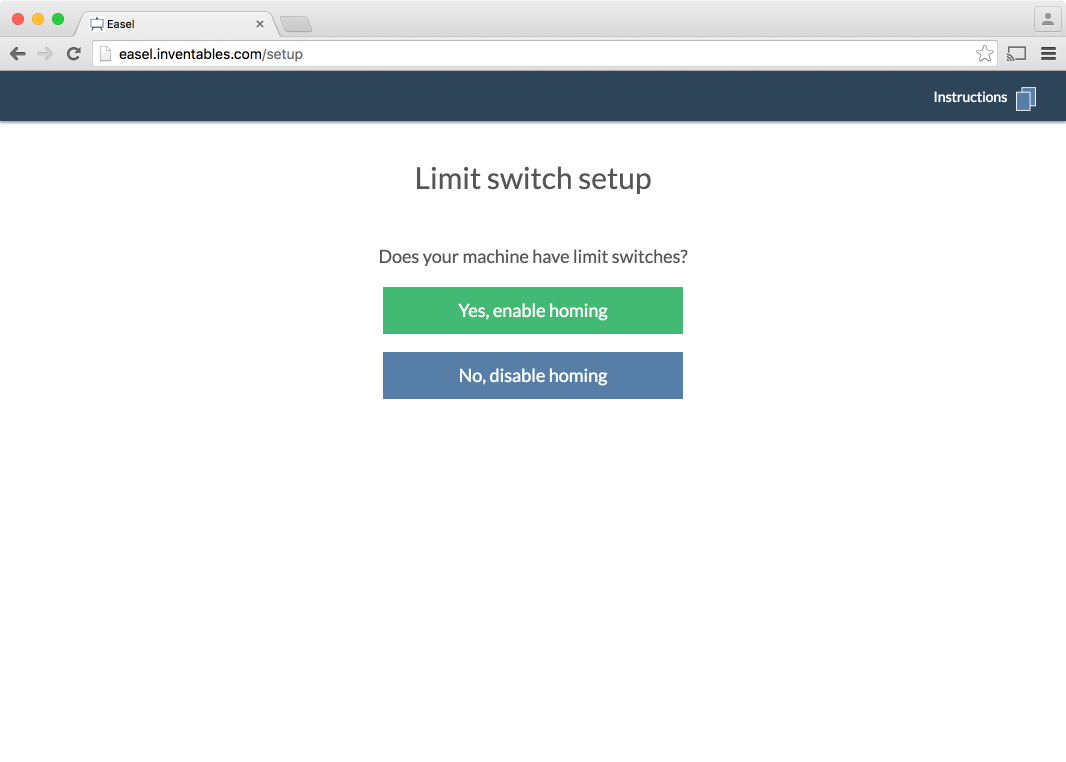
After you confirm your spindle setting, you’ll be prompted to enable or disable homing. Only enable homing if you are installing home switches (limit switches) on your machine.
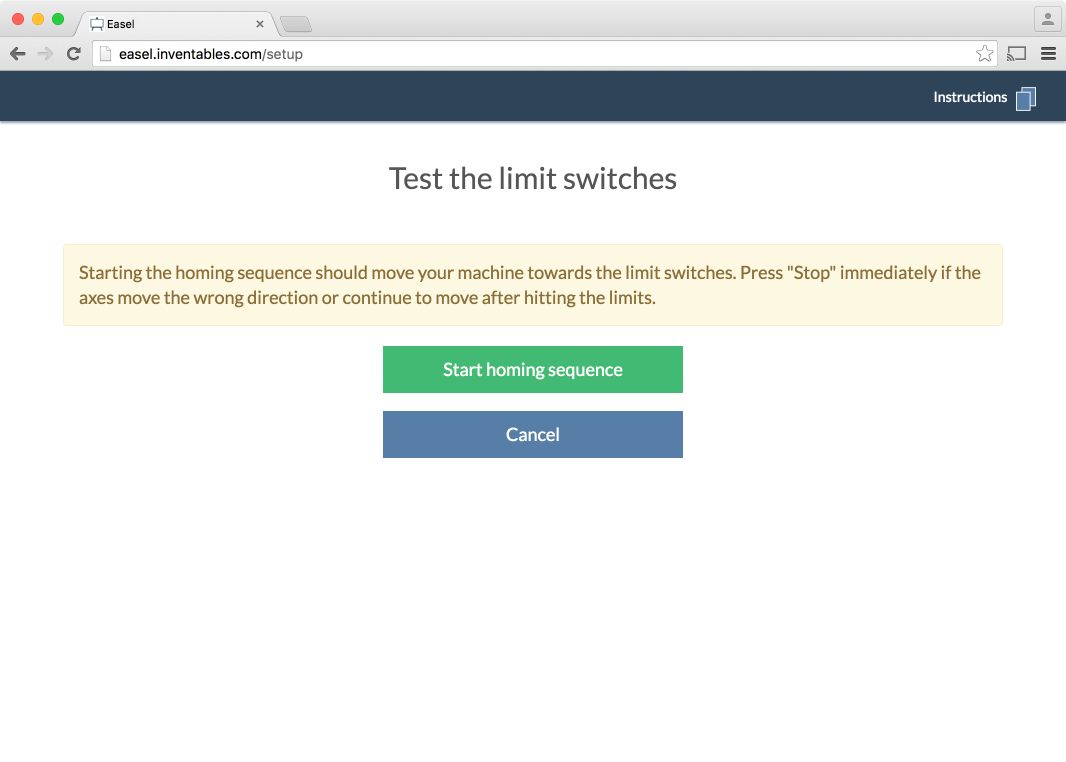
If you enable homing, you’ll be prompted to test the homing sequence. If you have your home switches installed but don’t want to test them now, you can always click ‘Cancel’ and disable homing for the time being. If you want to enable homing in the future, just run your machine through this setup again.
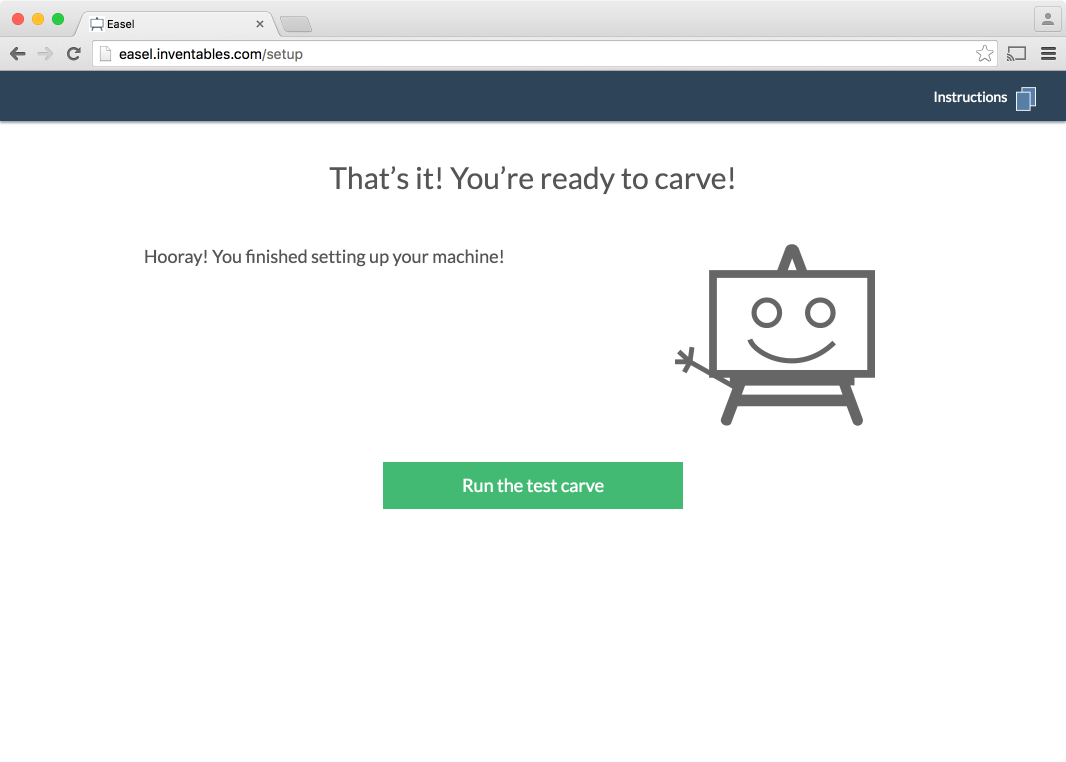
Run The Test Carve
After setting your machine, you can run a test carve to ensure that the machine is operating properly. Clicking on the green button here will take you to the test carve project itself.
You can use any material you’d like for this initial carve, though we generally recommend working with wood or a soft plastic to begin with.