Side Board
| 1000mm Side Board Kit | ||
| SKU | Name | Quantity |
| 30684-01 | Extrusion Connection Bracket | 2 |
| 25281-13 | T-Slot Nut M5 Pre-Assembly | 21 |
| 26018-01 | Cast Corner Bracket, Clear | 4 |
| 30517-11 | Threaded Insert M5 | 12 |
| 30685-03 | Side Board, X-Carve 1000mm | 1 |
| 26049-10 | Extrusion T-Slot 20x20 x 250mm | 2 |
| 26049-04 | Extrusion T-Slot 20x20 x 958mm | 2 |
| 25286-34 | Button Head Cap Screw M5 x 8 | 8 |
| 25286-37 | Button Head Cap Screw M5 x 10 | 8 |
| 25286-41 | Button Head Cap Screw M5 x 12 | 5 |
| 25286-47 | Button Head Cap Screw M5 x 14 | 12 |
| 1000mm Drag Chain Kit | ||
| SKU | Name | Quantity |
| 30554-06 | Flat Head Cap Screw M5 x 10 | 2 |
| 26016-03 | T-Slot Nut M5 Post-Assembly | 2 |

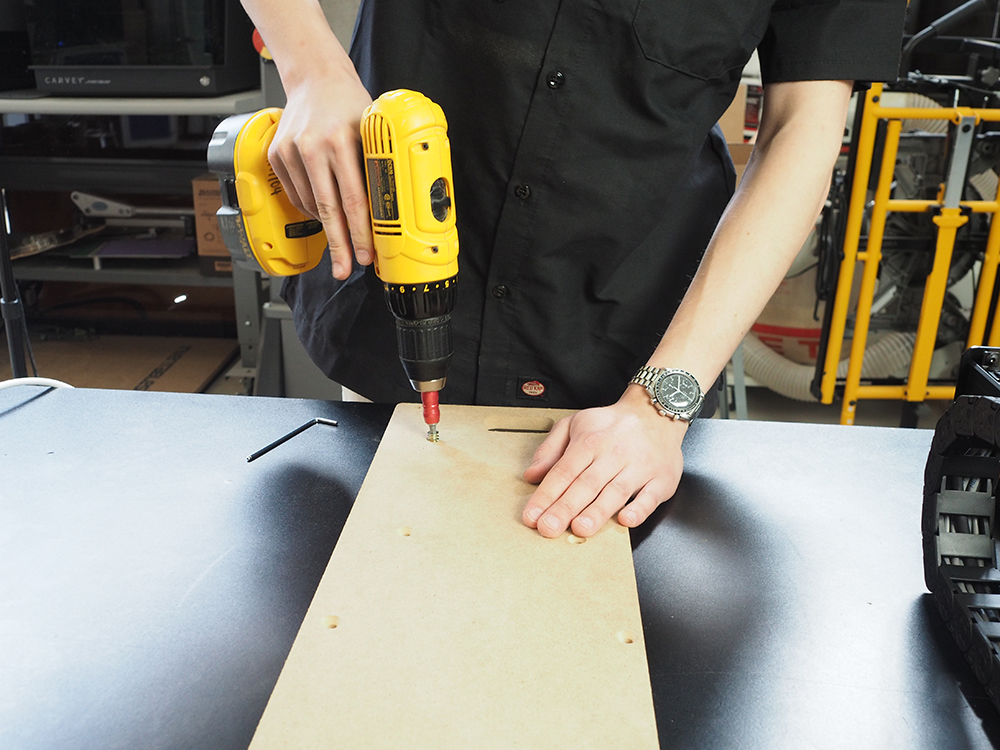
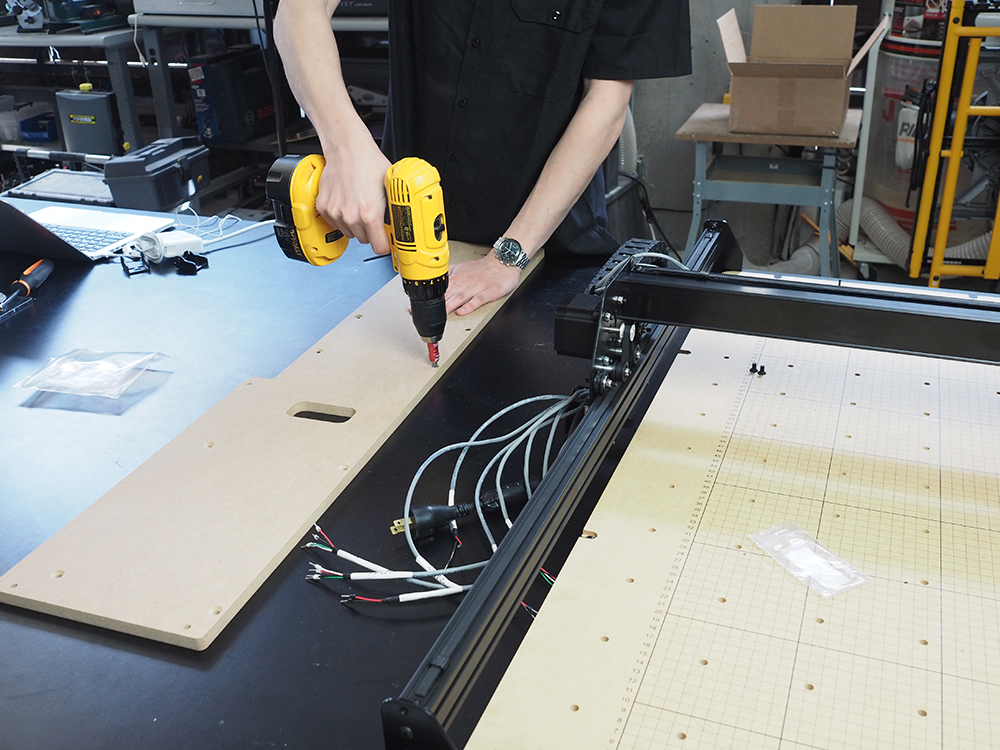
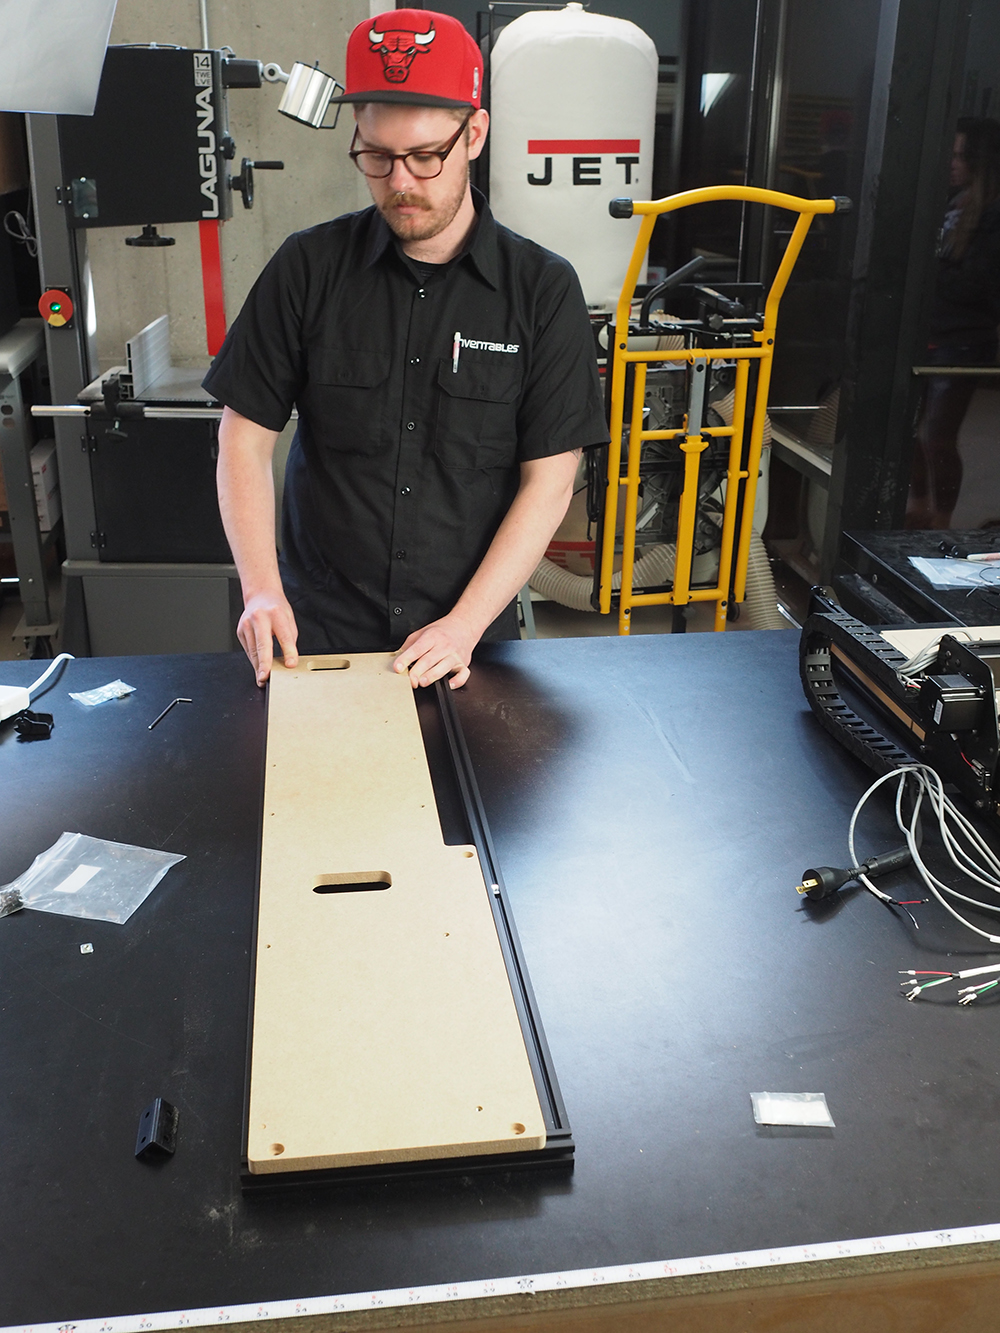
Install all threaded inserts into side board.
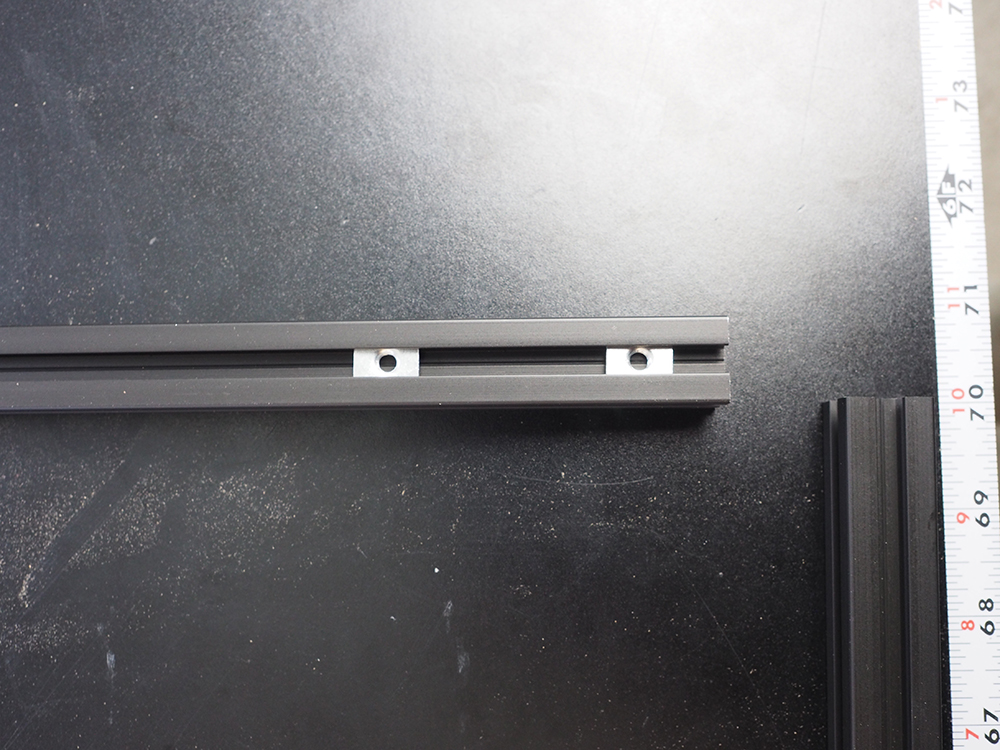
Insert 2 pre-assembly t-slot nuts on the inside each aluminum extrusion and 1 additional pre-assembly t-slot nut on the top side of the 958mm extrusions. These will be used to attach the gusset brackets to the extrusions and the single pre-assembly t-slot will attach to the middle countersunk hole of the sideboard.
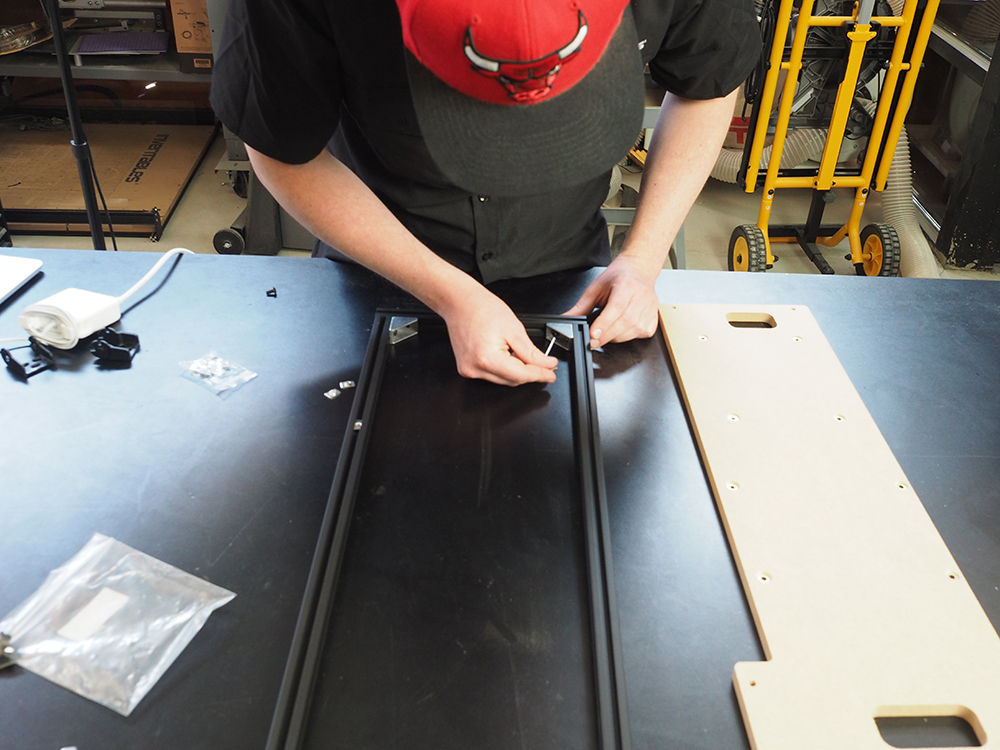
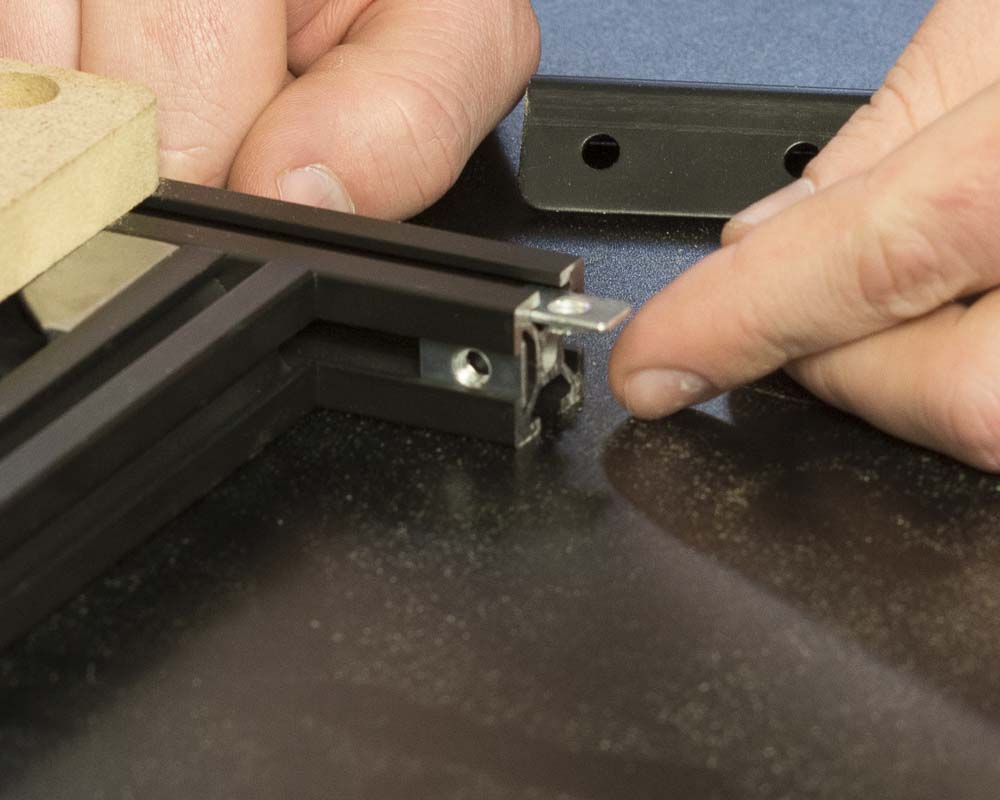
Loosely assemble frame using the 20mm x 20mm aluminum extrusion, 4 gusset brackets, 8 pre-assembly insertion nuts and 8 M5x10mm button head cap screws.
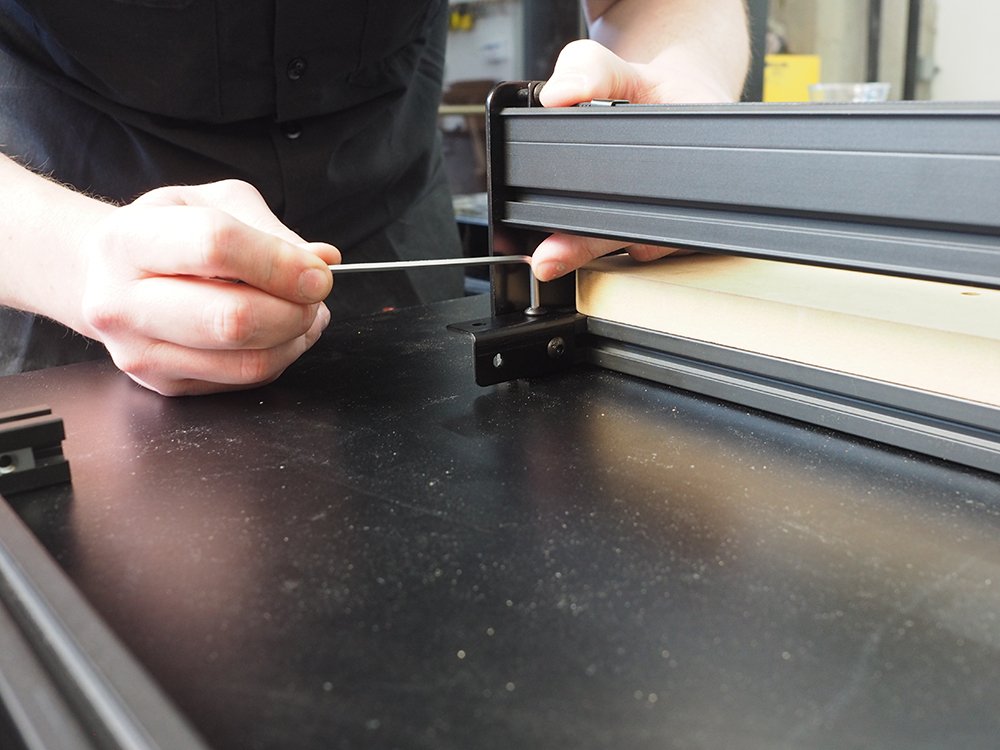
Place sideboard over the frame and line up 958mm extrusion with the pre-assembly t-slot nut under the middle countersunk hole. Tighten all 8 M5x10mm button head cap screws to secure gusset brackets. Slide 2 pre-assembly t-slot nuts on the top of the 250mm aluminum extrusions. Attach the side board to the frame by placing 5 M5x12mm button head cap screws in the countersunk holes and securing into the pre-assembly insertion nuts.
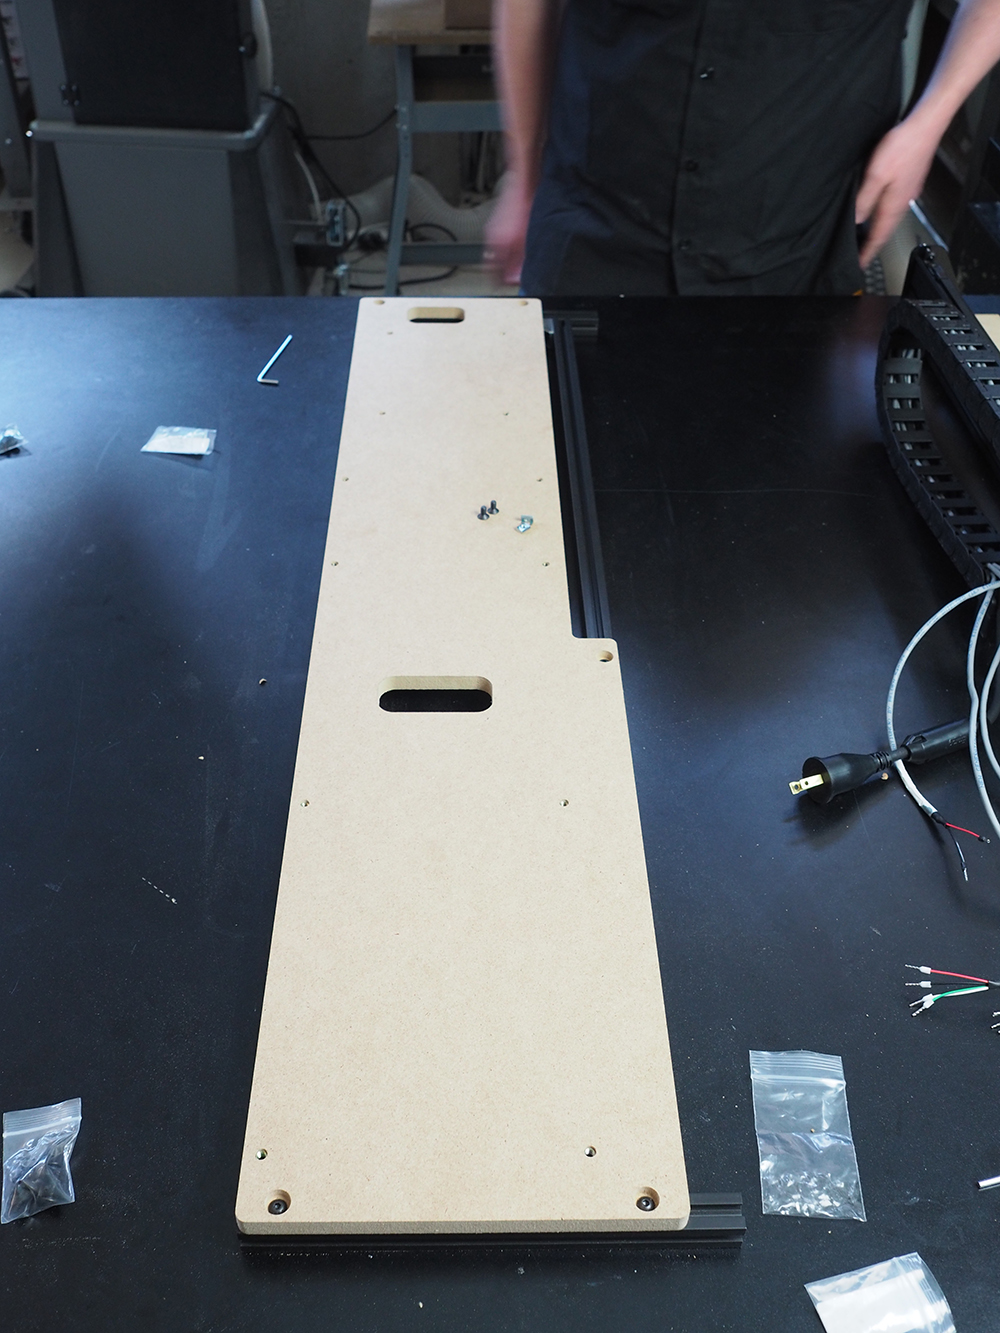
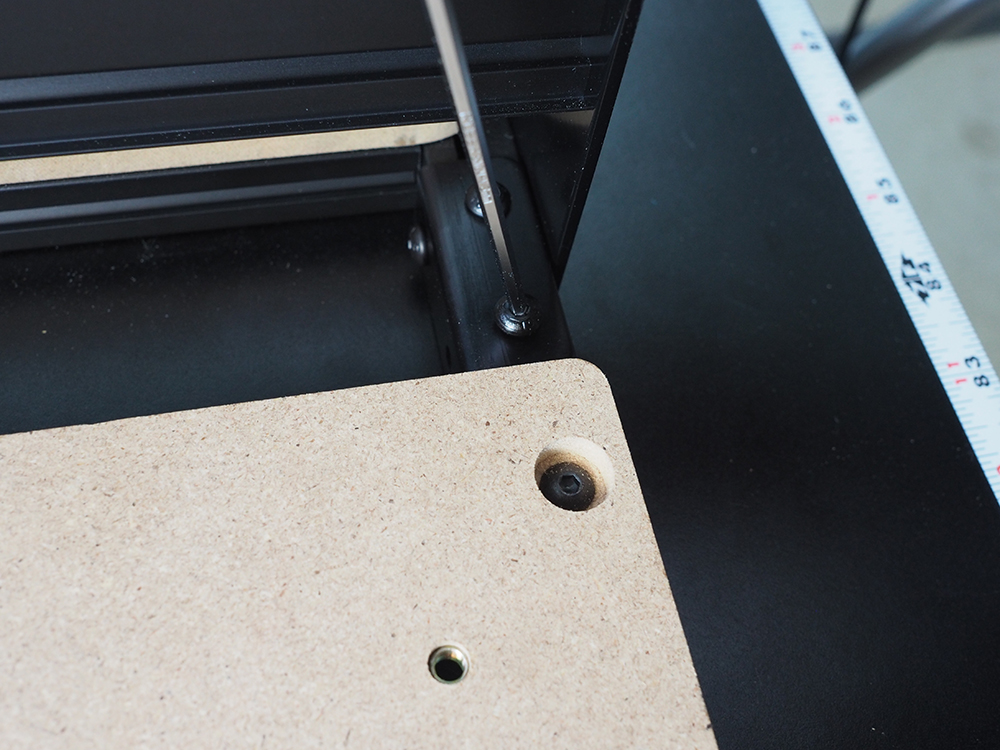
Insert pre-assembly t-slot nuts into the ends of the sideboard and wasteboard frame. These will be used to attach the side board to the X-Carve frame using the extrusion connection brackets. Use M5 x 8 button head cap screws to secure the extrusion connection brackets.
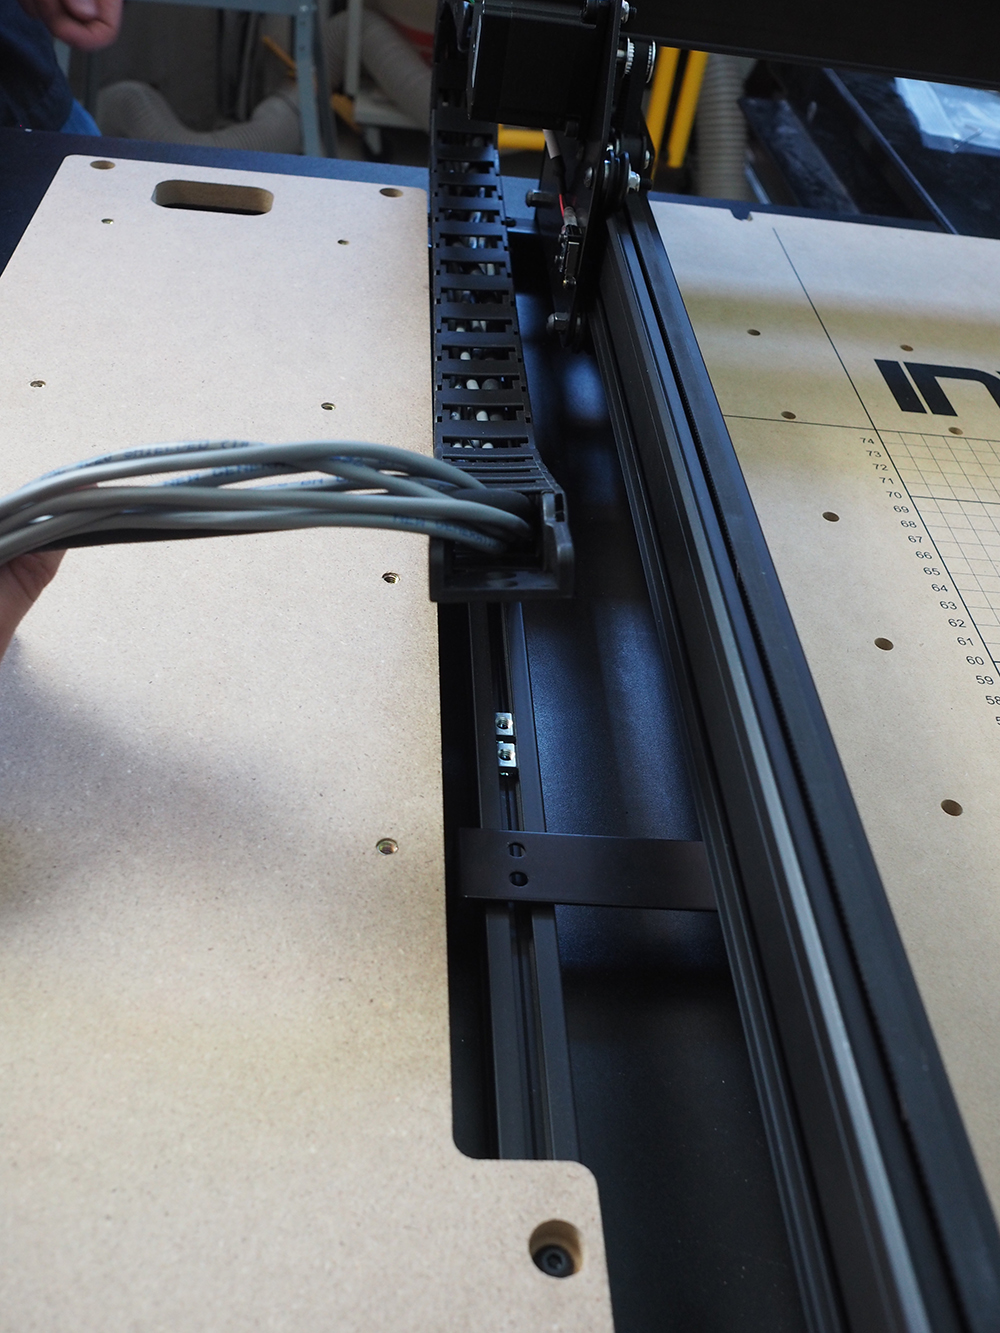
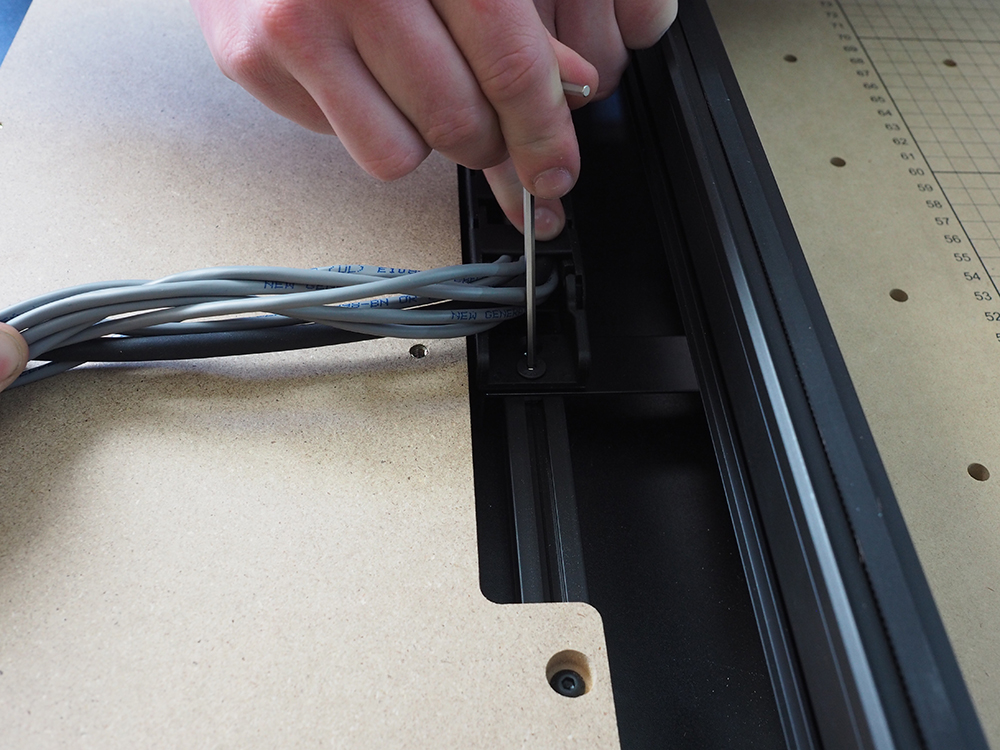
Use 2 post-assembly t-slot nuts and 2 M5 x 10 flat head screws to secure the drag chain to the sideboard.
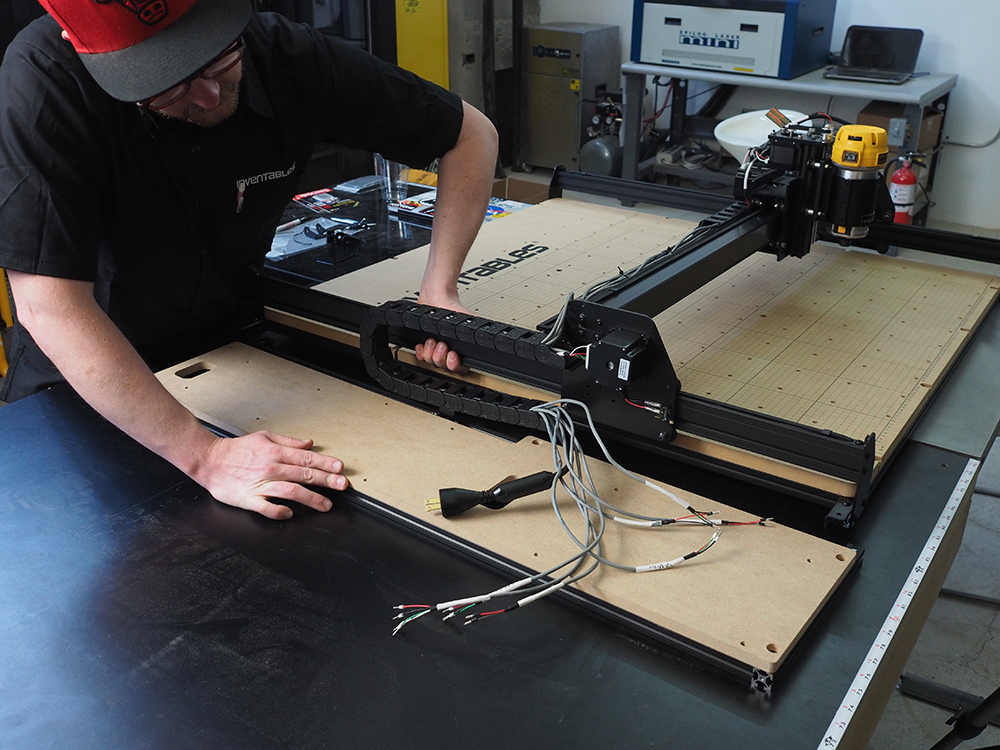
Lift the machine onto the side board and tighten down remaining button head cap screws.
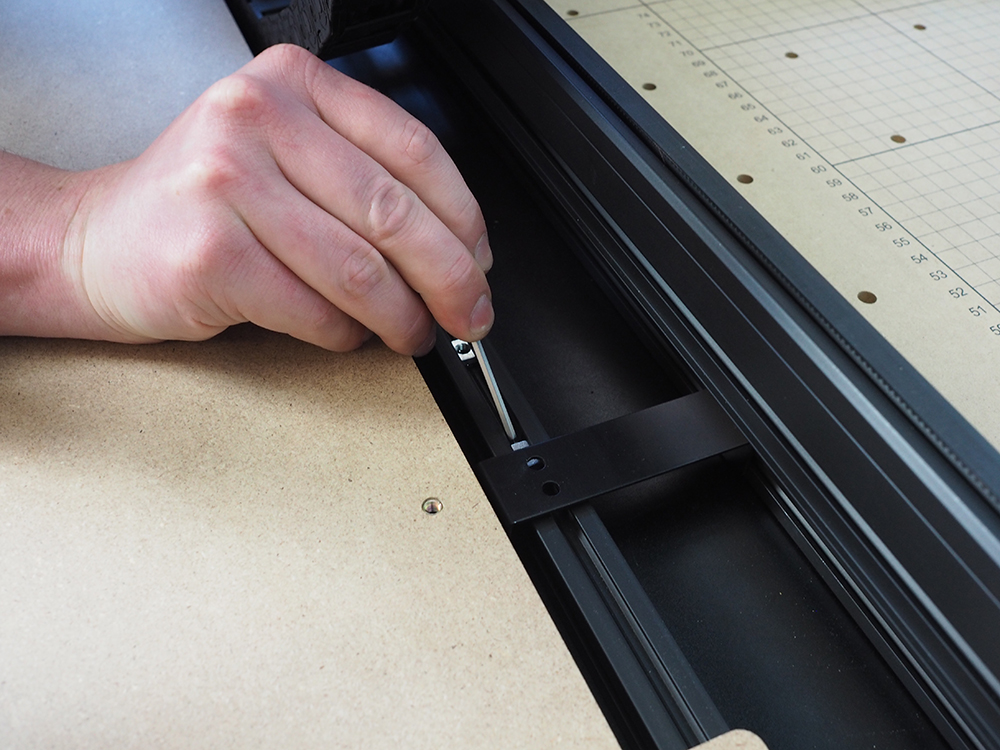
Insert the two post-assembly t-slot nuts and slide into place, lining them up with the holes in the bracket, and secure the drag chain end in place.
NOTE: The M5 x 14 button head cap screws will be used to attach the X-Controller to the sideboard. Extra screws can be used to mount components not included with the X-Carve.
Next Step: X-Controller